
Step 2: Sketching and Measuring the Area
![]() Teacher Tips
Teacher Tips
Allow groups to use different spaces within the classroom when possible, but the same space can be used if there is only one available. Consider allowing the same space to be used in different configurations by having groups re-tape their lanes.
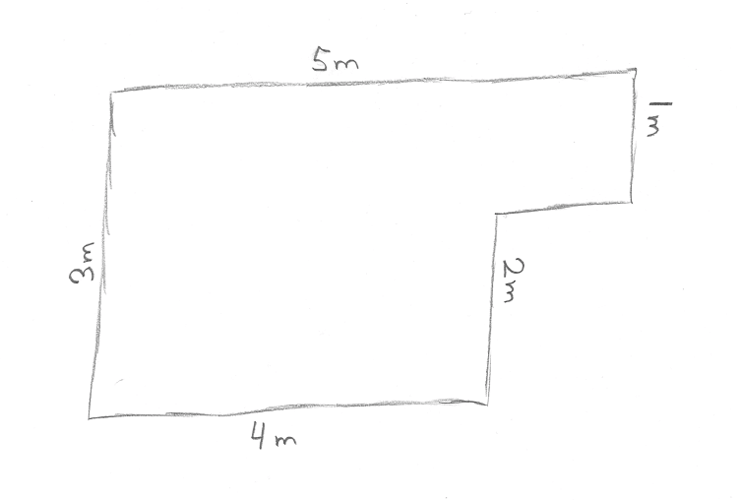
Draw a simple sketch of the available area for your race course design in your engineering notebook. Using a meter stick or ruler, measure the dimensions of the area and record them on the sketch of the area in your engineering notebook.
![]() Teacher Toolbox
Teacher Toolbox
Another option instead of measuring all of the scaled distances would be to use graph paper to make drawing the scaled course easier.

Using graph paper in the students' engineering notebook, ask them to create a scaled version of the area you sketched using your recorded measurements. Before starting, decide the scale at which you would like to recreate the area in meters. For example, each square on the graph paper could represent a single square meter. In the example above, a square meter is 4 boxes by 4 boxes on the graph paper.
You should consider the size of your graph paper when choosing the scale. Too large of a scale may not fit on the graph paper that you are using. Add a scaled version of the VEX V5 Speedbot to your graph paper to help visualize its scaled size in comparison to the scaled area you have created.