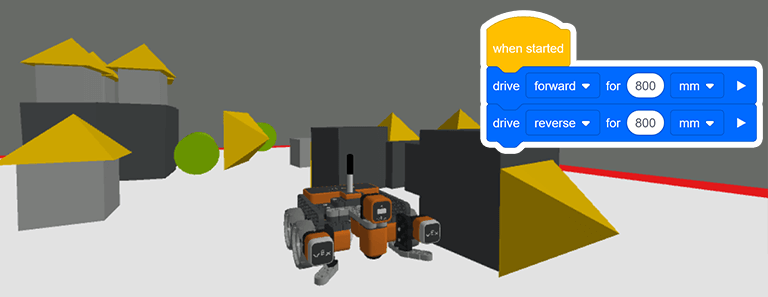
CS المستوى 1 - كتل VEXcode VR
9 Units
ابدأ رحلتك في تعلم علوم الكمبيوتر مع دورة VEXcode VR لعلوم الكمبيوتر المستوى 1 - الكتل! باستخدام VEXcode VR والأنشطة القائمة على الروبوتات، سيتعرف الطلاب على تدفق المشروع والحلقات والشروط والخوارزميات.
Access ongoing professional development to support you as you teach with VEXcode VR. Timely and targeted PD through videos, lessons, community conversations, and more!
Unit 1
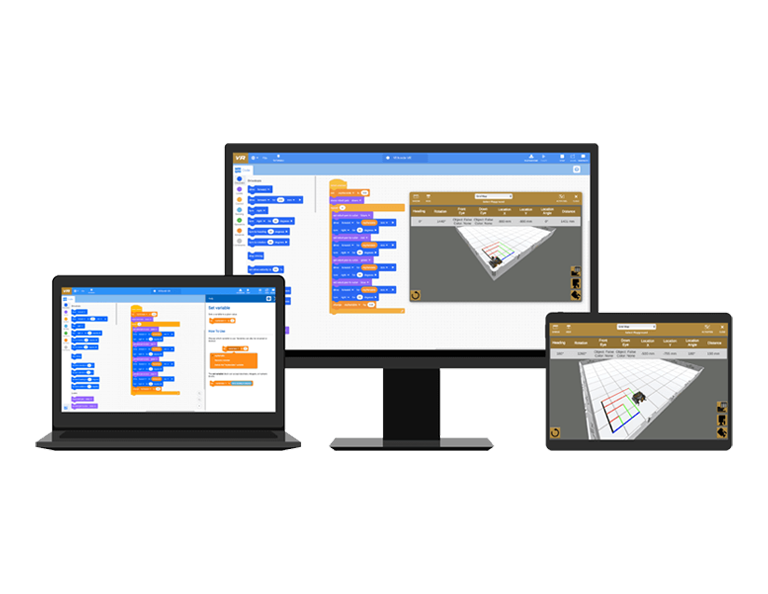
Introduction and Fundamentals
This Unit shows you the value of VEXcode VR and how easy it is to use. This Unit also outlines the structure for the course, giving you a preview of what is to be expected, and providing you with the tools to be successful.
Unit 2
Moving Your Robot
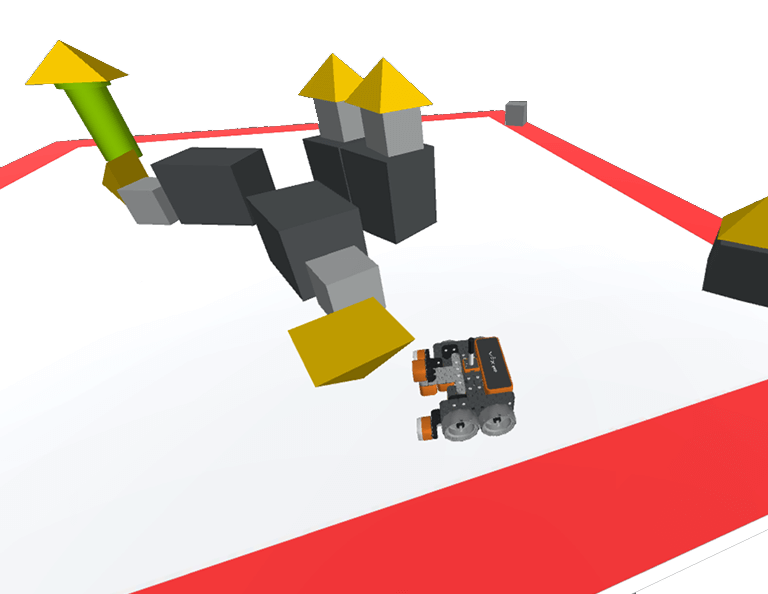
In this Unit, you will solve the Castle Crasher challenge. You will learn how to use VEXcode VR to make the VR Robot use the Drivetrain commands in order to move around the Castle Crasher Playground. You will also learn how to sequence commands correctly in order to knock over all castles on the playground.

Unit 3
Repeating Behaviors
In this Unit, you will solve the Draw a House Challenge. You will learn how to use the Pen tool on a VR Robot to draw different shapes on the Art Canvas Playground. You will also learn how to use loops in VEXcode VR to repeat a set of behaviors multiple times, such as drawing the sides of a square.
Unit 4
Navigating a Maze
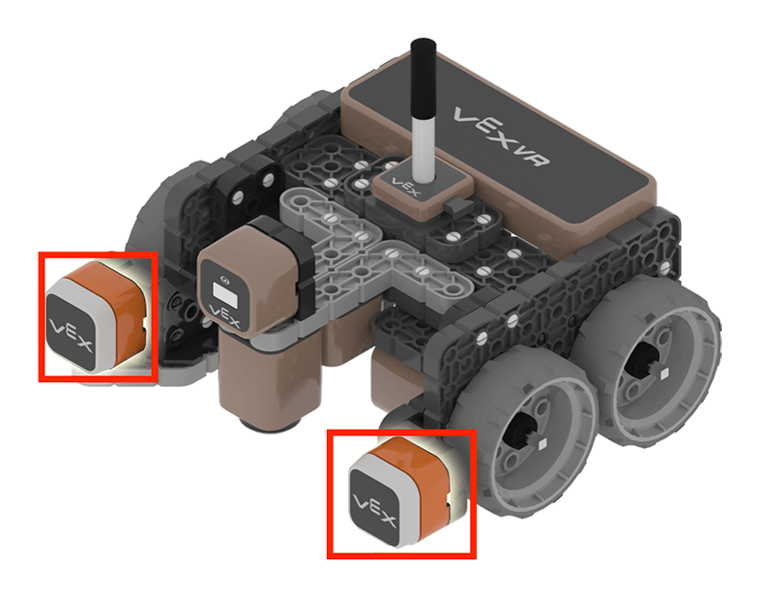
This Unit will show you how to use sensor input to navigate the VR Robot regardless of its surroundings, instead of “hard-coding” movement with only Drivetrain commands. This is an important first step in being able to build an effective algorithm. You will work on the Wall Maze Challenge using VEXcode VR to navigate the VR Robot through the Wall Maze Playground from start to finish. You will learn how to use the Bumper Sensor and the [Wait until] block to solve the Wall Maze Challenge.
Unit 5
Detecting Walls from a Distance
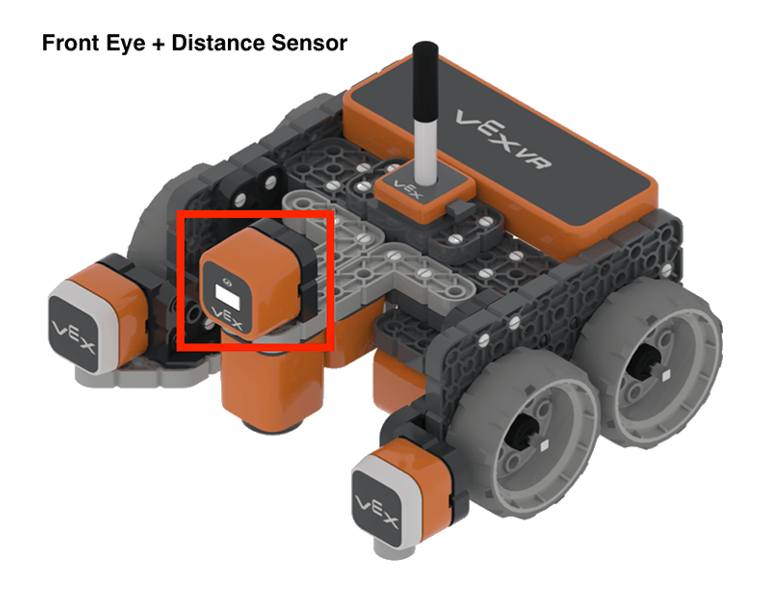
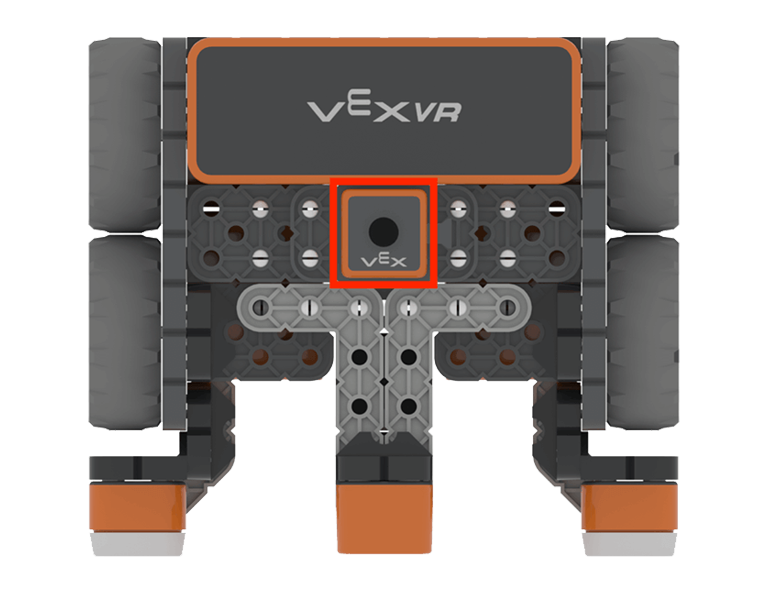
In this Unit, you will navigate the VR Robot from start to finish through the Wall Maze Challenge without bumping into walls! You will learn how to use the Distance Sensor on the VR Robot with comparison blocks to solve the Wall Maze challenge.
Unit 6
Knowing Your Location
In this Unit, you will complete the Drive to Three Numbers challenge and use the Location Sensor to navigate the VR Robot to three different numbered locations on the Number Grid Map Playground! You will apply blocks from the Drivetrain, Sensing, and Control categories in the correct sequence in order to solve the Drive to Three Numbers challenge.
Unit 7
Decisions with Colors
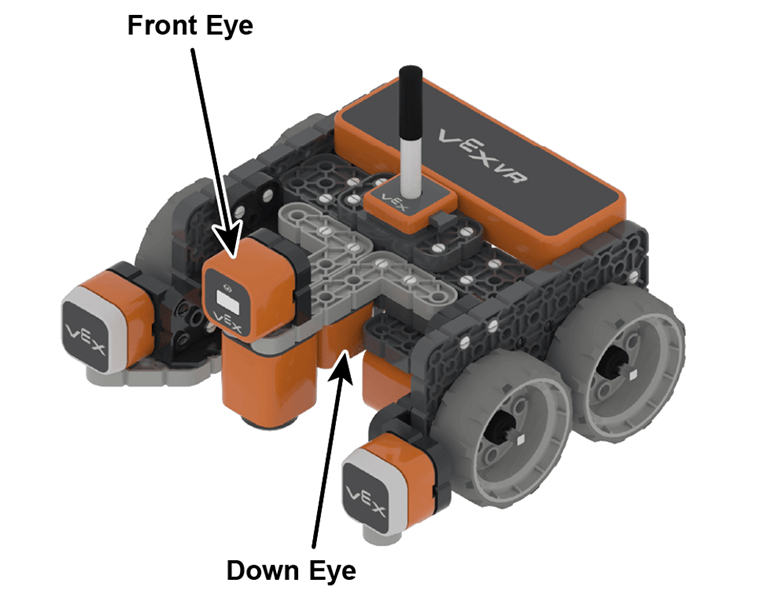
In this Unit, you will be introduced to the importance of conditional statements. You will explore why conditional statements, such as the [If then] block need to be used with loops, such as [Forever] blocks, in order for the VR Robot to behave as intended. You will learn how to use the Eye Sensor and conditional statements to solve the Disk Maze Challenge. In the Disk Maze Challenge, the VR Robot will navigate through the Disk Maze Playground from start to finish using the Eye Sensor to detect colors.

Unit 8
Moving Disks with Loops
In this Unit, you will learn the importance of sensor feedback and nesting loops. You will learn how to use the Electromagnet on the VR Robot to pick up and drop disks to solve the Disk Mover challenge. You will apply skills learned in previous Units to create a VEXcode VR project that uses VR Robot Sensors and loops to solve the Disk Mover Challenge.
Unit 9
Developing Algorithms
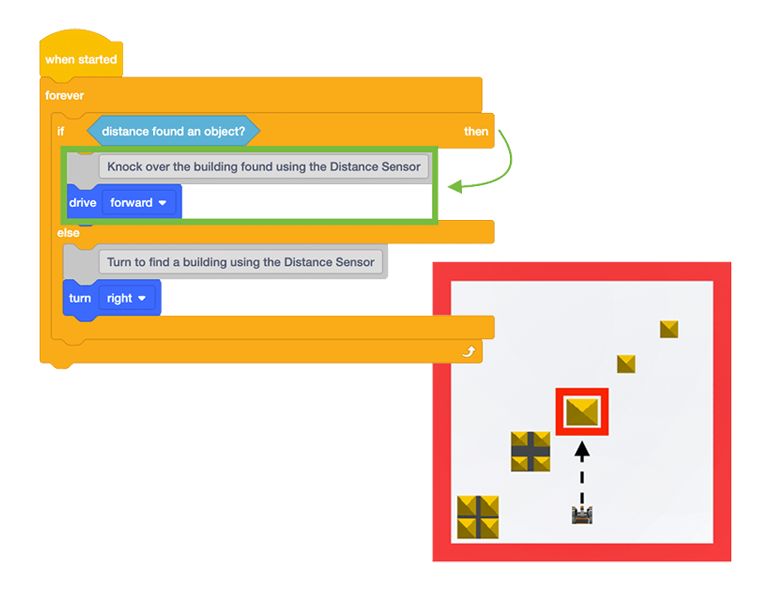
This Unit introduces you to algorithms. Back in Unit 2, you solved the Castle Crasher Challenge on a Playground where the layout did not change. In this Unit, you will have to solve the same challenge, but on a Playground that changes the layout with each reset. This introduces the need for an algorithm that uses sensor feedback instead of a sequence of simple commands.
