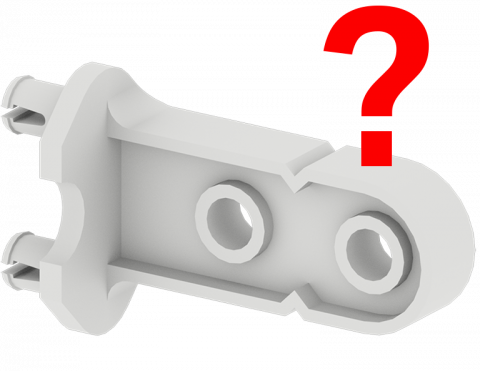
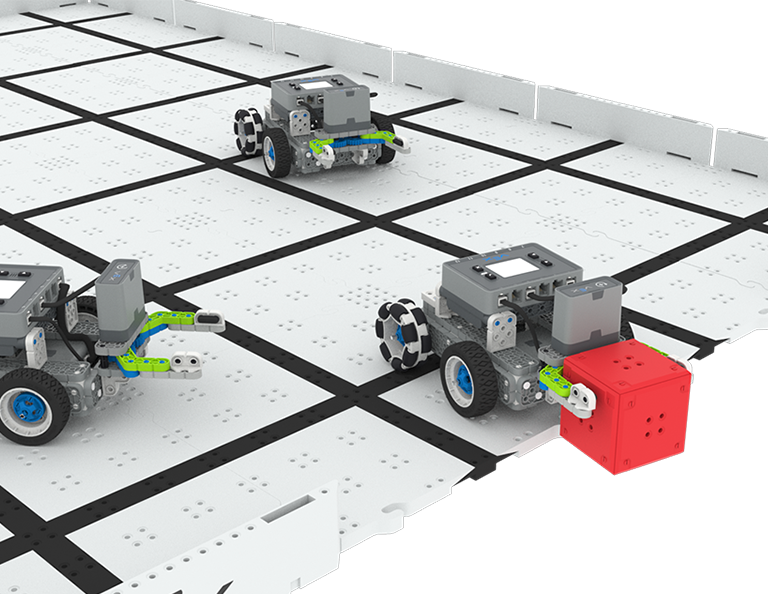
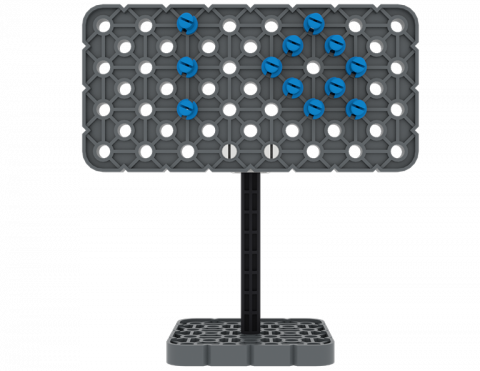
Ar galite sukurti ženklą iš dalių iš savo VEX IQ rinkinio?
Activity Link
https://docs.google.com/document/d/1U3jc5F-gKj0hg8GHK5v6feZJKv1CdXonMJeeJiZdWNk/edit
Activity Image
Nuotrauka
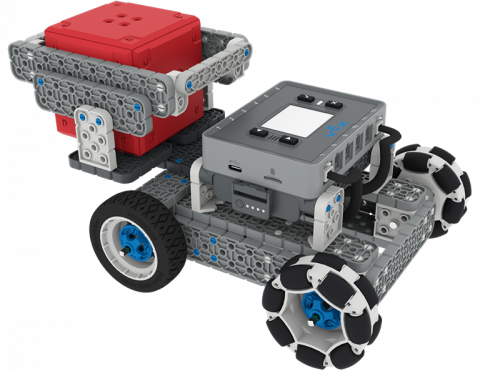
VEX Platform
Subject
Activity PDF Link
https://content.vexrobotics.com/assets/education/stem-labs/docs/iq/Activities/IQ Activity - Signs.pdf
Activity Docx Link
https://content.vexrobotics.com/assets/education/stem-labs/docs/iq/Activities/IQ Activity - Signs.docx