
Lesson 2: If/Else Conditional Statements
In this Lesson, you will create a project where the VR Robot knocks over at least two buildings on the Dynamic Castle Crasher Playground. An algorithm will be needed to solve the challenge using loops and sensor feedback because the Playground layout changes with each reset.
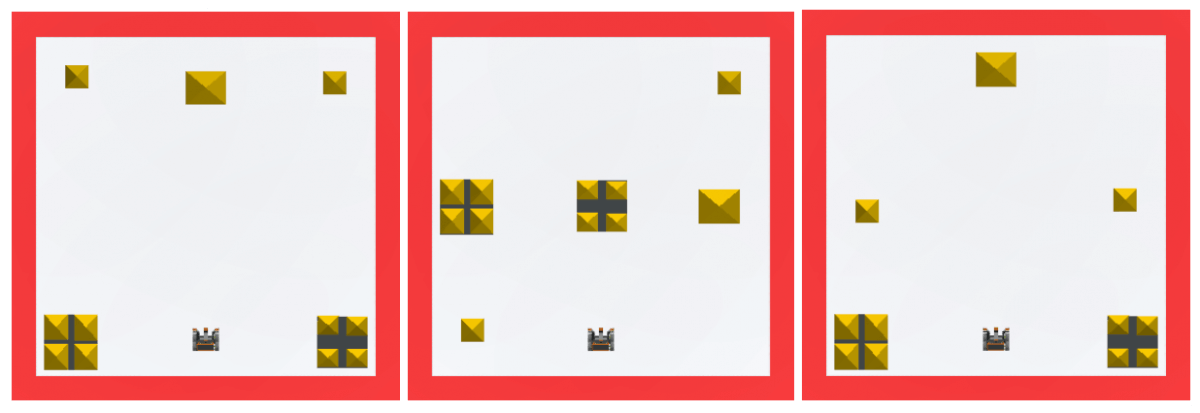
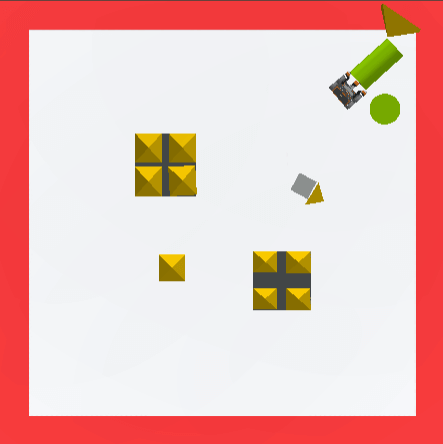
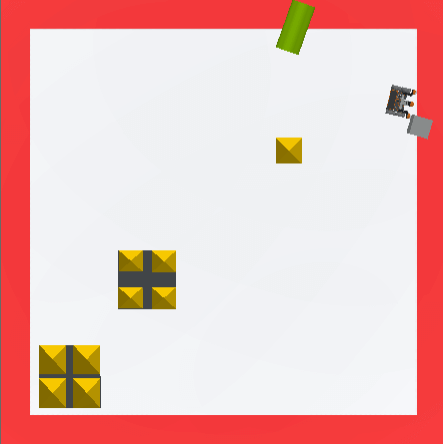
Examples of Dynamic Castle Crasher Playground Layouts:
Learning Outcomes
- Identify that an [If then else] block is a C block that runs the blocks inside either the If or the Else branch based on the Boolean value reported.
- Identify that an [If then else] block is normally used with a [Repeat] or a [Forever] block in order to check the condition more than once.
- Identify and describe why an [If then else] block is used with loops.
- Describe what would cause an [If then else] branch to be run in a project.
How to Use an [If then else] Block
This challenge is different from the Castle Crasher challenge in Unit 2. The Unit 2 challenge used simple sequencing and Drivetrain commands to knock over the buildings on a static playground.
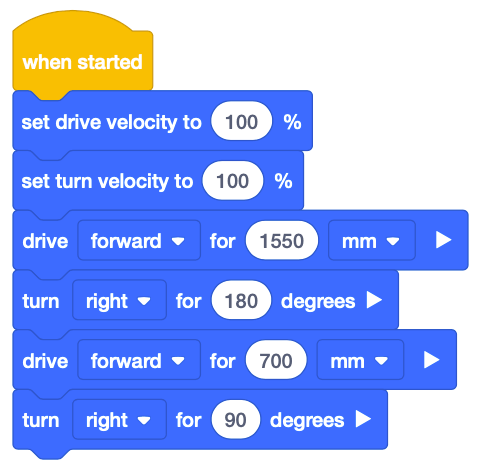
Drivetrain commands alone will not be sufficient to have the VR Robot knock down two or more buildings because of the changing layouts of the Dynamic Castle Crasher Playground. A set of Drivetrain commands may work in one Playground, but not in another. An algorithm that uses sensors and selection will be needed. The [If then else] block will be used to create an algorithm by adding selection with conditional statements to this project.

There are two main steps for the VR Robot to knock over buildings on the Dynamic Castle Crasher Playground.
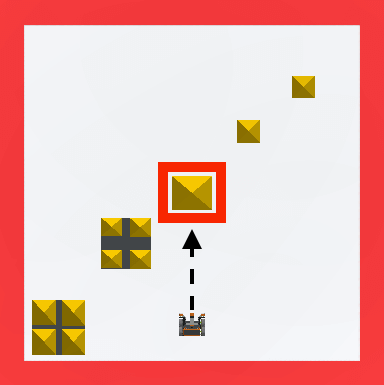
- If the VR Robot detects a castle building, drive forward towards it to knock it over.
-
Unlike every other Playground, the Dynamic Castle Crasher Playground does not have walls. Because the buildings are the only objects on the Dynamic Castle Crasher Playground, the Distance Sensor can be used to detect buildings.
-
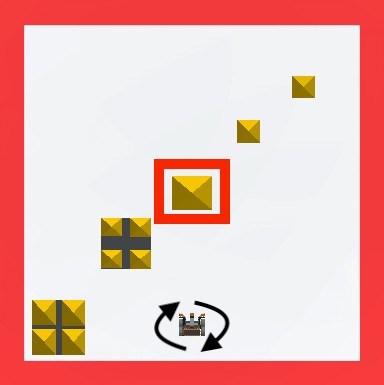
- If the VR Robot does not detect a castle building, turn and check for a castle building again.
-
Because the buildings are the only objects on the Dynamic Castle Crasher Playground, the Distance Sensor can be used to detect castle buildings.
-
Once steps 1 and 2 are complete, the VR Robot can go back to step 1 and use the Distance Sensor to find the next building to knock over.
-
Start a new project in VEXcode VR and name the project Unit9Lesson2.

-
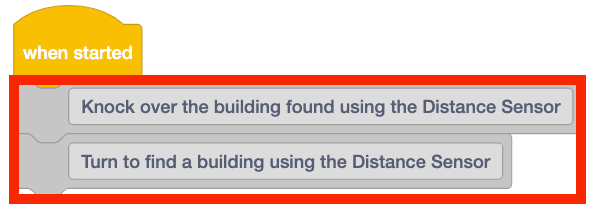
Add two [Comment] blocks into the workspace and fill in the steps outlined above.
-
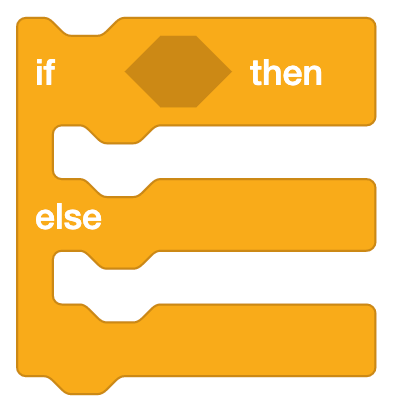
An [If then else] block can be used to trigger each of the actions outlined above. Each action depends on if the Boolean condition in the [If then else] block reports TRUE or FALSE. Add an [If then else] block beneath the [Comment] blocks.

For Your Information
The [If then else] block is a C block that accepts Boolean reporter blocks as input. The [If then else] block is a conditional statement that controls the flow of a project. The [If then else] block will execute a particular sequence of instruction if the condition is met, and another set of instructions if the condition is NOT met, thereby ‘branching’ the project flow. Only one branch in the [If then else] will be executed.
- If the condition is reported as TRUE, the blocks inside of the If Then branch are run.
- If the condition is reported as FALSE, the blocks inside of the Else branch are run.
Once all blocks inside one of the branches are run, the project will move on to the next block outside of the [If then else] block.
-
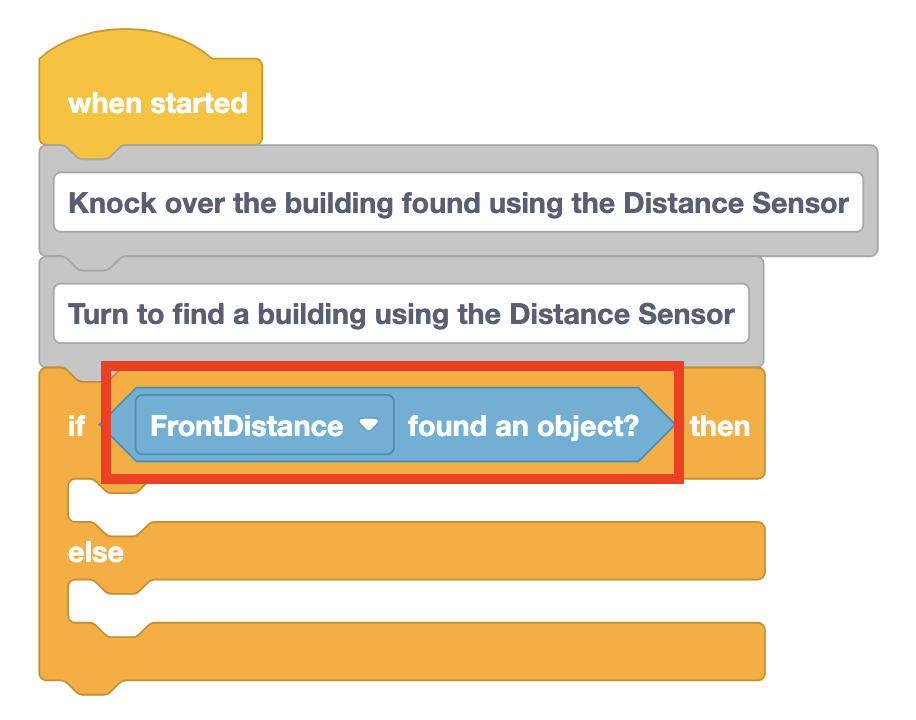
In this project, the Distance Sensor can be used to detect buildings on the Playground. Add in a <Distance found object> block to the [If then else] block.
For Your Information
The <Distance found object> block is a Boolean reporter block that reports if the Distance Sensor has found an object in front of the VR Robot. This block reports TRUE when there is an object or surface within 3000 millimeters (mm) of the VR Robot.

-
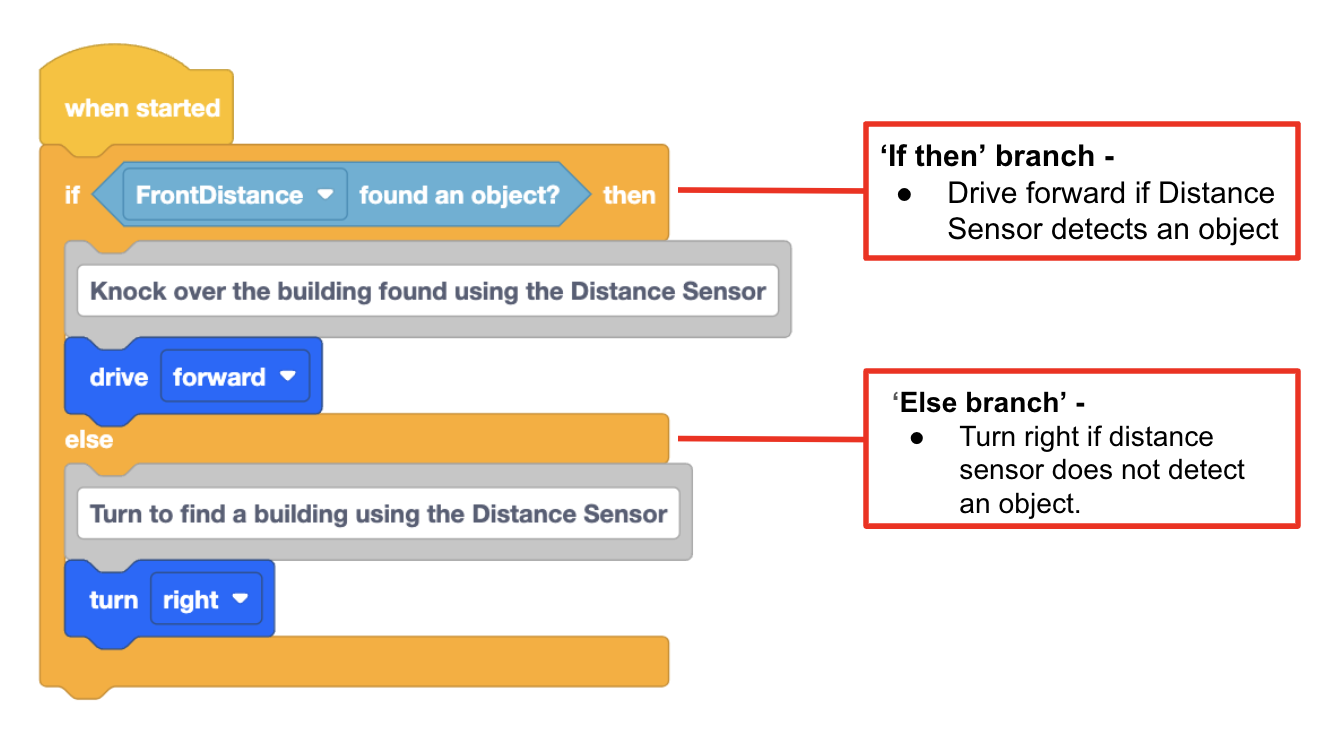
Now each branch of the [If then else] block needs to be defined using the comments created at the beginning of the project. When the <Distance found object> block reports TRUE, the VR Robot should drive towards that building to knock it over. Move that [Comment] block to the ‘If Then’ branch of the project.
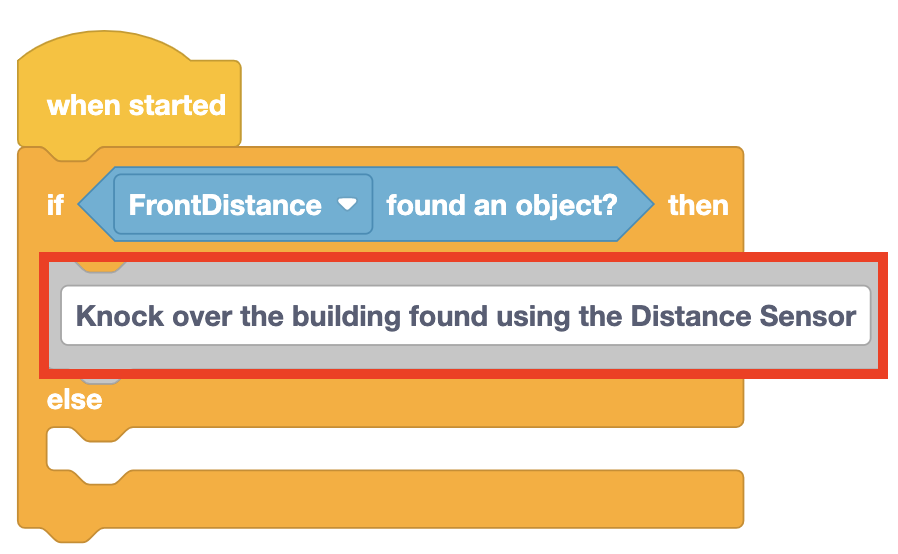
-
Move the other [Comment] block to the ‘Else’ branch of the project for what should happen if the VR Robot does NOT detect a building.
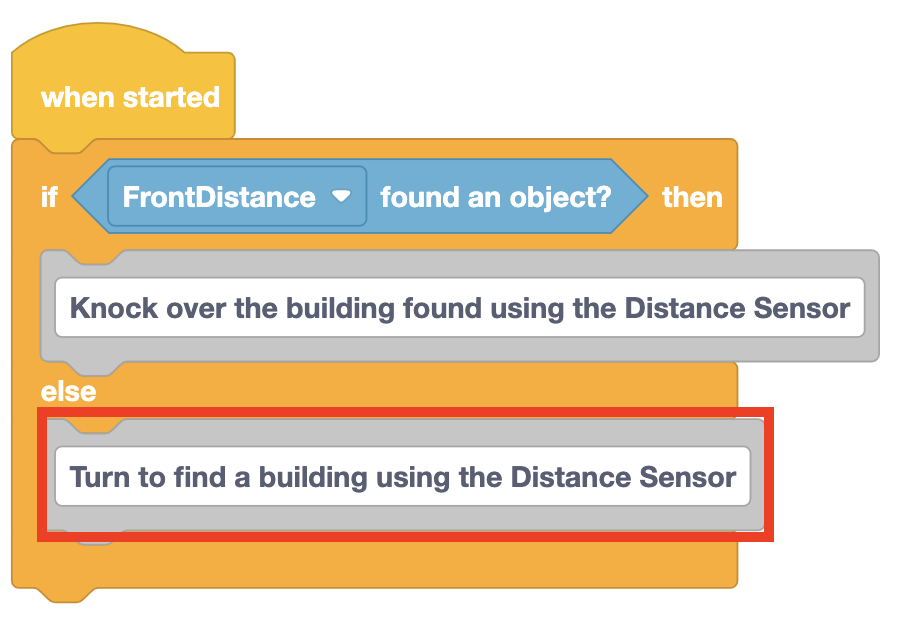
-
Add a [Drive] block into the ‘If Then’ branch of the [If then else] block.
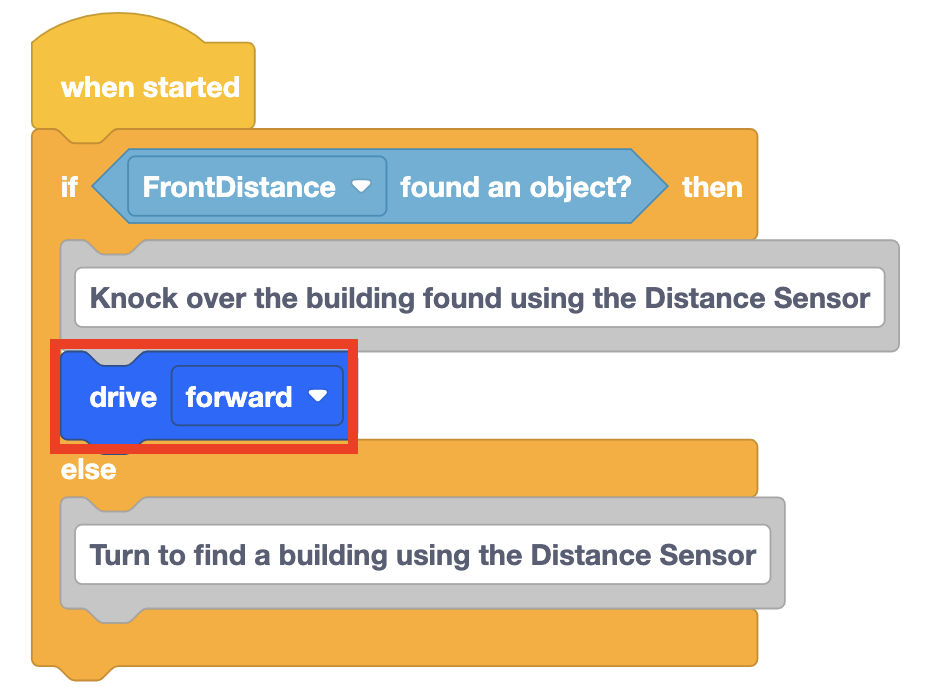
-
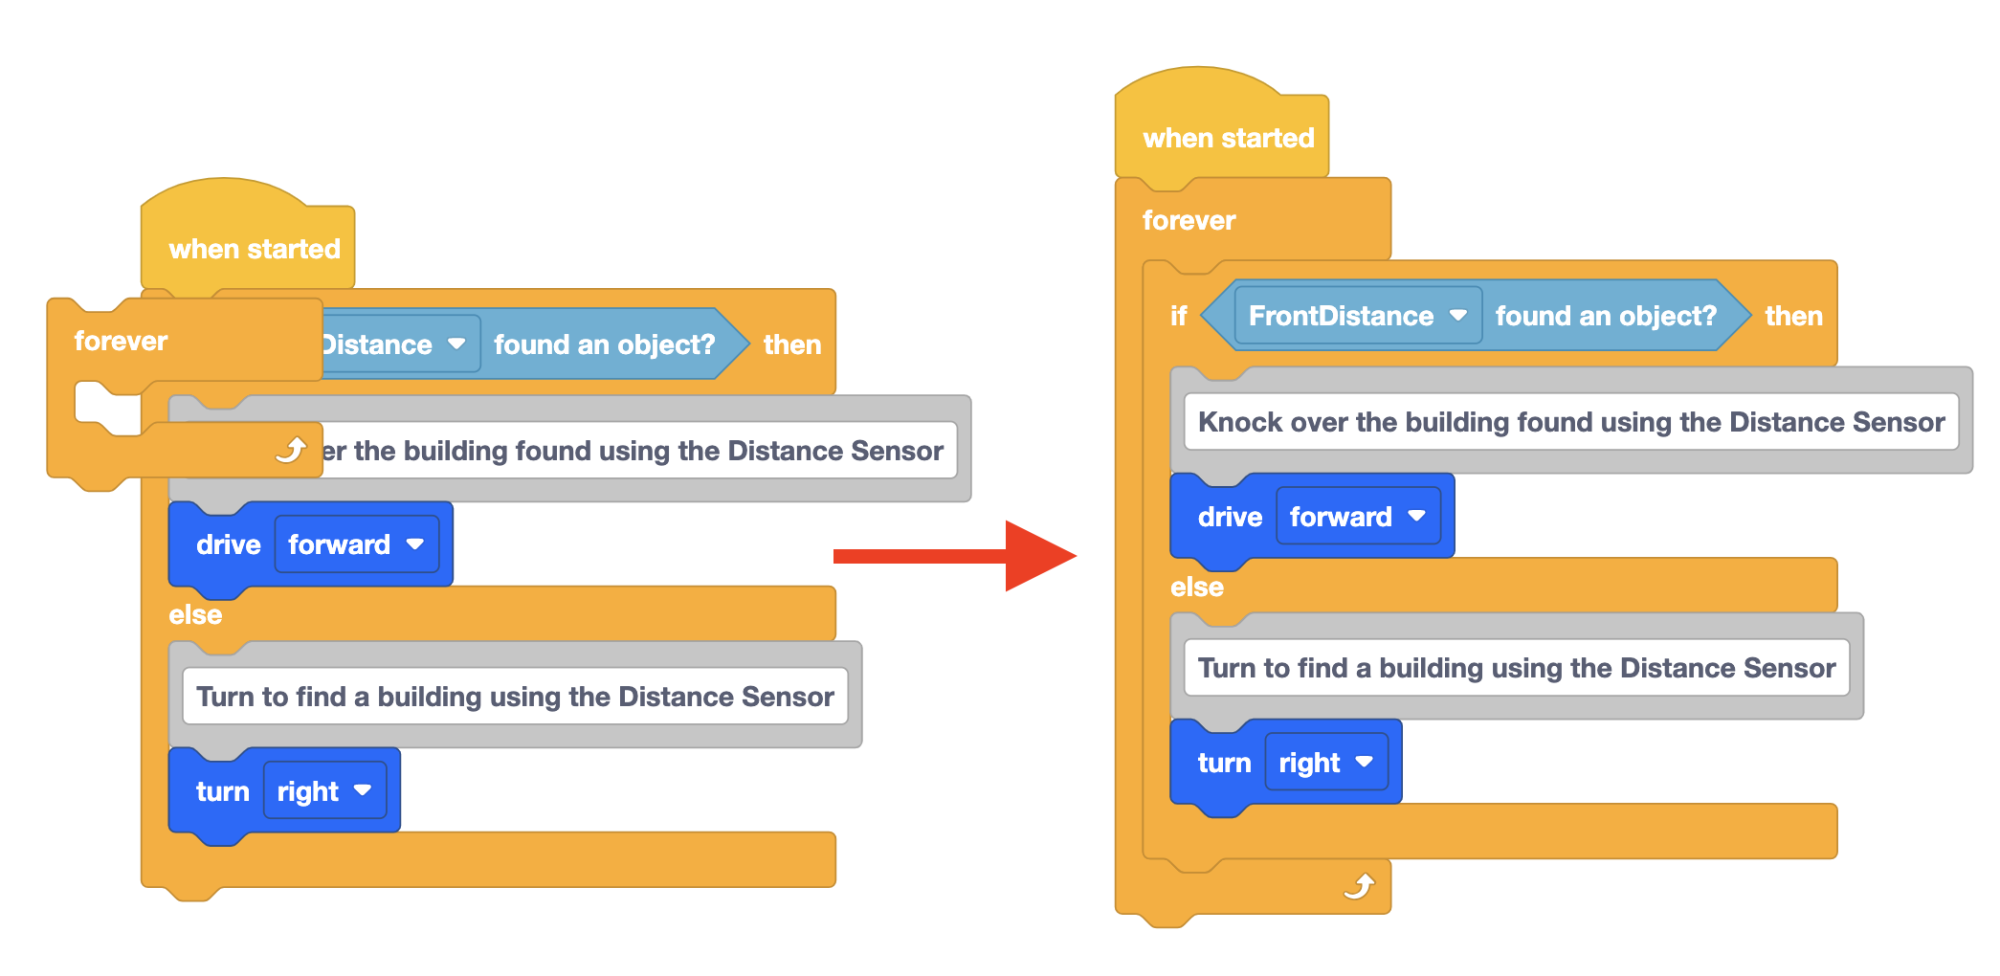
When the <Distance found object> block reports FALSE, the VR Robot will need to turn around and find a building on the Playground. Add a [Turn] block beneath the [Comment] block in the ‘Else’ branch of the [If then else] block.

-
Before the project is tested, one more block needs to be added. [If then else] blocks will only check the condition once before moving to the next block in the stack. In Unit 7, a [Forever] block was added to the project to instruct the VR Robot to repeatedly check the condition of the Down Eye Sensor. To ensure the Distance Sensor condition is being checked repeatedly, drag a [Forever] block into the workspace around the [If then else] block.
-
Open the Dynamic Castle Crasher Playground and run the project.
-
Once the VR Robot has knocked over at least two buildings, reload the Playground and run the project on another layout of the Dynamic Castle Crasher Playground.
-
On each run of the project, the VR Robot will turn until a building is detected by the Distance Sensor, then drive towards that building to knock it over.
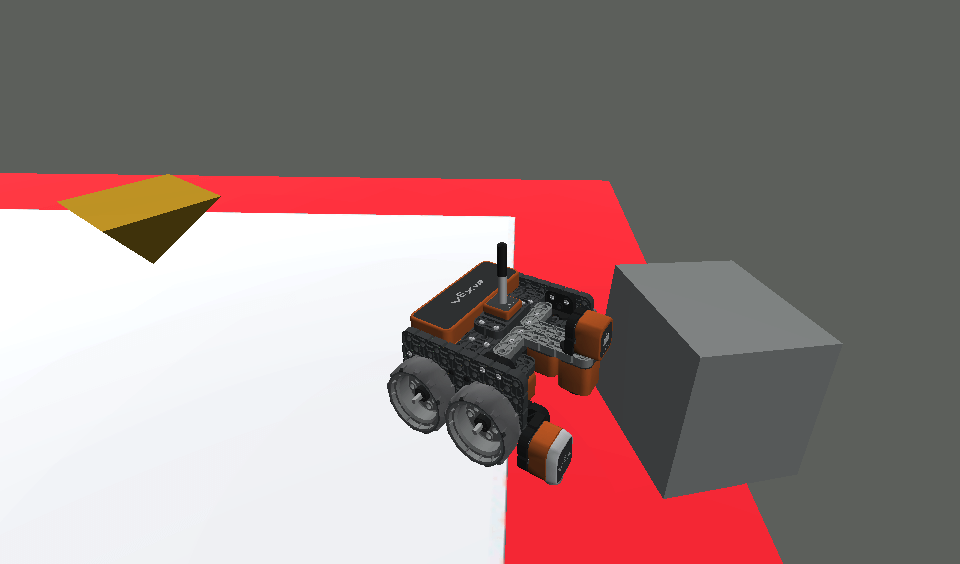
- During the run of the project, the VR Robot may push a building piece all the way to the edge and fall off the Playground. This is because the <Distance found object> block is still reporting that there is an object in front of the VR Robot. When this block reports TRUE, the VR Robot drives forward. Leading the VR Robot to fall off the table.
Select the Next button to continue with the rest of this Lesson.