
Lesson 3: Multiple Sensor Input
In the previous Lesson, the Distance Sensor was used to determine if the VR Robot detected an object or not, and if so, drove forward toward the object. However, no sensor values were used to determine if the VR Robot was close to the edge of the Playground to stop it. Stopping the VR Robot when it was close to the edge of the Playground would prevent it from driving off of the side.
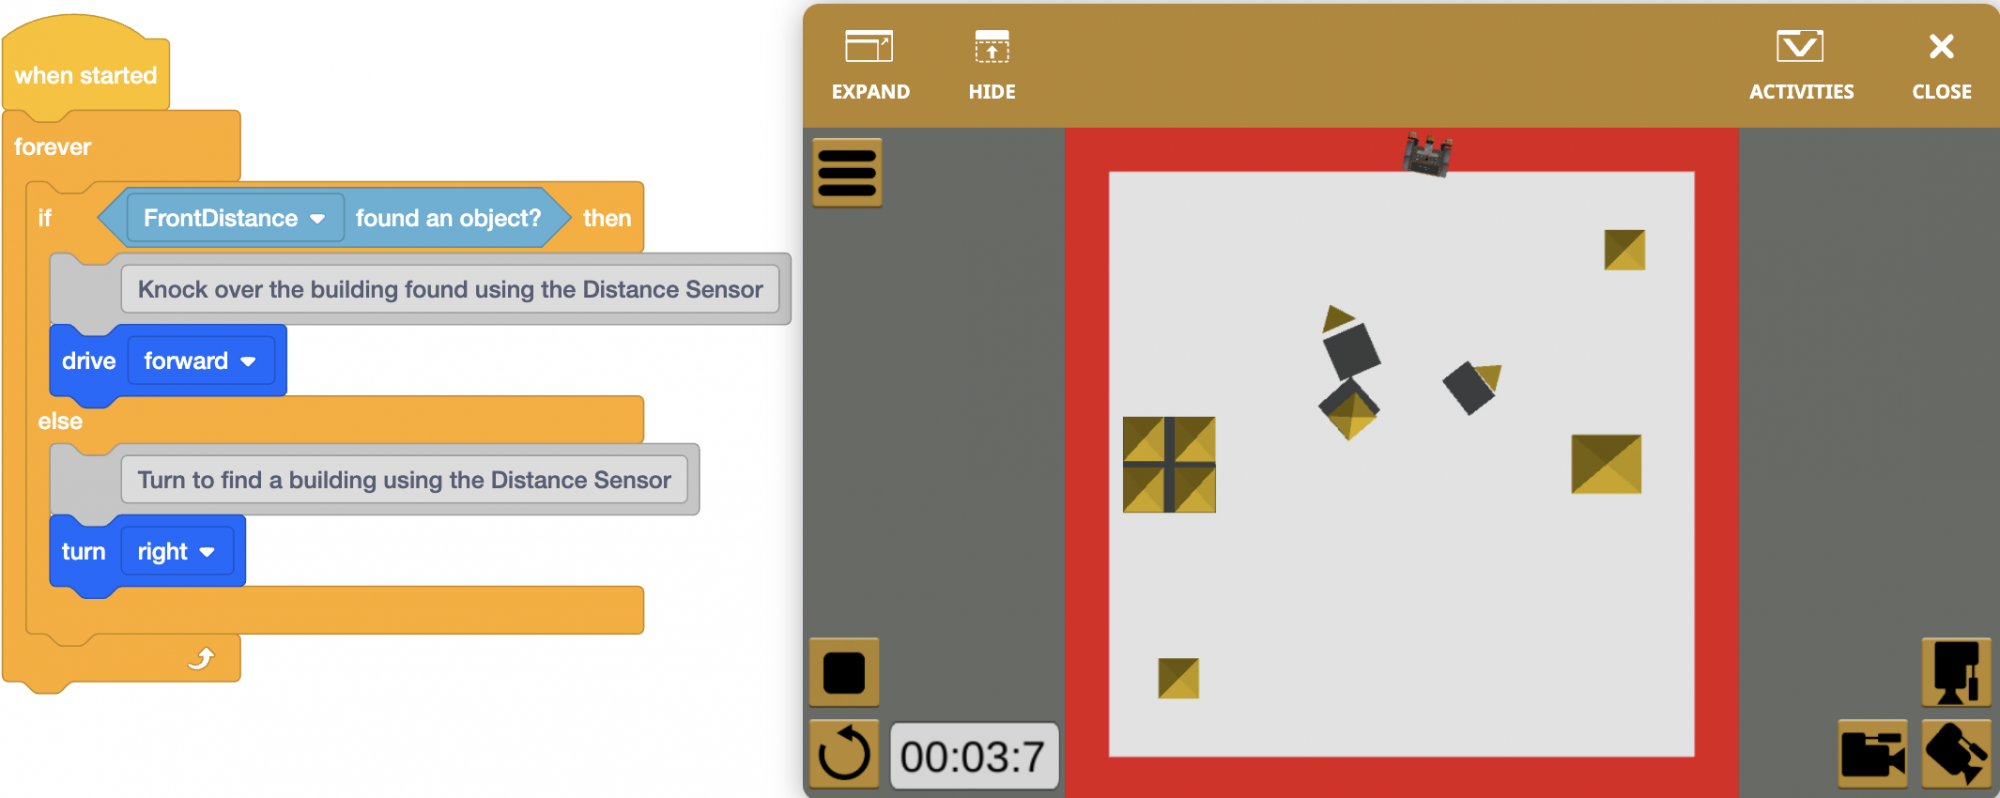
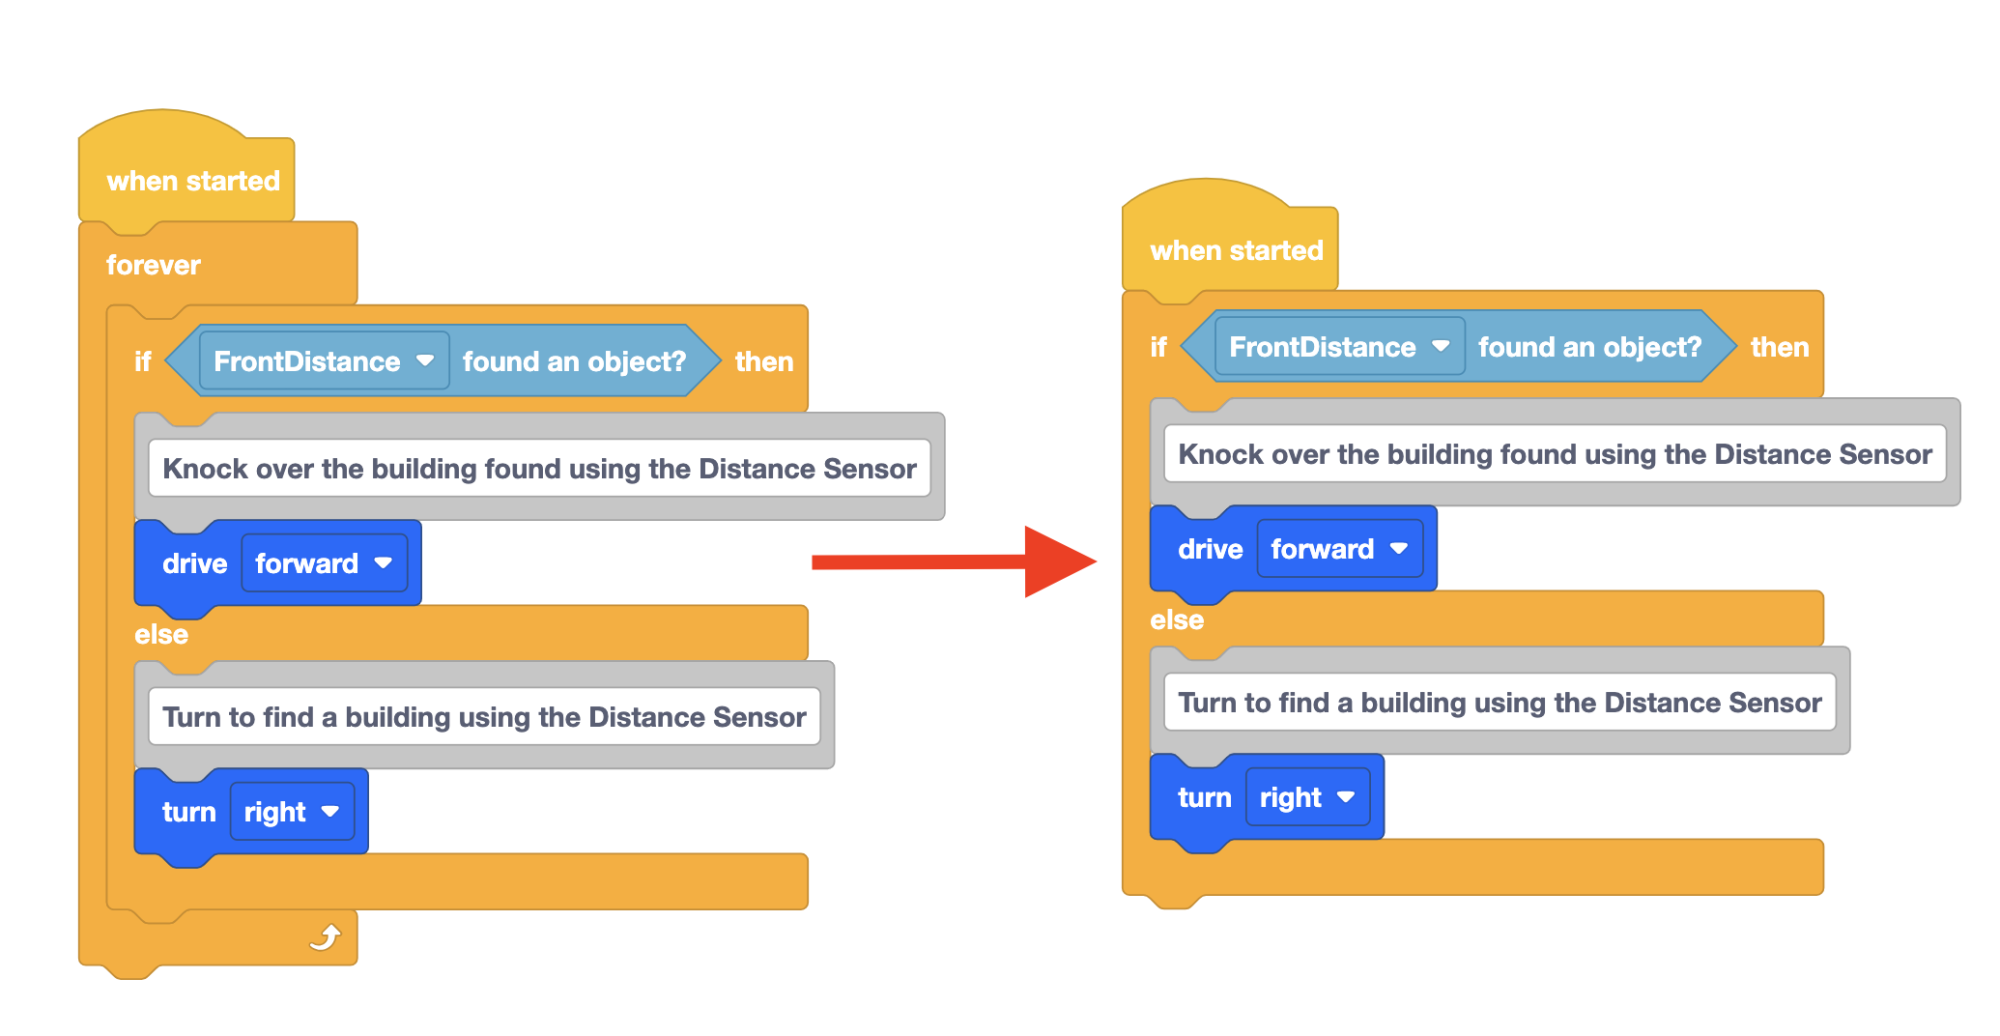
As is, the project repeats the behaviors of driving forward and turning, forever. However, there is no condition to check for the red border around the Playground. Thus, the VR Robot can fall off the Playground when driving forward.
Another sensor is needed for the VR Robot to be able to determine if it is close to the edge of the Playground or not. The behaviors of driving forward and turning only need to repeat until the red border is detected. Thus, the [Forever] block can be replaced with the [Repeat until] block, in order to repeat the behaviors of driving forward and turning until the condition of detecting the red border is met. The Down Eye Sensor can be used to determine if the VR Robot is close to the edge of the Playground by detecting the red border around the Playground.
- Load the Unit9Lesson2 project from the previous Lesson.
- Rename the project Unit9Lesson3.

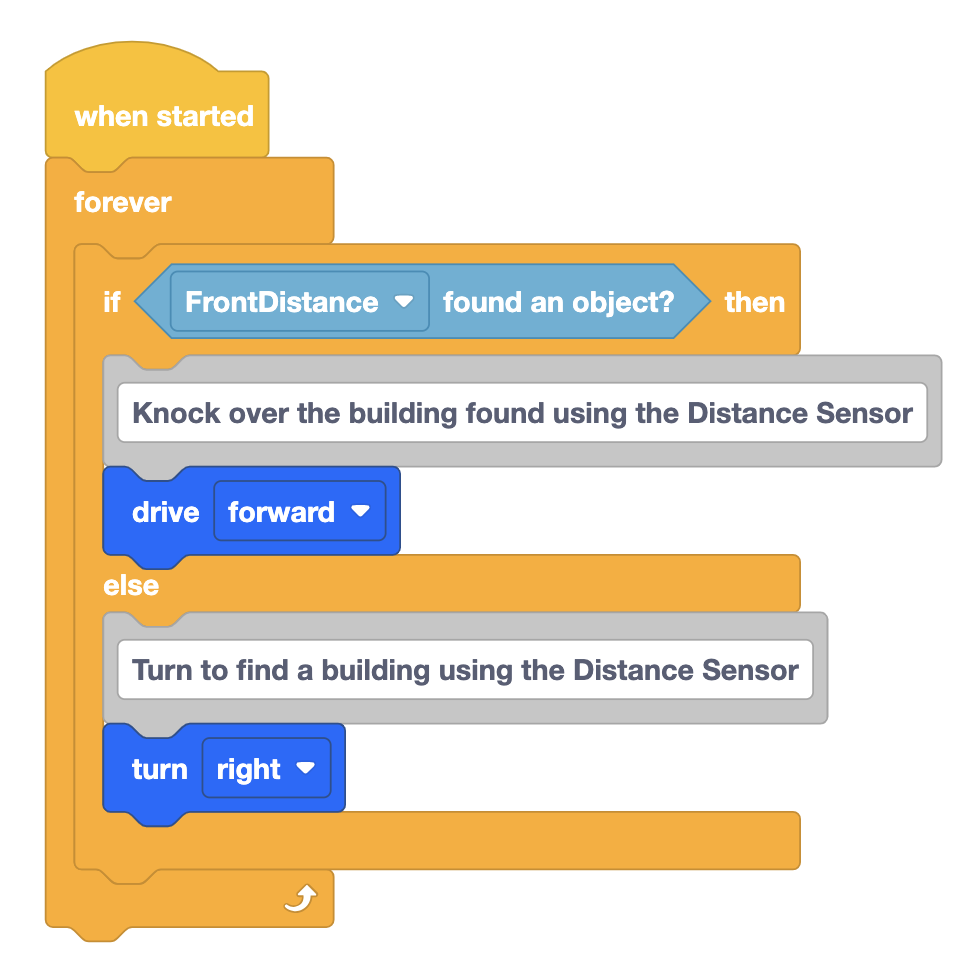
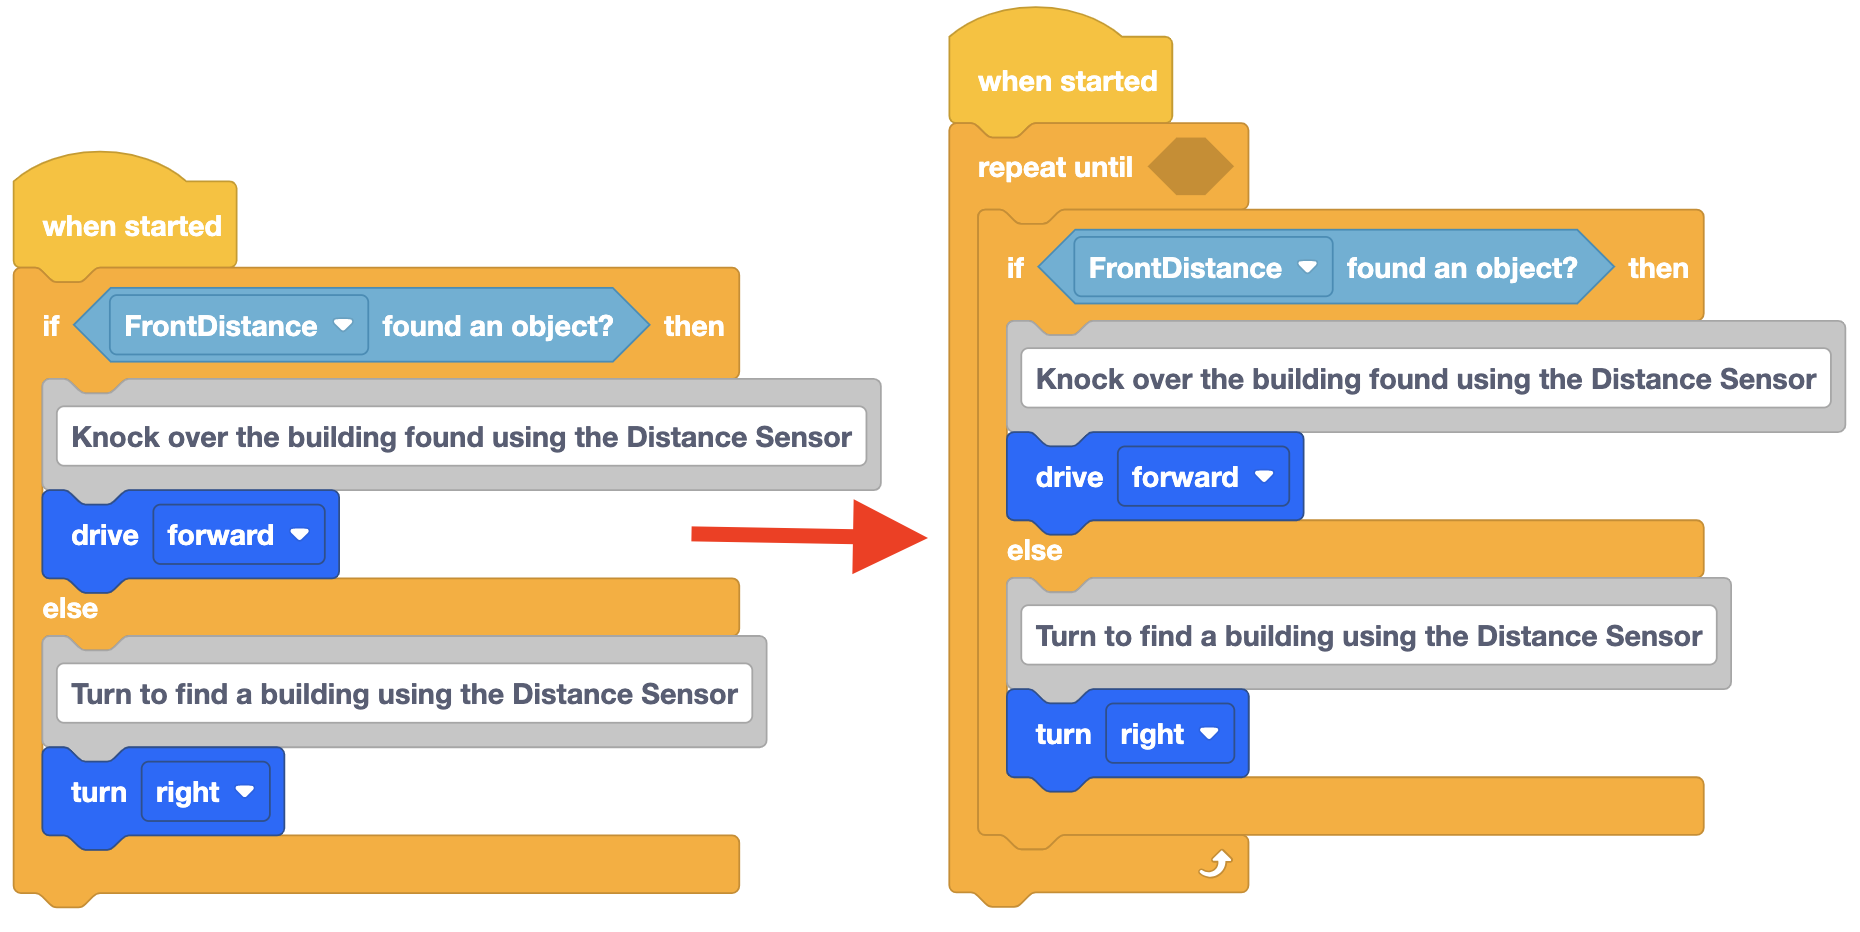
- A block is needed to continuously check the Down Eye Sensor. The VR Robot will need to repeat these behaviors until the Down Eye Sensor detects the color red. First, remove the [Forever] block.
- Add a [Repeat until] block.
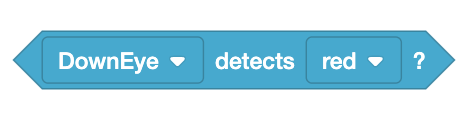
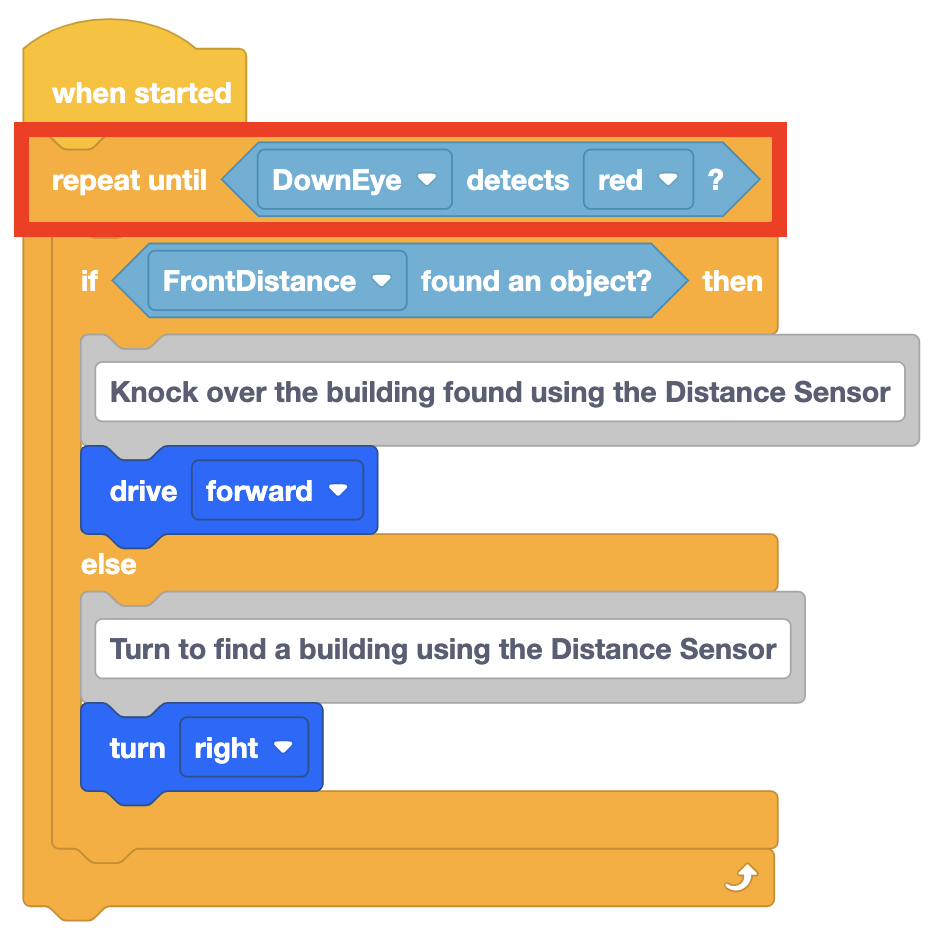
- Add a <Color sensing> block inside the [Repeat until] block and set the parameters to ‘DownEye’ detects ‘red.’
A [Repeat until] block is used instead of a [Wait until] block in this project. This is because a [Wait until] block is a waiting block that will pause the flow of the project until the condition is met. If a [Wait until] block is used, the [If then else] block would not be executed until the condition of the [Wait until] is met and the [If then else] block would only be executed once.
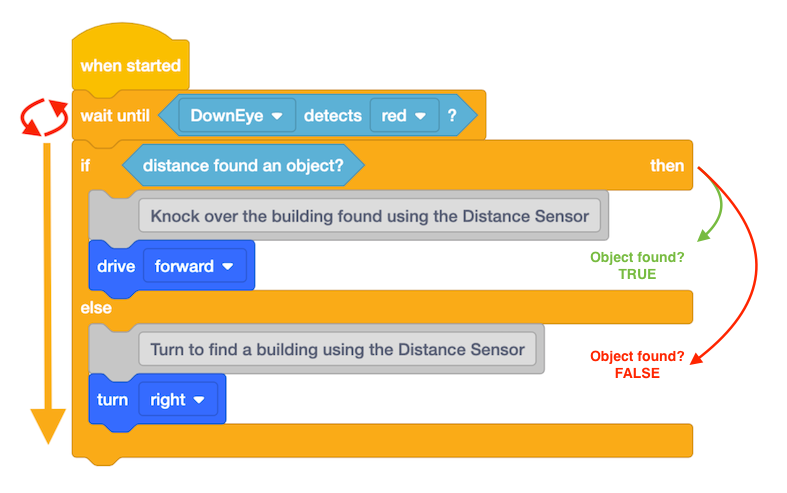
By using a [Repeat until] block, the [If then else] condition is constantly being checked and executed.

- Add a comment to note the purpose of using the [Repeat until] block.

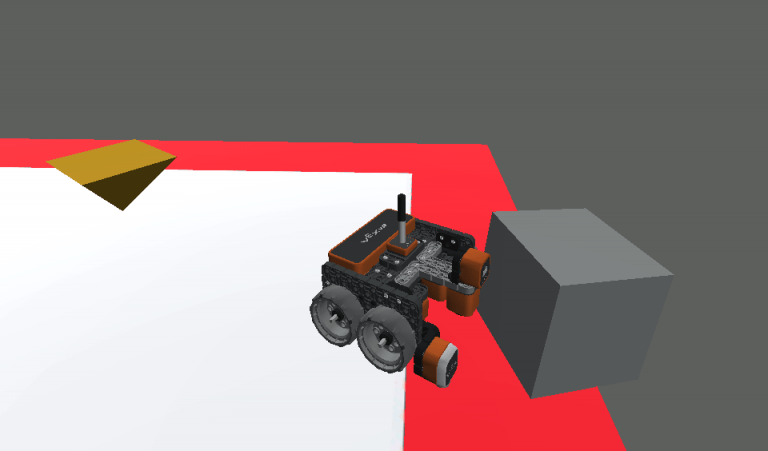
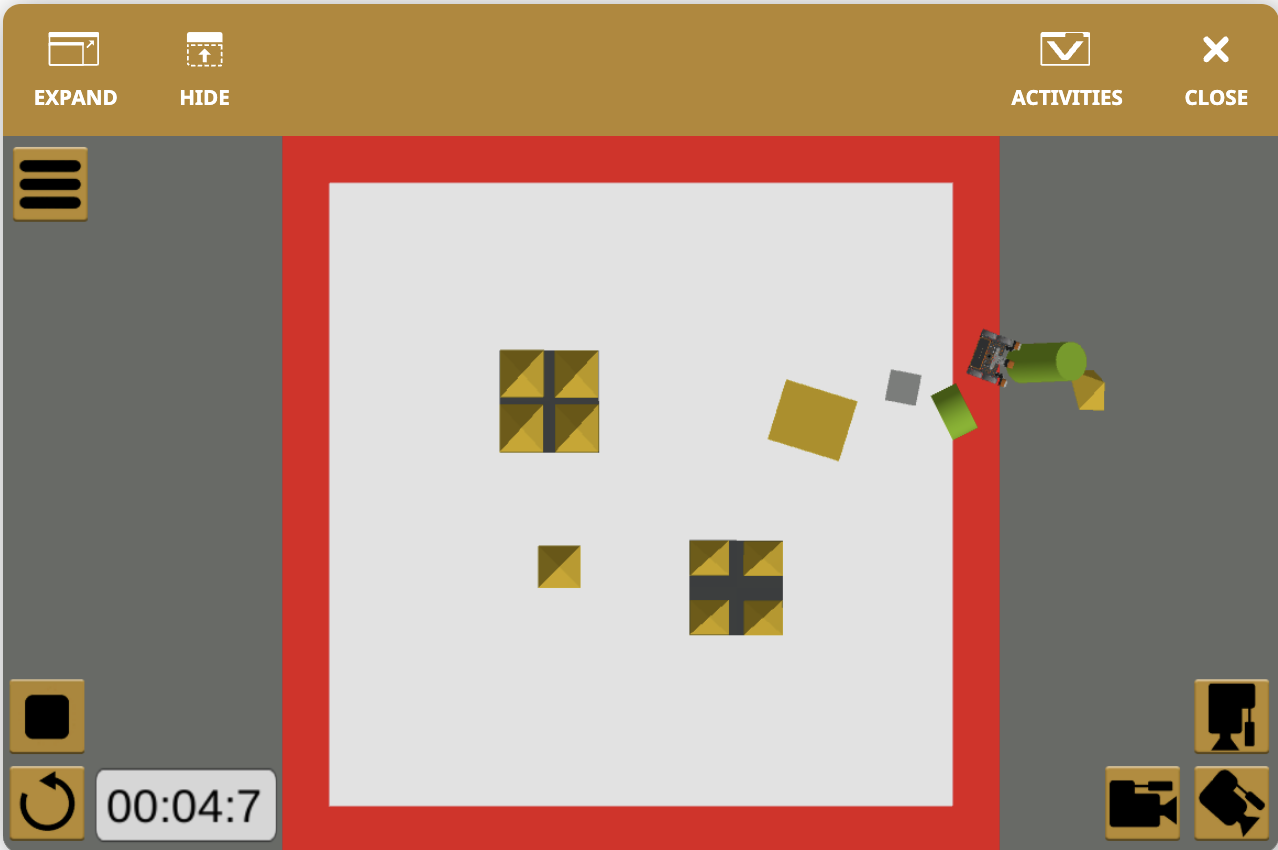
- Open the Dynamic Castle Crasher Playground and run the project.
-
When this project is run, the VR Robot will drive toward a detected object and turn right otherwise. However, even though the Down Eye Sensor is looking for the red border, the VR Robot is not told what to do once it detects red, so it continues driving and eventually falls off of the Playground.
Once the condition of the [Repeat until] block is met, the project flow will execute out of the [Repeat until] block.
Select the Next button to continue with the rest of this Lesson.