
In the previous Lesson, you learned about the difference between If then, If then else, and Else if blocks. In this Lesson, you will learn how to apply Else if blocks in a VEXcode project. You will learn about:
- Coding with the Else if block.
By the end of the Lesson, you will be ready to apply your learning to sort and stack Disks in the Putting It All Together Activity.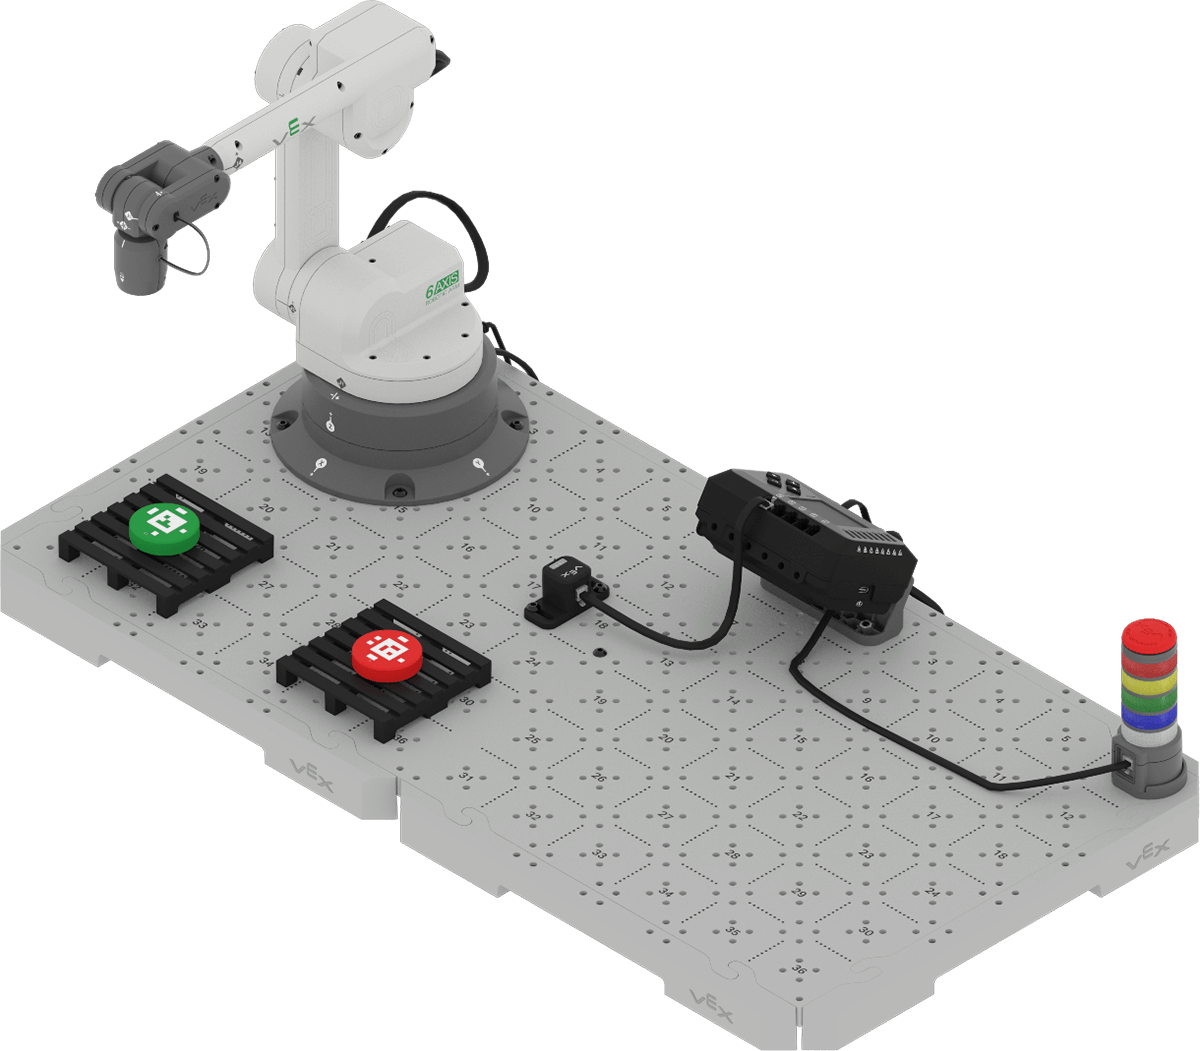
Building the Project with the Else if Block
As discussed previously, the Else if block enables you to check multiple conditions within the same block.

Each of the conditions in this block will be checked sequentially, only if the preceding condition reports as false. If all the Boolean conditions for the else if branches are false, the blocks inside of else section will be run.
Let's build the project to sort Disks by color to make it easier to understand the block.
Open your Unit 3 Lesson 2 Activity project in VEXcode. Rename it to Unit 3 Lesson 3 and save it to your device.

Remove both of the If then blocks from your project. Right-click on each block and select Delete block from the Context Menu, as shown in the video here.
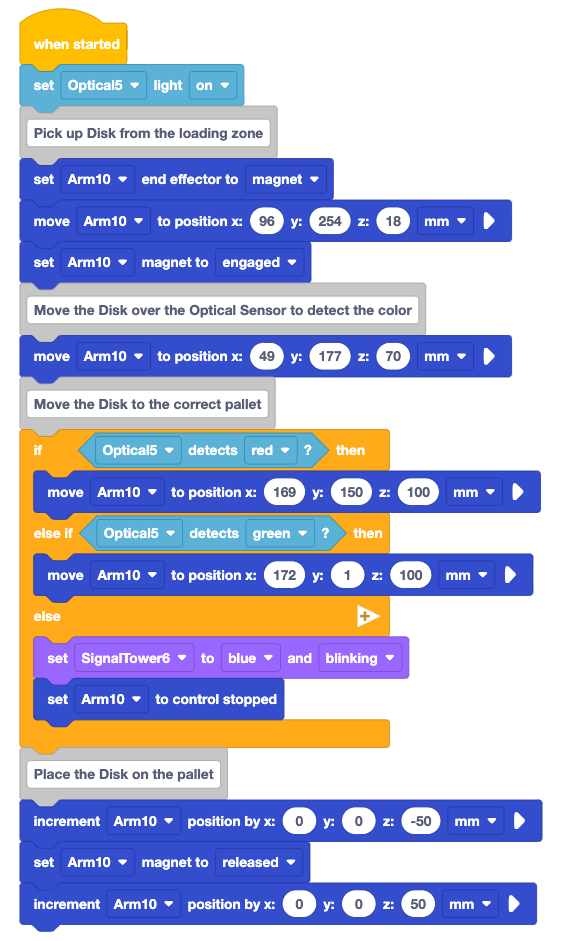
Add an Else if block below the Move the Disk to the correct pallet comment.
The video here shows the Else if block being dragged from the Toolbox into the project in the same space where the two If then blocks were previously located.
Add the Optical detects color block into the hexagonal space in the if branch of the block, as shown in the video here. Be sure the parameter is set to red.
Add a Move to position block inside the if branch of the C block, as shown in the video here. Set the parameters to the x, y-coordinates of the position over the red pallet. Leave the z-coordinate at 100, so that the 6-Axis Arm is positioned above the pallet.
Be sure to use the coordinates you recorded in your engineering notebook, as those shown in the example may differ from your own.
Add an Optical detects color block to the hexagonal space in the else if branch of the block, as shown in the video here. Set the parameter to green.
Add a Move to position block inside the else if branch of the C block, as shown in the video here. Set the x and y-parameters to the coordinates of the position over the green pallet. Leave the z-parameter at 100, so that the 6-Axis Arm is positioned above the pallet.
Be sure to use the coordinates you recorded in your engineering notebook, as those shown in the example may differ from your own.
Add a Set signal tower block inside the else branch of the C block, as shown in the video here. Set the parameters to blue and blinking using the second and third parameter dropdowns.
This will signal the need for human intervention, should neither of the above conditions be met.
Add an Enable 6-Axis Arm Control Stop block beneath the Set signal tower block as shown in the video here. This will trigger the controlled stop behaviors in the event of an object that is not green or red.
Read the code and predict what the 6-Axis Arm will do when the project is run.
Record your prediction in your engineering notebook.
Place a red Disk on the loading zone at Brain Tile location 19. Be sure the Brain is connected to VEXcode, and download the project.

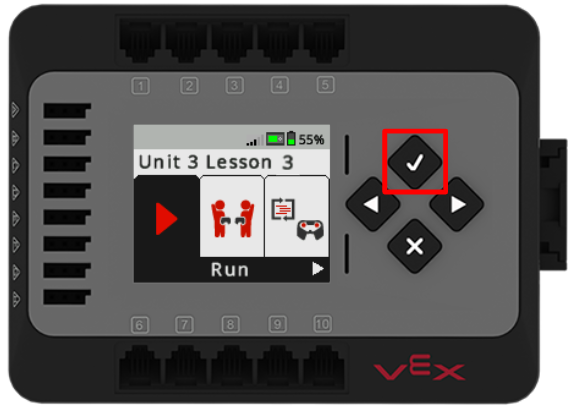
Run the project to test it.
Observe the behavior of the 6-Axis Arm as the project runs.
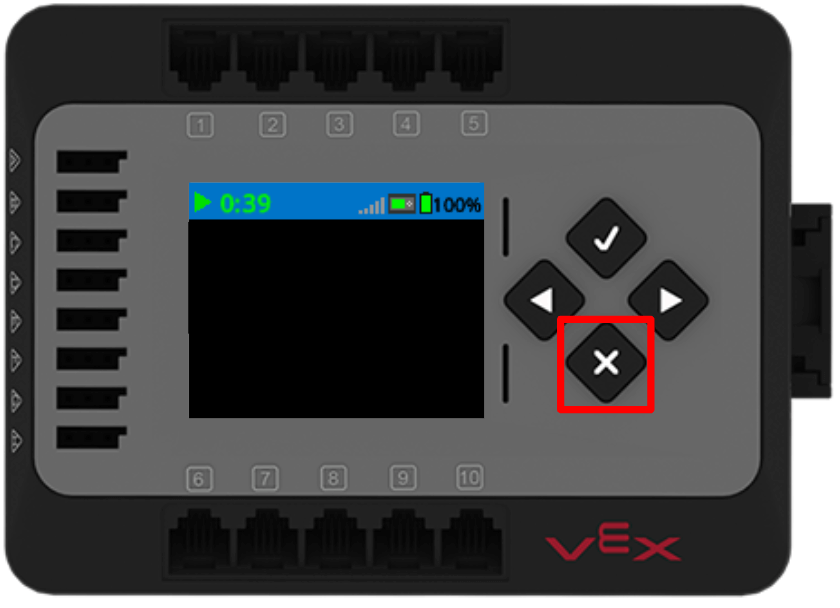
Stop the project when the 6-Axis Arm has finished moving. Record your observations in your engineering notebook.
Did the 6-Axis Arm move the red Disk as you predicted? Why or why not?
Run the project a second time, with a green Disk placed in the loading zone. Does it sort the Disk as intended? Why or why not?
For Your Information
You can also test the project using either an empty loading zone, or a Cube, in order to observe the behavior of the 6-Axis Arm when neither red nor green is detected. Note that when the controlled stop is triggered, the project needs to be stopped before you can proceed.
In this video, you can see the 6-Axis Arm move to pick up a blue Cube and place it over the Optical Sensor. Once detected, the 6-Axis Arm stops moving and the Signal Tower begins blinking blue. The Signal Tower continues to blink blue until someone stops the project on the Brain, then all lights stop.
For Your Information
The Else if block can be expanded to include additional conditions within the same block. To add another else if condition, click on the + on the else line. This will add a new else if condition to the bottom of the current list. To remove an else if condition, click on the – on the else line. This will remove the last else if condition line, but will not delete the blocks in the condition.
This video here shows two additional else if conditions being added with the + button, then removed with the - button.
Reviewing the Project
Let's review the project flow with the Else if block. This project follows the same logic as the nested If then else blocks.
If red is detected by the Optical Sensor, the condition of the if branch reports as true, and the block inside that branch will run. The red Disk will be moved over the red pallet. The project then exits the Else if block, moving on to the next block in the stack, and releasing the Disk onto the pallet. 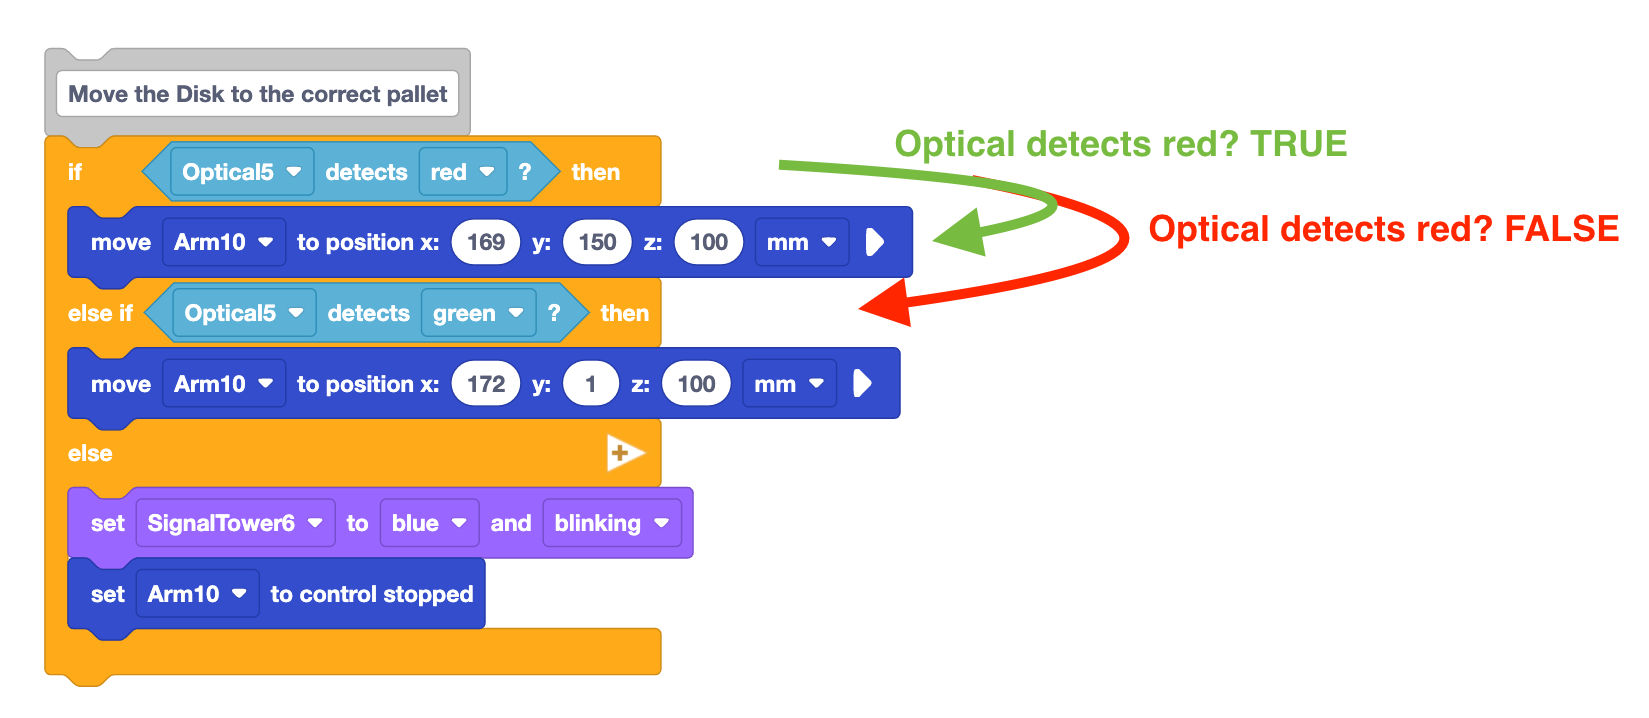
If green is detected by the Optical Sensor, the condition of if branch reports as false, so the condition of the else if branch is checked. The condition of the else if branch reports as true, so the block inside of that branch will run. The green Disk will be moved over the green pallet. The project then exits the Else if block, moving on to the next block in the stack, and releasing the Disk onto the pallet. 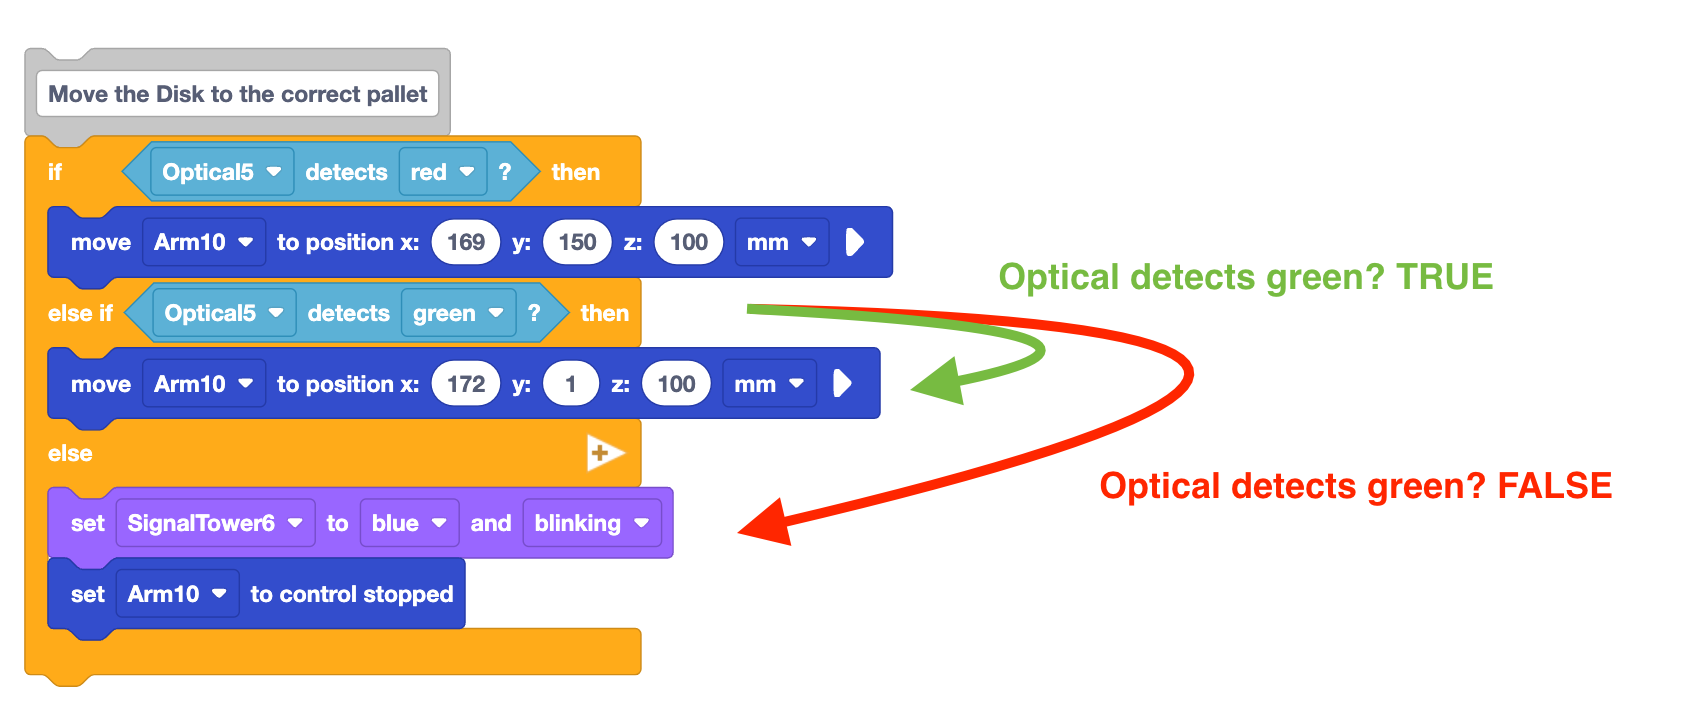
If neither red nor green is detected by the Optical Sensor, both of the conditions report as false, so the blocks in the else branch will run. This would cause the Signal Tower to communicate that human intervention is needed, and trigger a controlled stop of the 6-Axis Arm. Because the controlled stop has been triggered, the project stops and does not move on to the next block in the stack.
Else if can be viewed as a cascading list of questions. Here the questions are as follows:
- Is the object red?
- Yes? Move over the red pallet and stop asking questions.
- No? Ask another question.
- Is the object green?
- Yes? Move over the green pallet and stop asking questions.
- No? Then the object is not red or green. Change the Signal Tower colors and trigger a controlled stop.
- Is the object green?
Notice that the questions are only asked if the previous question is answered negatively. This is the same pattern that happens in the Else if block.
Check Your Understanding
Before moving on to the next Lesson, ensure that you understand the concepts in this Lesson by answering the following questions in your engineering notebook.
Check Your Understanding questions > (Google Doc / .docx / .pdf )
Select Next > to move on to the Putting It All Together Activity.