Design, Develop, and Iterate on your Project
In this section, you will use the projects that you build in the Play section to create a project that can manipulate both the arm and the claw.
Recall the ArmUpDown2 and the ClawUpDown projects.

We want to somehow incorporate both of these projects into the same project. However, there is only one Brain Up button and one Brain Down button.
Thus, we need a button to act as a "switcher" between the arm and claw.
Use the following outline of blocks to help you build your project:

Answer the following questions in your engineering notebook as you plan your project:
- What do you want to program the robot to do? Explain with details.
- How many conditions will your project need to check in the [If then else] blocks?
Hint: Use the Brain Check button as the "switcher" between the arm and the claw. Thus, if the Brain Check button is pressed and held, the arm is controlled using the Brain Up and Down buttons. If the Brain Check Button is released, the claw is controlled using the Brain Up and Down buttons.
Follow the steps below as you create your project:
![]() Teacher Tips
Teacher Tips
-
Before moving on to the next step of programming, have students review and evaluate their pseudocode by following the steps in the context of pressing the brain's buttons. Click here (Google / .docx / .pdf) for an example of what the pseudocode might look like for this challenge. You can download a pseudocode rubric here (Google / .docx / .pdf).
-
Remind students that they can use the Help feature inside of VEXcode IQ to learn more about any block.
![]() Teacher Toolbox
Teacher Toolbox
-
The objective is to add additional programming so that the Clawbot opens or closes the claw at the press of a button(s) on the Clawbot's brain (i.e., one button or pairing of buttons for opening the claw and another for closing the claw). The programming for raising and lowering the Clawbot's arm by pressing buttons on the brain should have already been built during the Play section.
-
This question is intended to get the students thinking about the conditionals needed inside the [If then else] blocks. The User Interface will require five conditions to be checked. The first condition checked is if the Check button is pressed. If the Check button is pressed, the next conditions to check is if the Up button is pressed (Condition 2) or if the Down button is pressed (Condition 3). If the Check button is not pressed, the project moves down to check if only the Up button is pressed (Condition 4) or if the Down button is pressed (Condition 5).
-
Plan out the conditions that your project needs to check using drawings and pseudocode.
-
Use the pseudocode you created to develop your project.
-
Test your project often and iterate on it using what you learned from your testing.
-
What could you add to your project to better control the Claw and Arm Motors? Explain with details.
-
Share your final project with your teacher.
![]() Teacher Tips
Teacher Tips
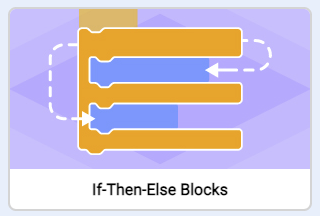
Encourage students who are having trouble programming to review the If Then Else Blocks tutorial video in VEXcode IQ. They should also use their ArmUpDown2 and the ClawUpDown projects from Play as the basis for this new project. Students have been provided with a list of potentially helpful sources to use as references.
If you're having trouble getting started, review the following in VEXcode IQ Blocks:
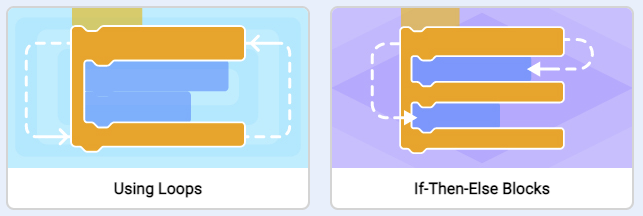
- If-Then-Else Blocks or Using Loops tutorial videos
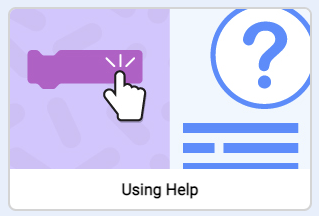
- Using Help tutorial video
- Previous versions of your project (ArmUpDown2 or ClawUpDown)

![]() Extend Your Learning
Extend Your Learning
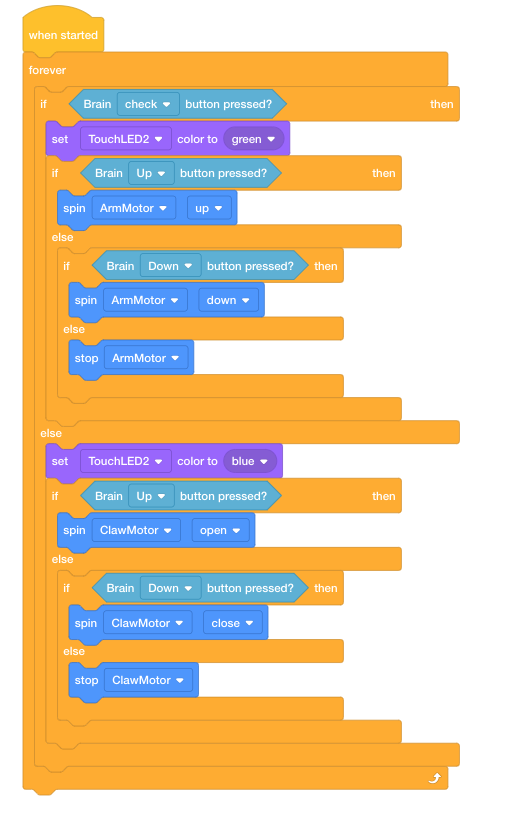
Ask students to incorporate the Touch LED or have the robot play a sound when the buttons are switched between the arm and claw. The students could also have the Touch LED light up green when the arm is being controlled and light up blue when the claw is being controlled.
The following is an example solution: