
The Grabber's Linkages
Step 1: Examine the Grabber

In Step 2 of the Grabber build, you created a linkage by attaching two beams together at the center using a pin. This created a scissor linkage. That should be easy to remember when you think of how the sides of scissors move around a center point.
- Build Expert: hold the ends of the bottom two beams in each of your hands. Close and open the Grabber by moving your hands apart and back together again, similar to using a single pair of scissors but with two hands.
- Recorder: sketch and explain in your engineering notebook how the Build Expert's movements compare to the movements of the Grabber. Compare the direction of each beam's movements and identify a pattern.
Hint: Look at how the pins affect the beams' movements.
Step 2: Consider Extending the Grabber
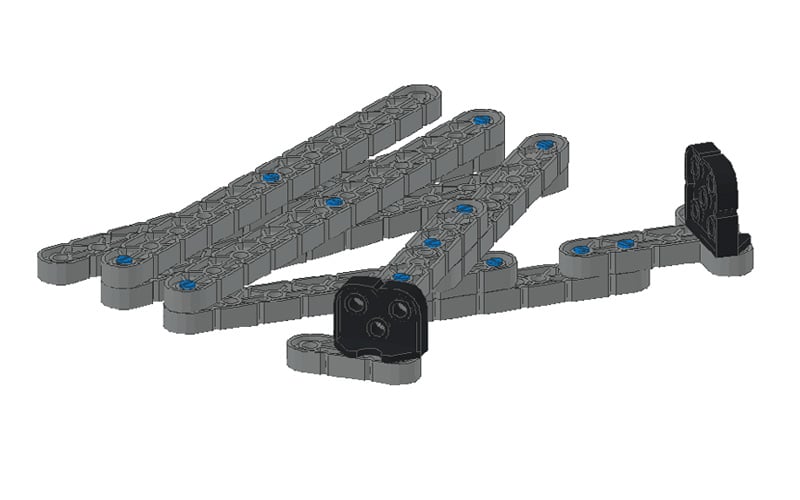
The Grabber has three scissor linkages. Adding more scissor linkages would allow the grabber to lift or extend further.
- Build Expert: place the Grabber down so that it is halfway opened. Consider how much longer the Grabber would be if two more scissor linkages were added to the build. You can use the length of the two bottom beams to estimate.
- Recorder: sketch what the extended Grabber build would look like. Explain why adding two more scissor linkages might not be a good design plan. What could change about how the Grabber works if two more linkages are added to the build?