
Drawing with Your Robot
| Quantity | Materials Needed |
|---|---|
| 1 |
VEX V5 Classroom Starter Kit (with up-to-date firmware) |
| 1 |
Large sheet of paper/dry erase board (for drawing) |
| 1 |
Marker |
| 1 |
Roll of tape |
| 1 |
Engineering Notebook |
![]() Teacher Tips
Teacher Tips
Keep in mind that it is highly likely that students will accidentally draw off of the paper/whiteboard and onto the floor with the robot. Take precautions to ensure that the markers will not damage or permanently mark the floor.
Step 1: Preparing Your Canvas
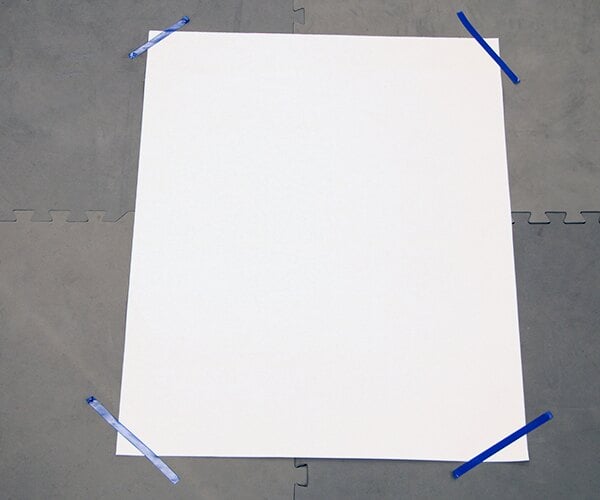
Lay a large sheet of paper or a poster board flat on the ground in an open area. Use tape to secure each side of the paper to the ground to prevent it from sliding. You will be driving your robot around on top of this surface to draw, so make sure the area around the canvas is free of obstructions.
Step 2: Adding the Marker to Your Robot
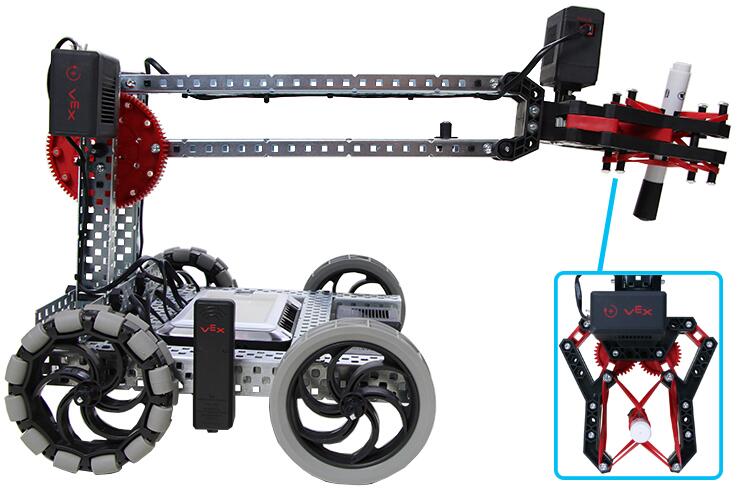
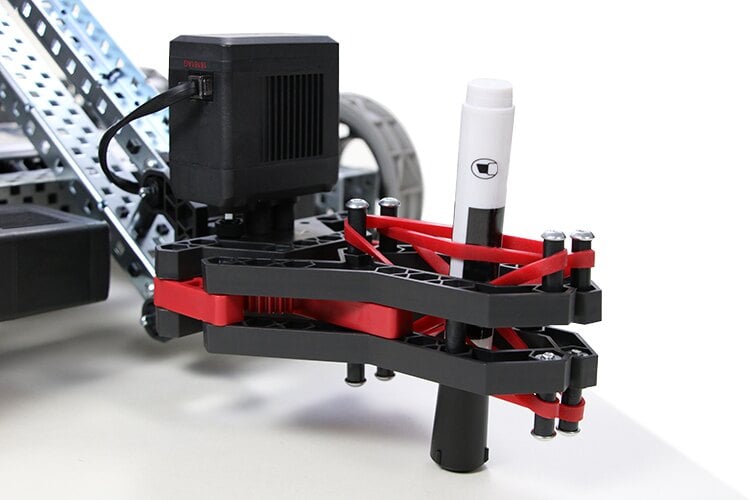
Start by lifting the robot arm up so that it is parallel to the ground. You can prop the arm up with a box if necessary. Next, completely close the claw. Once the claw is closed, weave a capped marker into the claw between each set of the rubber bands as shown in the image. The drawing end of the capped marker should be facing the floor.
Step 3: Preparing Your Robot
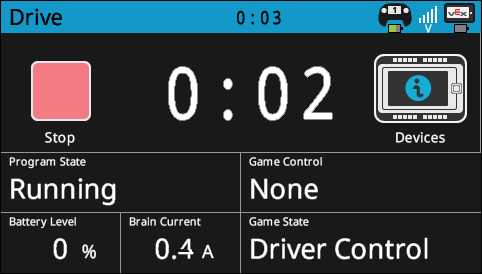
Power on the V5 Robot Brain. Make sure the V5 Robot Brain is paired with the V5 Controller and run the Drive program so that you’re able to wirelessly drive your robot with the controller.
Step 4: Practicing Movement
Lower the robot arm so that the cap of the marker is touching the ground. Using the V5 Controller, drive your robot around while raising and lowering the arm to get a feel for how you will draw with the robot.
Respond to the questions below in your engineering notebook:
- What strategies will you use while drawing to ensure precision? Explain with details.
- What problems might you encounter while drawing with the robot?
- How do you plan on overcoming the above problems? Explain with details.
![]() Teacher Toolbox
Teacher Toolbox
-
Answers will vary but should include raising and lowering the marker as the robot is driving, driving the robot at a certain speed (less than 100%), or utilizing the space outside of the drawing space to reorient the robot more accurately.
-
Answers will vary but should include the marker falling out, drawing a wrong line, drawing on the floor by accident, or drawing tight curves.
-
Answers to this question will be similar to the answers to the first question.
![]() Teacher Tips
Teacher Tips
Discourage students from creating sketches that have tight curves in them since such drawings are harder to do with the robot.
Step 5: Planning Your Drawing
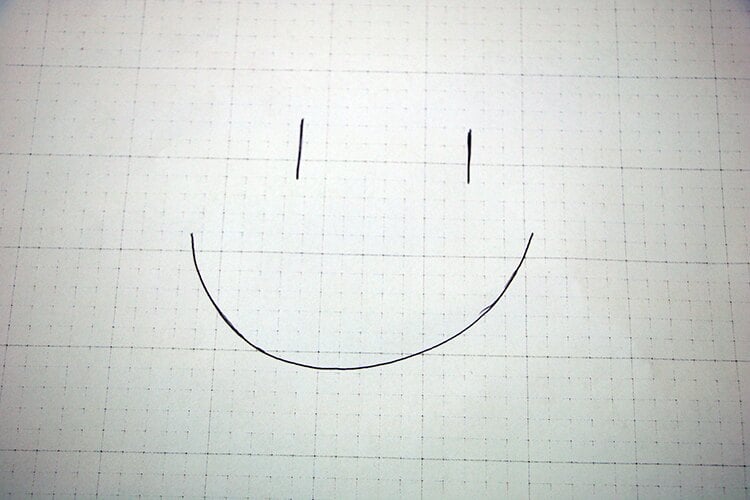
Draw a simple sketch by hand that you would like to replicate using the robot in your engineering notebook. Keep the sketch as simple as possible. After finishing the sketch, choose a location on the sketch that you will use as the starting point for your robot.
Step 6: Drawing with Your Robot
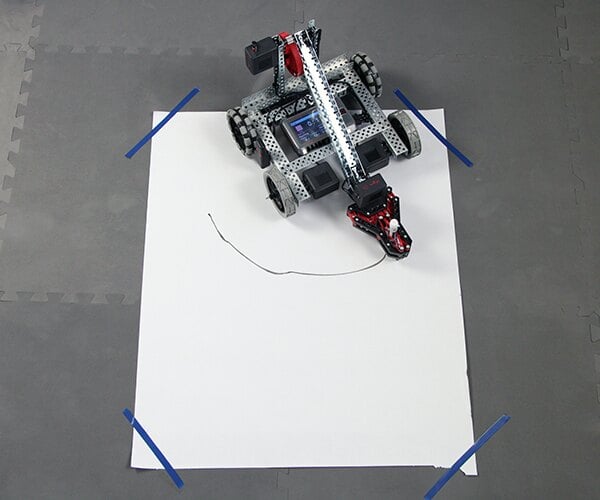
Raise the robot arm and remove the cap of the marker in its claw. Position the robot on your canvas so that the drawing end of the marker is in the location where you would like to start drawing. Using the V5 Controller, drive the robot around using the marker to recreate your sketch.
Respond to the questions below in your engineering notebook:
- Did the strategy(ies) you implemented for drawing with the robot work? Explain with details.
- What problems did you encounter when drawing with the robot? Explain with details.
- What would you change about the design of the robot to improve its ability to draw? Explain with details and sketches.
![]() Teacher Toolbox
-
Answers
Teacher Toolbox
-
Answers
-
Answers should closely resemble the answers for questions one and three in Step 4.
-
Answers should include what students wrote for question two in Step 4 but with added difficulty.
-
Answers will vary but may include changing the claw so that it grips the marker more securely, making the width of the robot thinner so that it can create tighter curved lines, or changing the tires to help the robot more easily maneuver around the floor.