Challenge
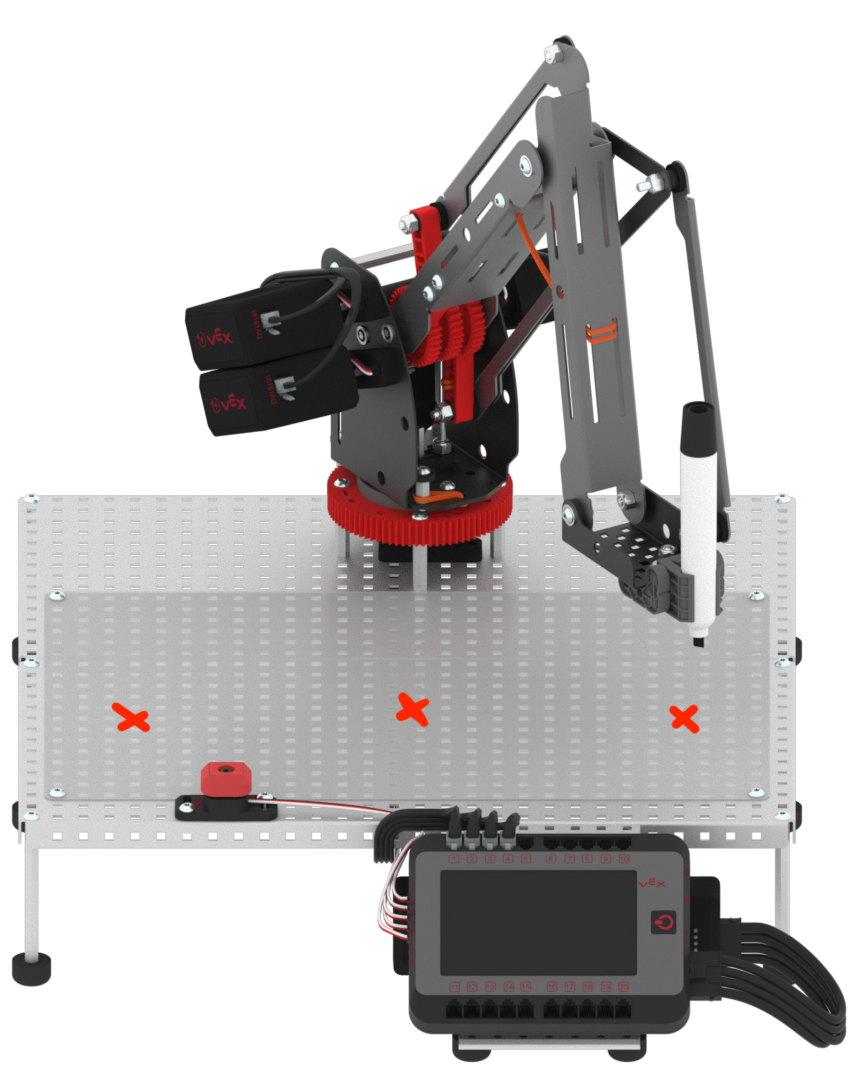
Previously in this Lab you have explored joint and linear movement. In this challenge, you will continue to compare the two types of movement by drawing more points on the whiteboard using the V5 Workcell.

Follow these steps to complete the challenge:
- Use the 'Manual Movement' example project to find the location of three new points on the Workcell. Record all three (x, y, z) values in your engineering notebook.
- Follow the steps on the Movement Example page in the Play section to create and download this project.
- Create a project in VEXcode V5 to move the arm mounted on the Workcell to all three points using linear motion.
- Note that this is the same as the Play activity, just adding an additional point.
- Ensure that your project has the arm mounted on the Workcell drawing the points in the correct order. The arm mounted on the Workcell should draw from point 1 on the right side of the Brain, then to the center point, and finally to the third point to the left of the Brain.
- For the safety of users and the Workcell, the dry-erase marker must remain over the whiteboard at all times.
- Run the project on the Workcell.
- Do not erase the whiteboard. This will be used to compare the two types of motion.
- Now, detach the blocks used for linear movement from the stack, and add [Joint move] blocks to the stack to connect the points 1 and 2 using joint motion.
- Run the project to view the arm mounted on the Workcell connect points 1 and 2 using joint motion.
- Erase the whiteboard.
- Combine the [Joint move] and [Linear move] blocks together to create one fluid project with both movements. This will be used to compare the two types of motion.
- Run the combined project to view the arm mounted on the Workcell’s linear and joint movements.