
Sort Colors Example
Now that you have recorded the locations of Points 1-5, you will open the ‘Lab 7- Sort Disk’ project from the previous Lab. The ‘Lab 7- Sort Disk’ project utilizes [If then else] blocks. We will restructure and rename the project to use [If then] blocks to determine how the arm on the Workcell should move once it detects a certain color using the Optical Sensor.
In VEXcode V5, follow the steps in this video to open the 'Lab 7- Sort Disk' project, select 'Save As,' and name the new project as 'Lab 8- Sort Colors.'

For Your Information
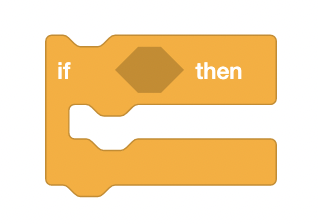
The [If then] block is a block that is based off of conditionals.
- If the condition of the [If then] block is reported as true, the blocks inside of the [If then] block will run.
- If the condition of the [If then] block is reported as false, the blocks inside of the [If then] block will be skipped.
Follow the steps in this video to add a {When brain screen} block and two [If then] blocks to the project.
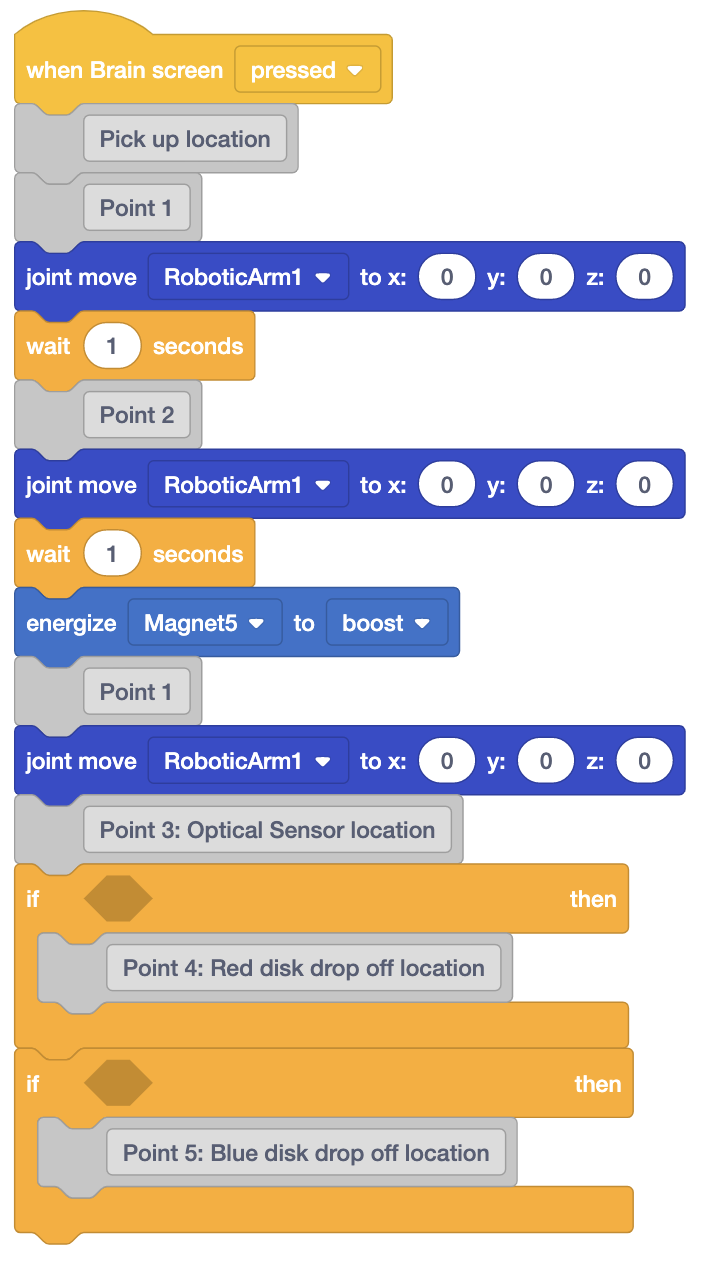
Once you have added a {When brain screen} block and two [If then] blocks to the project, add additional blocks to create the stack of blocks shown in this image.
Follow the steps in this video to delete the stack of [Print] blocks that prints the colored buttons on the Brain’s screen.
Also delete the stack of blocks used from the previous project to pick up a red disk using the buttons on the Brain's screen. This stack of blocks is no longer needed now that you have created the new stack of [If then] blocks that will trigger the arm's movements based on pressing the Brain's screen.
For Your Information
The V5 Optical Sensor mounted on the Workcell is a sensor used to detect the color of an object as well as if an object is near or far away from the sensor. In this Lab, the Optical Sensor will be used to distinguish the color of disks. For more information on the V5 Optical Sensor, view this article from the Knowledge Base.

Follow the steps in this video to add the Optical Sensor to the robot configuration.
For Your Information
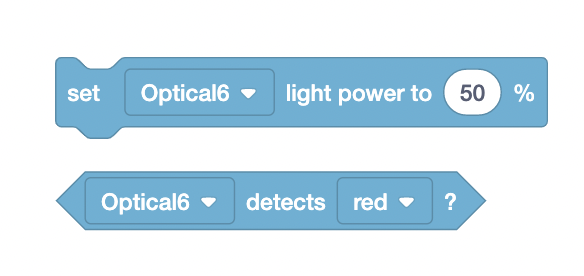
When the Optical Sensor is added to the robot configuration, blocks from the 'Sensing' category appear in the Toolbox. Two of these blocks are the [Set optical light power] block and <Optical detects color> block.
- The [Set optical light power] block will be used to set the power of the light in the Optical Sensor to 100%. This is used to improve the accuracy of the color detection by providing a consistent light source.
- The <Optical detects color> blocks will be used in conjunction with the [If then] blocks to trigger the arm to perform certain behaviors based on the color of the disk that the Optical Sensor detects.
Now that the Optical Sensor has been added to the configuration, follow the steps in this video to add a [Set optical light power] block and <Optical detects color> blocks.