Testing Movement
In this section, you will be introduced to conveyor systems. You will build a project to move one red disk through the conveyor system of the Workcell.
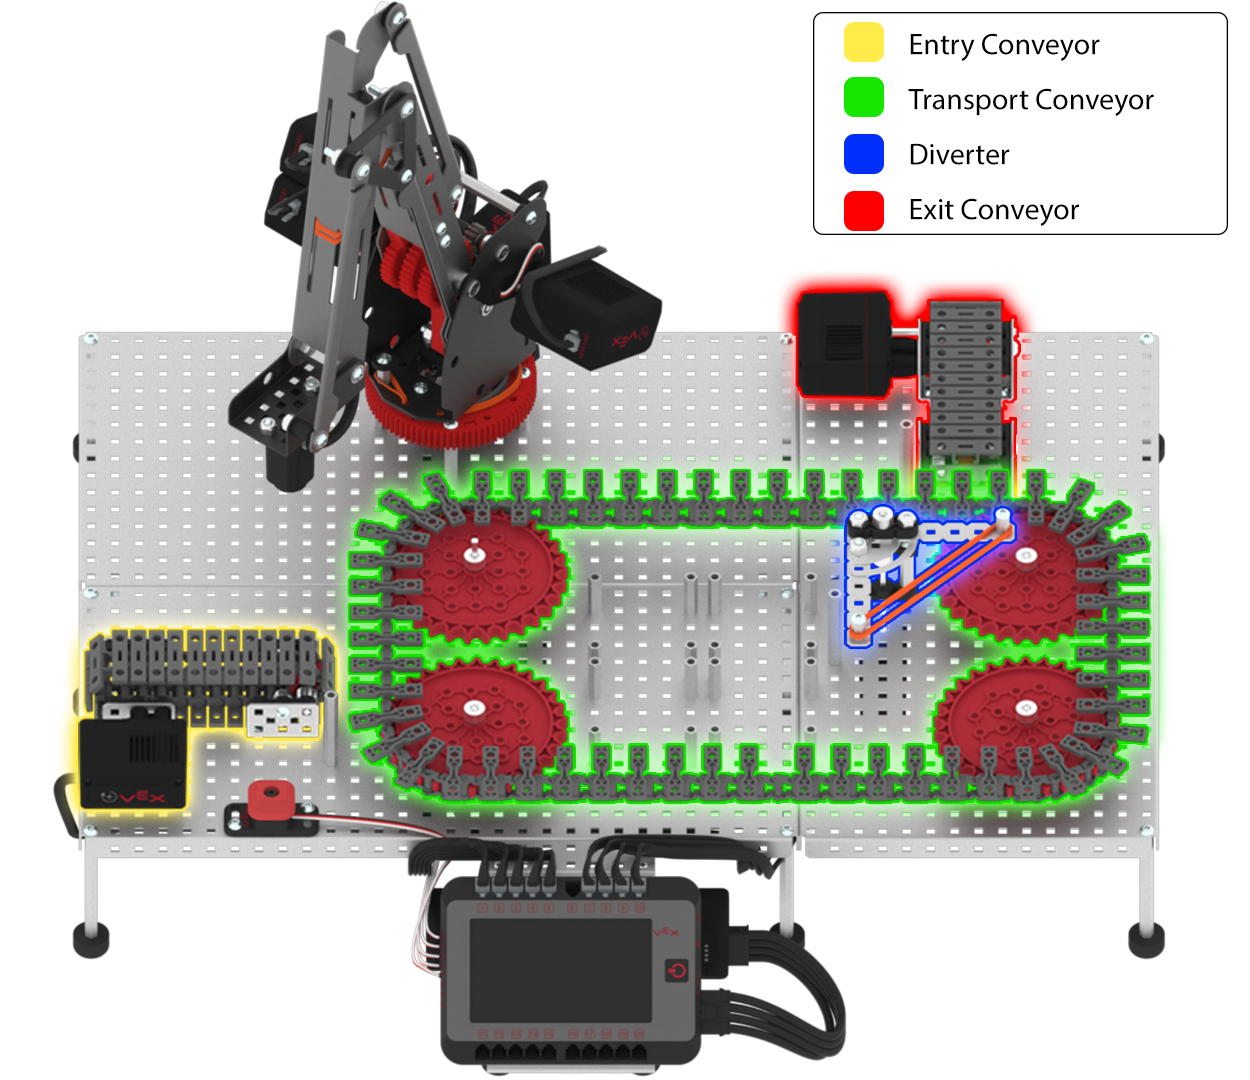
In this Lab, more hardware was added to the Workcell in order to add different conveyors. There are three different conveyors as well as a diverter added to the Workcell. The names of these additions are the following:
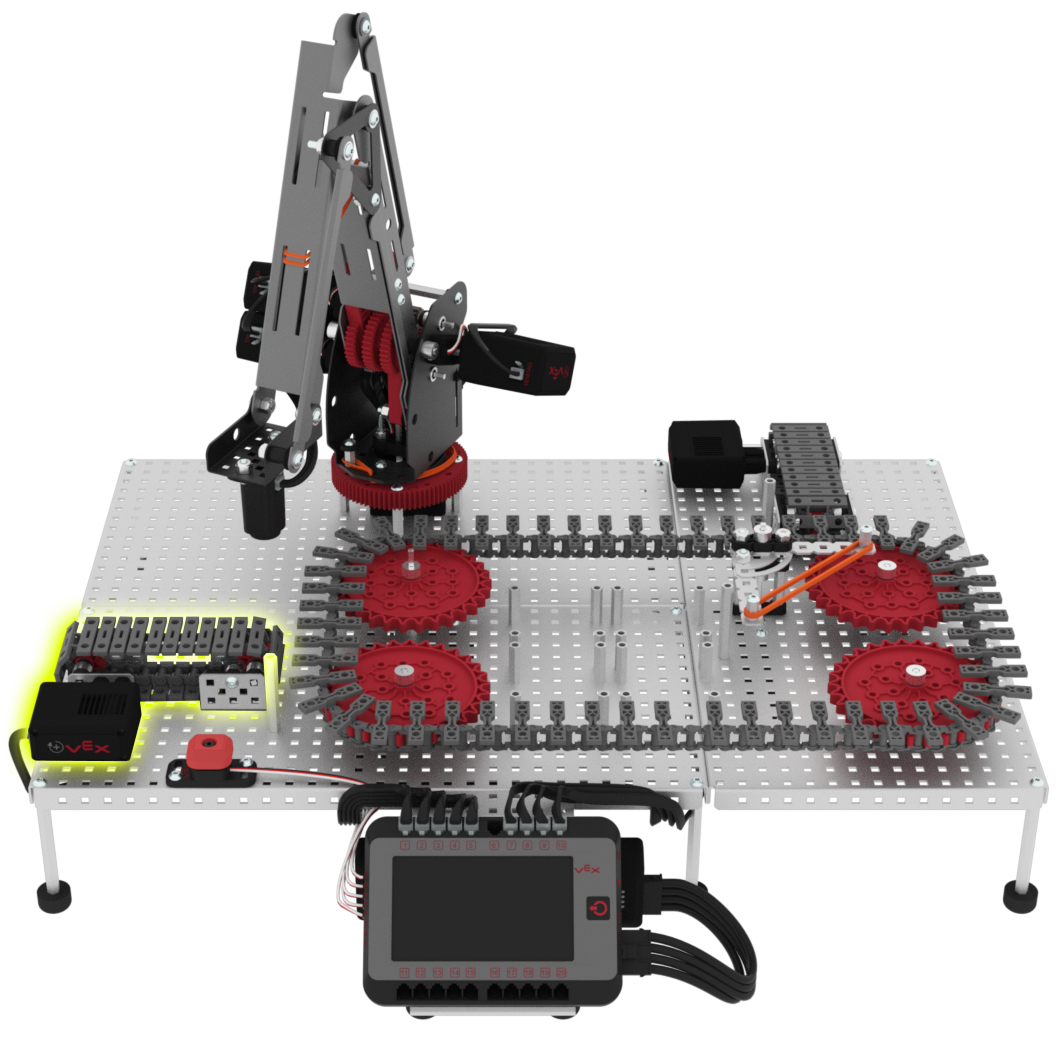
- Entry Conveyor: entry point for disk.
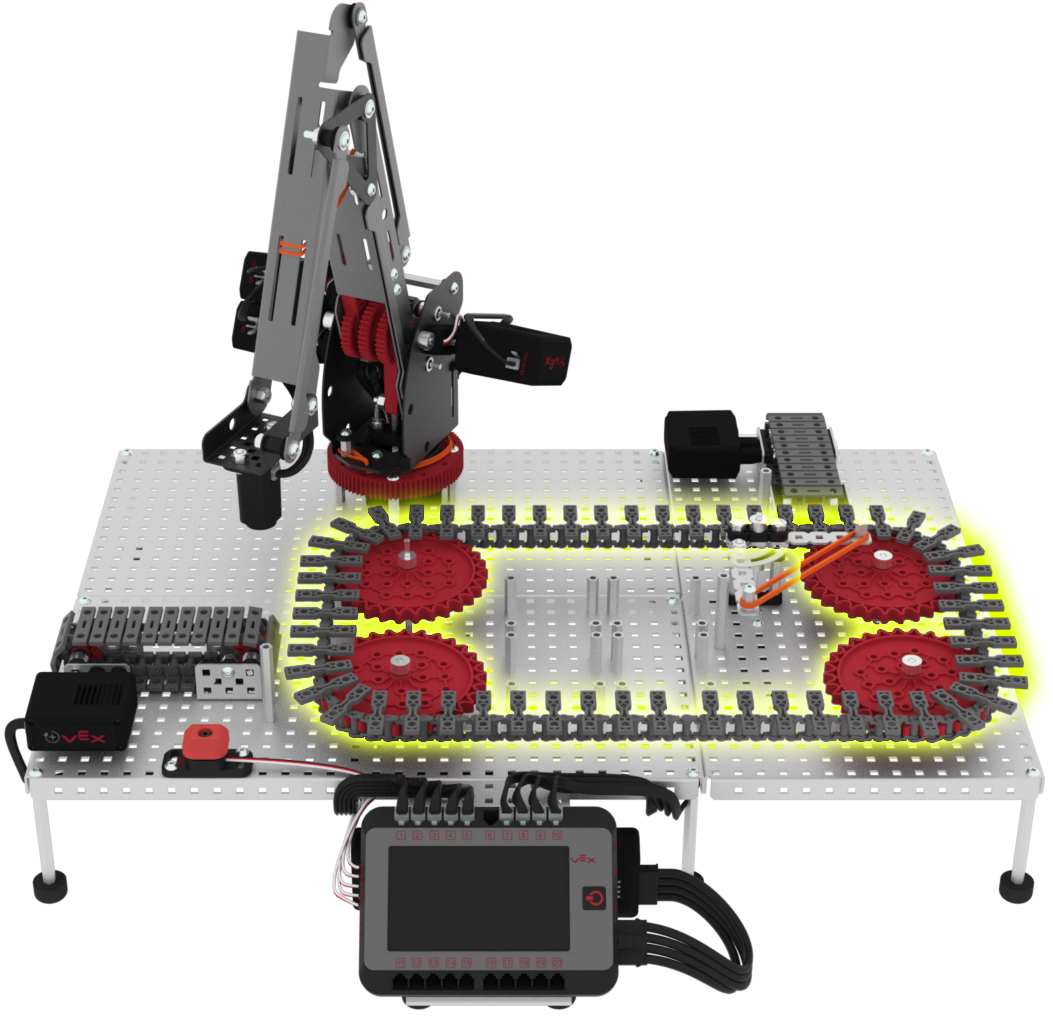
- Transport Conveyor: transports the disk around the conveyor toward the exit.
- Diverter: diverts the disk from the Transport Conveyor onto the Exit Conveyor.
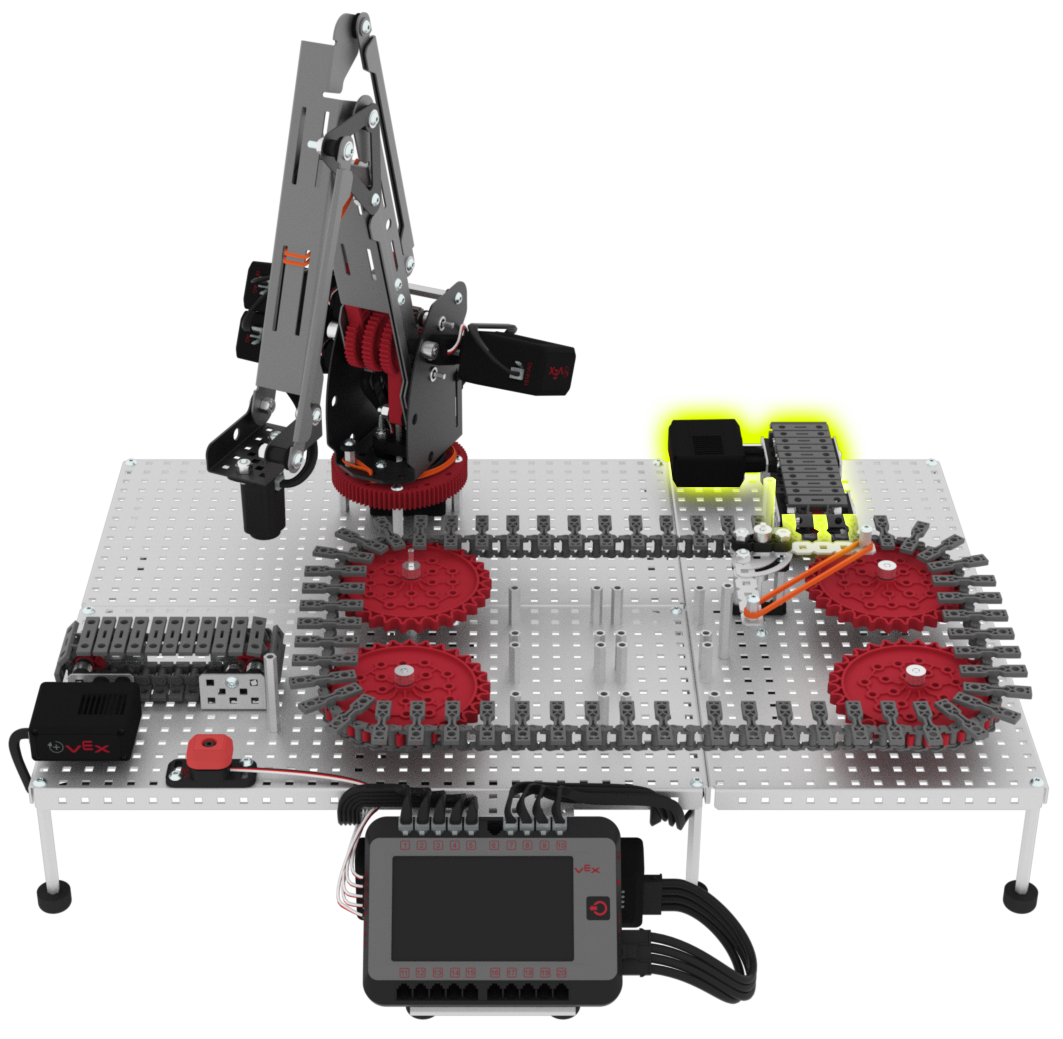
- Exit Conveyor: discards the disk off of the Workcell.

You will be introduced to using blocks from the ‘Motion’ category in VEXcode V5 in your project to control the diverter and different conveyors with their associated motors.
| Quantity | Materials Needed |
|---|---|
| 1 per group |
V5 Workcell |
| 1 per group | |
| 1 per group |
Engineering Notebook |
| 1 per group |
Device to run VEXcode V5 |
| 1 per group |
Micro-USB cable |
| 1 per group |
Colored Disk (1x red) |
In order to code the arm to divert the red disk off of the exit conveyor, you first need to build the 'Lab 9- Conveyors' project. You will test the movement of each of the three conveyors and the diverter. This will give you experience coding individual motors, as well as a visual example of how the conveyors and diverter move on the Workcell.
In VEXcode V5, follow the steps in this video to open the 'Arm Workcell - No Sensors' example project, input your mastering values, name, and then save the project as 'Lab 9- Conveyors.'
Ensure you are using your mastering values, and not the ones displayed in this video.
Follow the steps in this video to add a [Spin], [Wait], and [Stop motor] block to the project.
These blocks will code the entry conveyor to spin forward for a set amount of time before stopping.
Download and run the project. The entry conveyor will spin forward for two seconds before stopping.
Once the entry conveyor has stopped spinning, stop the project.
If the entry conveyor on your Workcell did not spin forward for two seconds and then stop, notify your teacher.

Follow the steps in this video to adjust the parameters of the [Spin], [Wait], and [Stop motor] blocks in the project.
These parameters will code the transport conveyor to spin forward for a set amount of time before stopping.
Download and run the project. The transport conveyor will spin forward for five seconds before stopping.
Once the transport conveyor has stopped spinning, stop the project.
If the transport conveyor on your Workcell did not spin forward for five seconds and then stop, notify your teacher.

Follow the steps in this video to adjust the parameters of the [Spin], [Wait], and [Stop motor] blocks in the project.
These parameters will code the exit conveyor to spin forward for a set amount of time before stopping.
Download and run the project. The exit conveyor will spin forward for two seconds before stopping.
Once the exit conveyor has stopped spinning, stop the project.
If the exit conveyor on your Workcell did not spin forward for two seconds and then stop, notify your teacher.

Follow the steps in this video to remove the blocks to spin the exit conveyor and add [Spin to position] blocks to the project.
These blocks will code the diverter to spin to the 90 degree position and then to the 0 degree position.
Manually move the diverter to the starting position if it is not already, and then download and run the project.
The diverter will spin to the 90 degree position and then to the 0 degree position.
After the diverter has spun to the 90 degree position and then to the 0 degree position, stop the project.
If the diverter on your Workcell did not spin to position, notify your teacher.

