
Spin the Transport Conveyor
Now that the Entry Conveyor has moved the red disk to the Transport Conveyor, the blocks from the ‘Motion’ category need to be added in order to spin the Transport Motor.
-
Repeat steps 18-20 to add [Spin], [Wait] and [Stop] blocks to the ‘Move red disk toward exit’ comment.
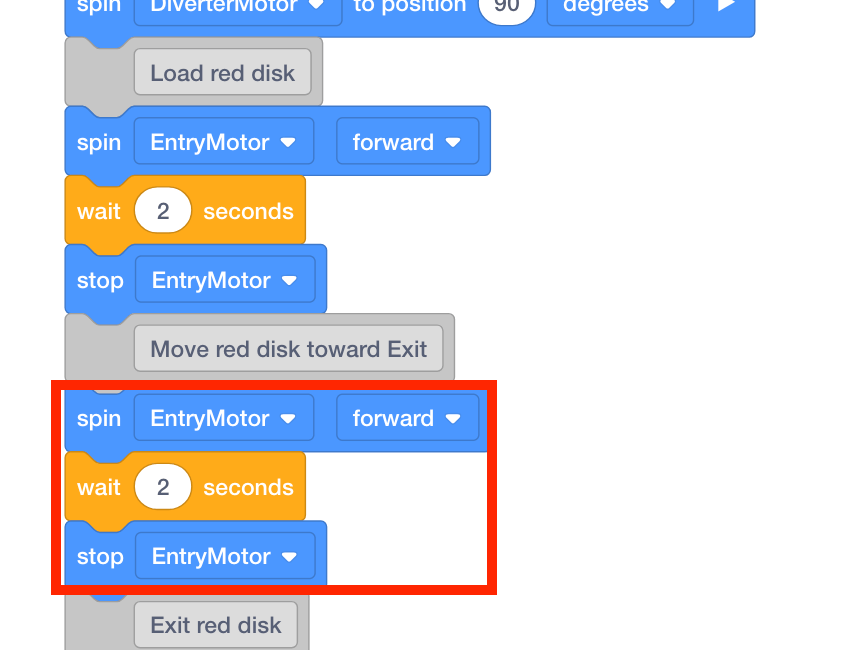
Note: for convenience, the blocks added in steps 18-20 can be duplicated and added to step 25. For more information on how to duplicate blocks, view the Context Menu article from the Knowledge Base.
-
Set the [Spin] and [Stop] blocks’ motor to ‘TransportMotor.’

-
The disk will need to travel along the Transport Conveyor a longer distance than the Entry Conveyor. Thus, the disk will spend more time on the Transport Conveyor. Set the parameter of the [Wait] block to ‘6.’

-
Place a red disk on the Entry Conveyor.
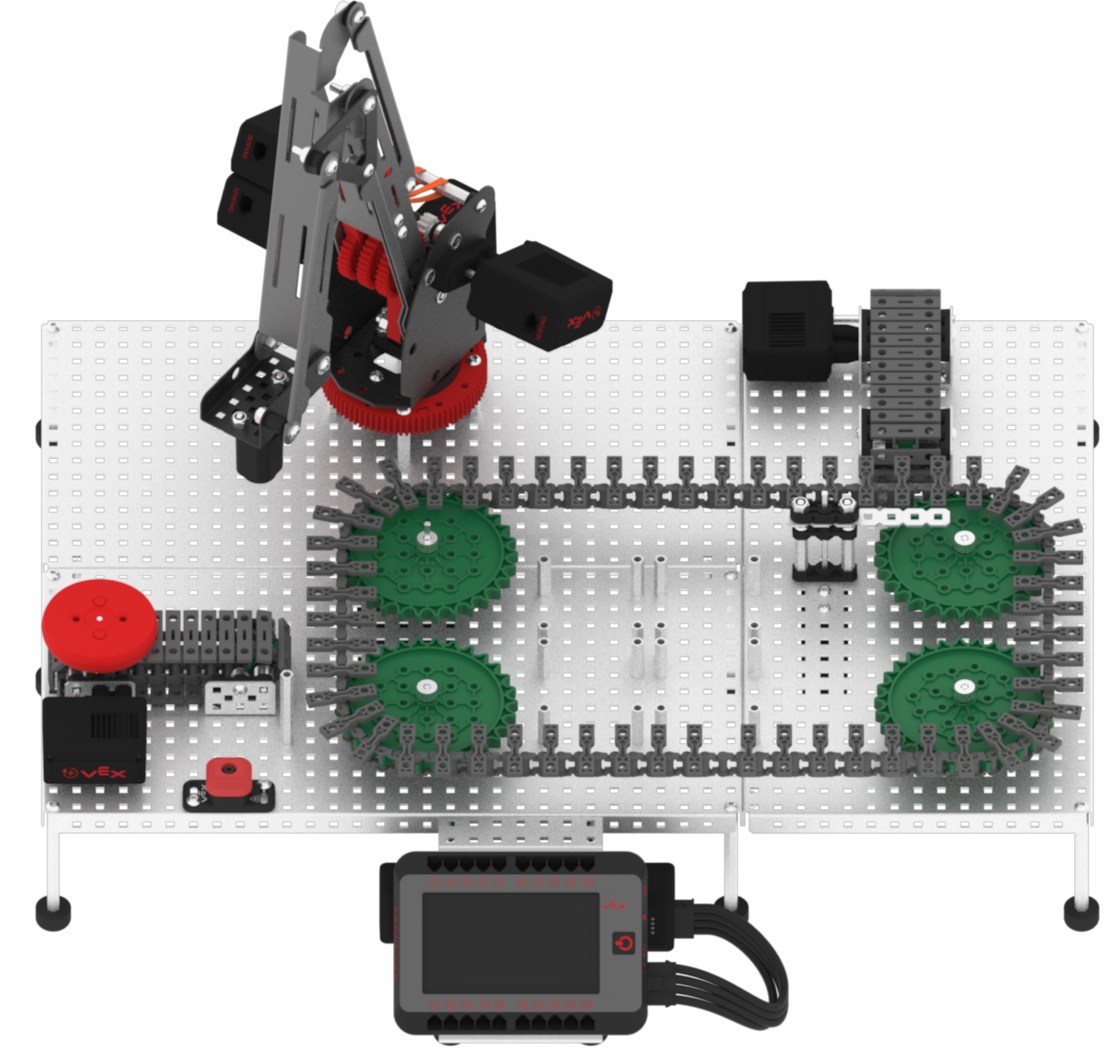
Note: manually move the Diverter back to the starting position if it is not there already.
-
Download and run the project.

-
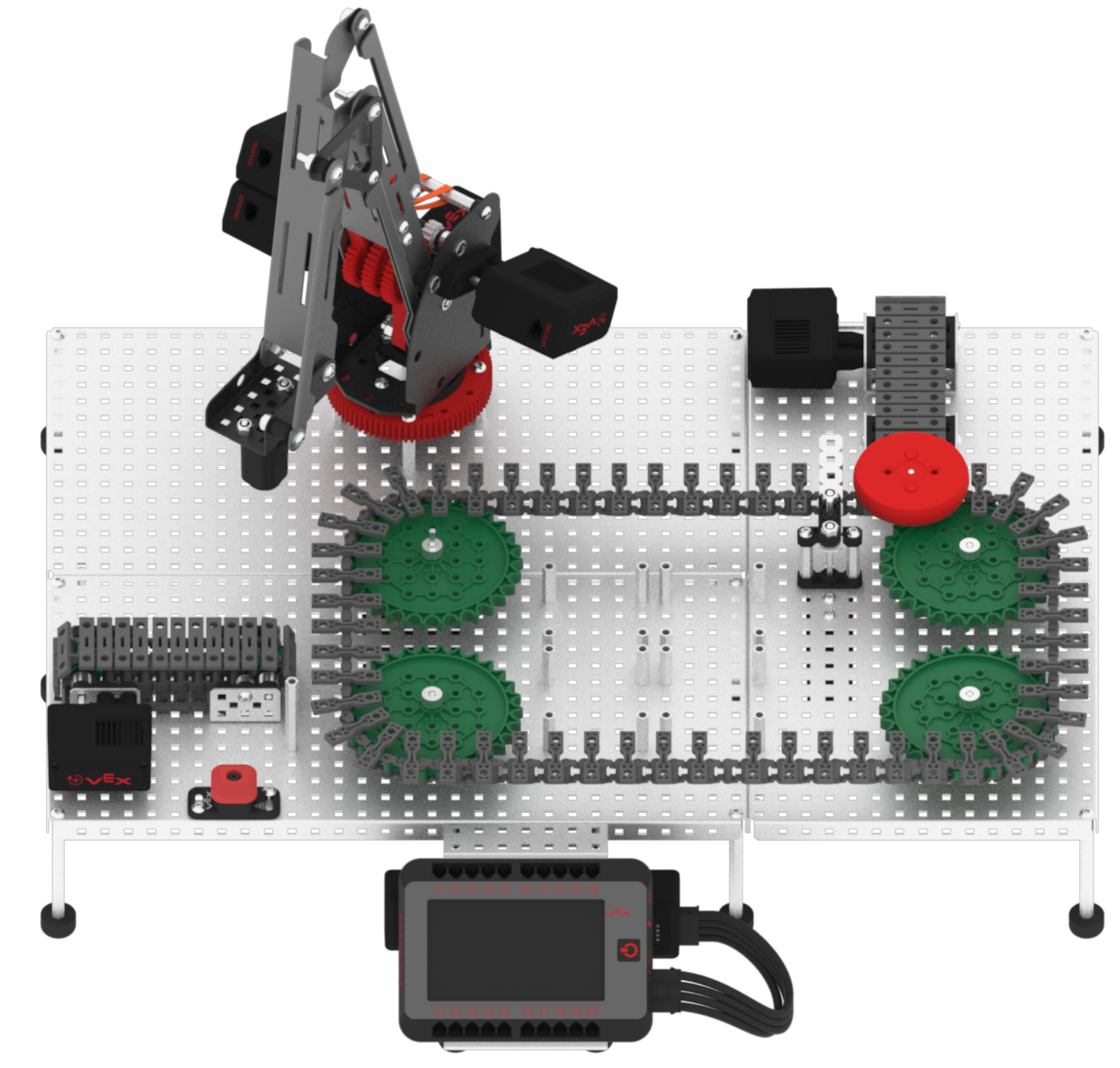
Observe the red disk, acting as a faulty package or product, begin at the Entry Conveyor, travel through the Transport Conveyor, and stop right before the Exit Conveyor.
-
Stop the project.
