
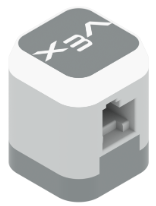
The VEX IQ Touch LED
Learn about the VEX IQ Touch LED
Ask the Reader to organize how the group will read the "VEX IQ Touch LED" article from the VEX Library to learn about how the Touch LED works and how to use it.
Program with the Touch LED
Have the Programmer open VEXcode IQ and follow these steps:
-
Open the Testbed template example project from VEXcode IQ.
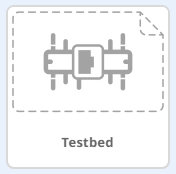
- For help opening the example project, view the Use Example Projects and Templates tutorial video.
-
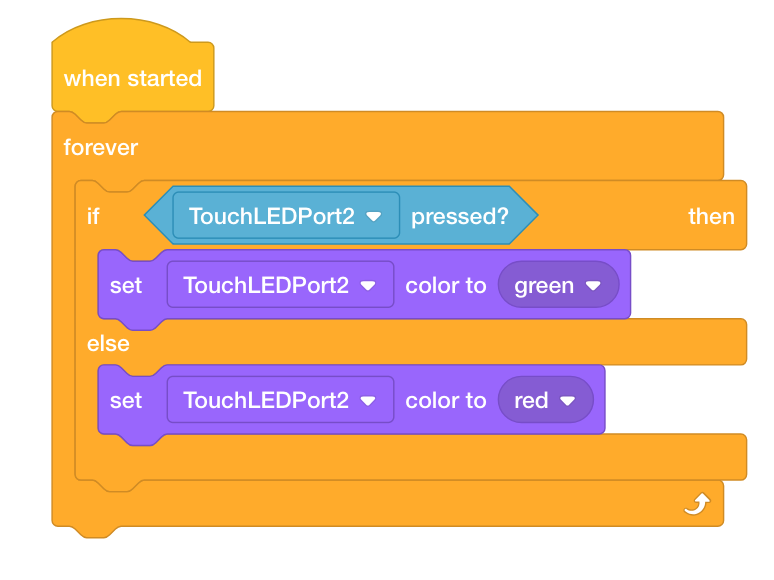
Build the following project and save it (macOS, Windows, Chromebook, iPad) as Touch LED:
Test the Touch LED
Have the Tester connect the Testbed to your computer and then follow these steps:
- Download the project to the IQ Robot Brain.
- Run the project and press the Touch LED to display green. Or, release the Touch LED (NOT pressed) to display red.
- For help downloading and running a project, view the Download and Run a Project tutorial video.
Answer the following questions and ask the Recorder to document them in your engineering notebook:
- In what situations might you use a Touch LED on a robot?
- Does the Touch LED have to be pressed in order to change colors?
- Does the Touch LED report values of 1 (TRUE) or 0 (FALSE)?
- Can the Touch LED report what color it is displaying?
![]() Teacher Toolbox
-
Answers
Teacher Toolbox
-
Answers
-
A Touch LED might be used as a start or stop button on a robot. A Touch LED can also be used to display the status of one of the robot's parts (e.g., displaying green when the claw is open) or one of the parts of the robot's programming (e.g., displaying yellow as the robot completes a section of the project).
-
The Touch LED does not have to be pressed to change colors. The color of the LED can be set within the project.
-
The Touch LED does report values of 1 (TRUE) or 0 (FALSE) like the Bumper Switch does to indicate whether or not it is pressed.
-
The Touch LED can not report the color it is displaying. The displayed color is set by the project and/or changed when pressed but there isn't a Sensing block for the current color of the Touch LED light.
![]() Teacher Toolbox
-
Troubleshooting
Teacher Toolbox
-
Troubleshooting
When working with the Touch LED, there could be instances where it does not behave as it should. If this occurs, begin troubleshooting by trying the following steps:
-
First begin by checking that the Touch LED's firmware is up-to-date. Read this article for more information on how to update firmware.
-
If the firmware is up to date, further look into the Device Info screen on the IQ Brain to check that “pressed” and “released” states register on the Brain. You can also continue to cycle through the red, green, blue, and off display colors by pressing the Touch LED. For other more general issues, there is an article, “How to Troubleshoot VEX IQ Sensors.”
-
If the Device Info reports accurate values, the issue could be that the student miscopied the project.
-
To troubleshoot the project, check that the device is configured properly - meaning that they used the correct Testbed example project. For more information on how to configure the Touch LED, read the "How to Configure VEX IQ Sensors - VEXcode IQ" article.
-
Ensure that the students copied and built the project correctly. You can use the print block in VEXcode IQ to display the current sensor values on the Brain as the project proceeds through to the error or to the end of the project.
-
-
If the Device Info does NOT report accurate values, then the issue could be hardware-related.
-
To troubleshoot the hardware, try checking the port connection with the Smart Cable using the article, “How to Connect VEX IQ Devices to Smart Ports.”
-
If the Touch LED is connected properly and it is still not behaving as it should, there could be a physical issue with the Touch LED. Test switching it out with another Touch LED.
-