
Locating Coordinates
Four location points will need to be documented in order to pick up and move one colored disk. The exact location of the points may vary, but the z-values should move the arm mounted on the VEX V5 Workcell up enough to not collide with any standoffs.
The first two points include:
- Point 1: The Electromagnet is directly above the disk pick up location.
- Point 3: The Electromagnet is directly above the red disk drop off location.
The other two points include:
- Point 2: The Electromagnet is touching the disk in the disk pick up location.
- Point 4: The disk is just above the standoffs in the red disk drop off location.
Notice that Point 1 and Point 3 move the electromagnet directly above the following point. This is needed to prevent the arm mounted on the V5 Workcell to collide with any standoffs or potentially knock the disk off of the electromagnet.
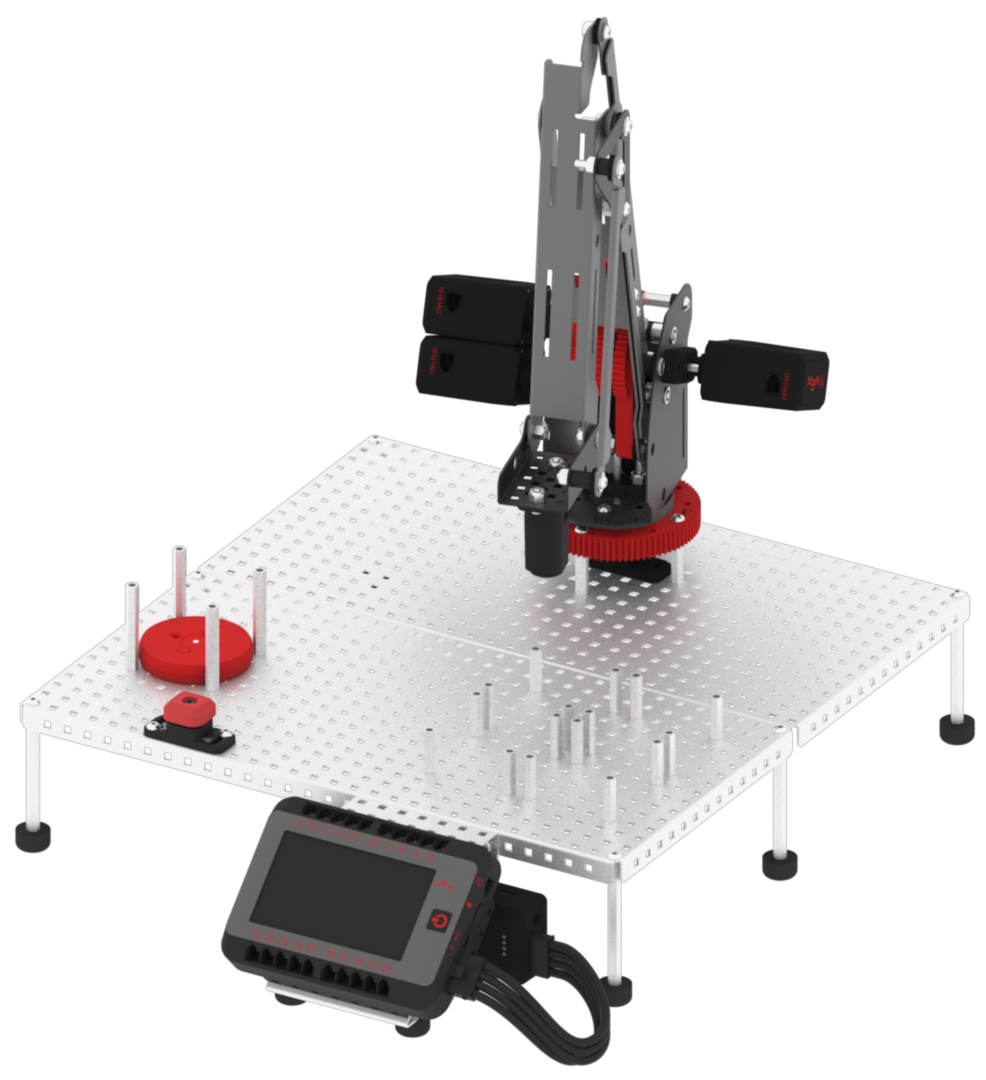
- Place a red colored disk into the disk pick up location.
- Launch VEXcode V5.

- Open the ‘Lab 3- Display Position’ project from a previous Lab.

- Set the parameter of the [Set tool] block to ‘electromagnet.’
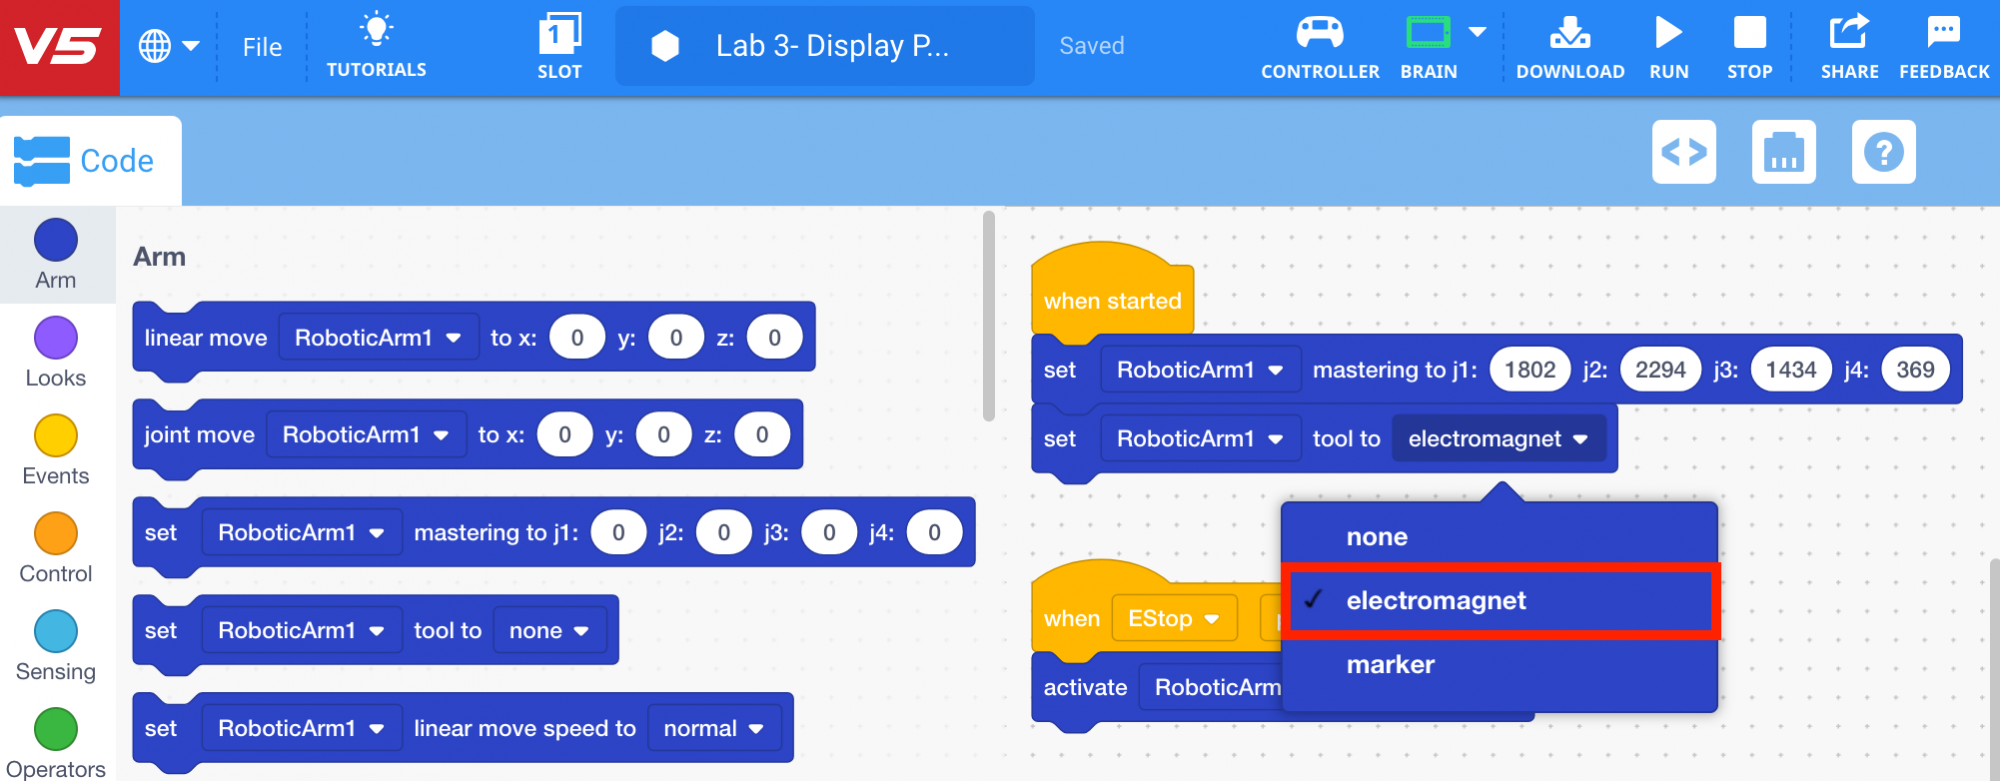
- Download and run the project.

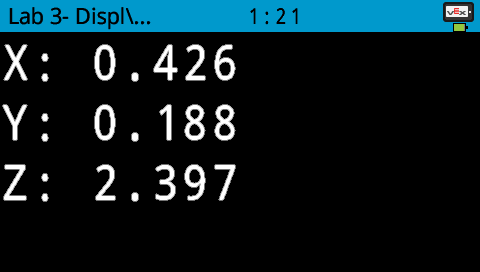
- The (x, y, z) values will be displayed on the V5 Brain’s screen.
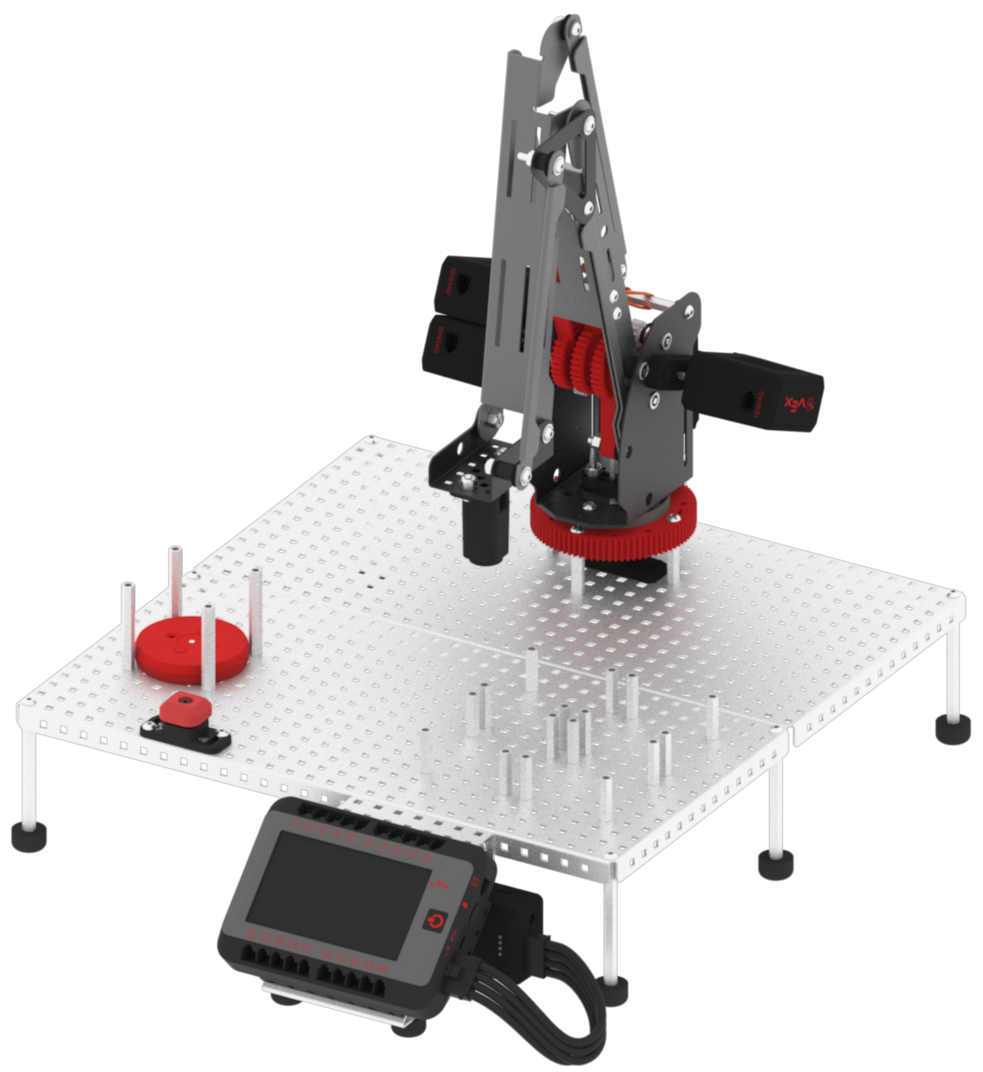
- Manually move the arm mounted on the V5 Workcell to Point 1: The Electromagnet is directly above the disk pick up location. Record the (x, y, z) coordinates of the location in your Engineering Notebook.
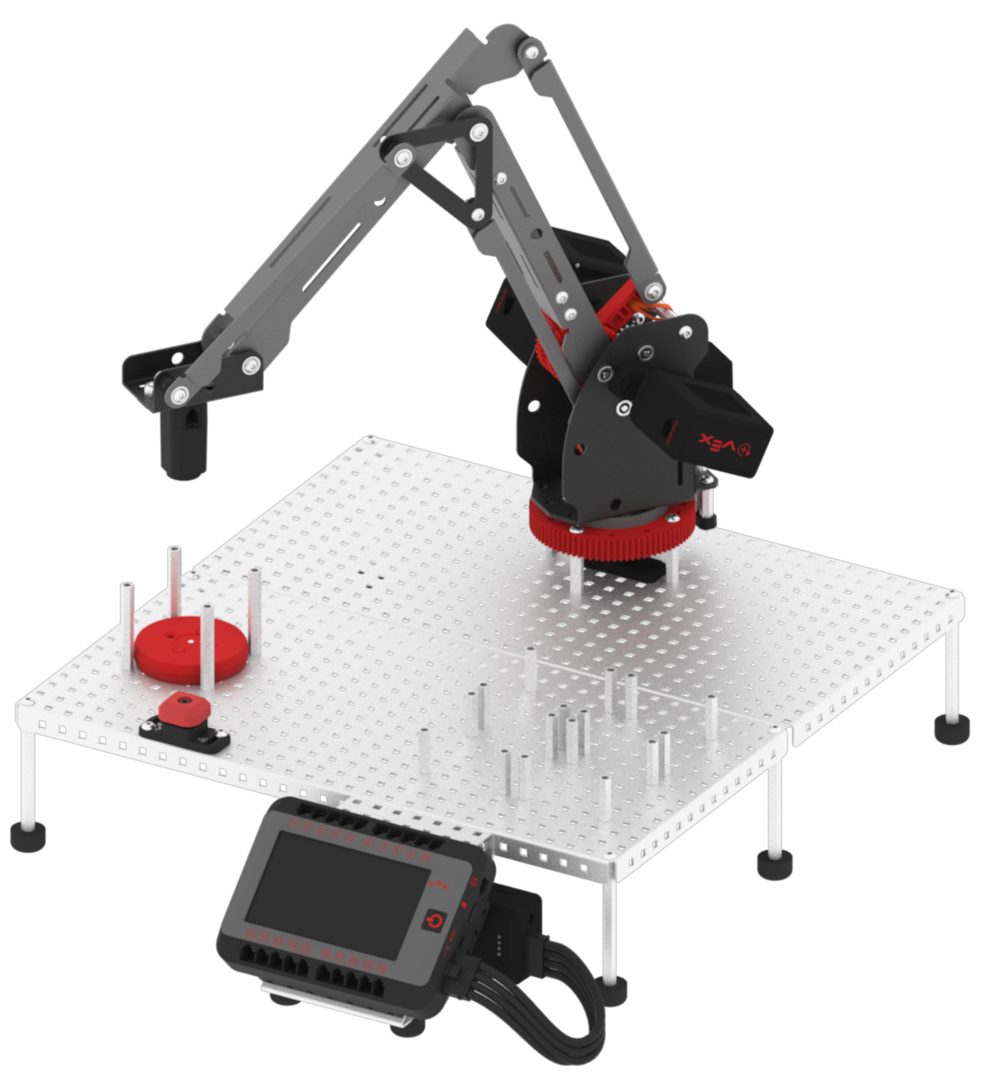
- Manually move the arm mounted on the V5 Workcell to Point 3: The Electromagnet is directly above the red disk drop off location. Record the (x, y, z) coordinates of the location in your Engineering Notebook.
The x and y-coordinate values from Point 1 will be the same for Point 2, and the x and y-coordinate values from Point 3 will be the same for Point 4. This is because the only axis that is changing between Point 1 and 2 is the z-axis. The same is true for Point 3 and Point 4.
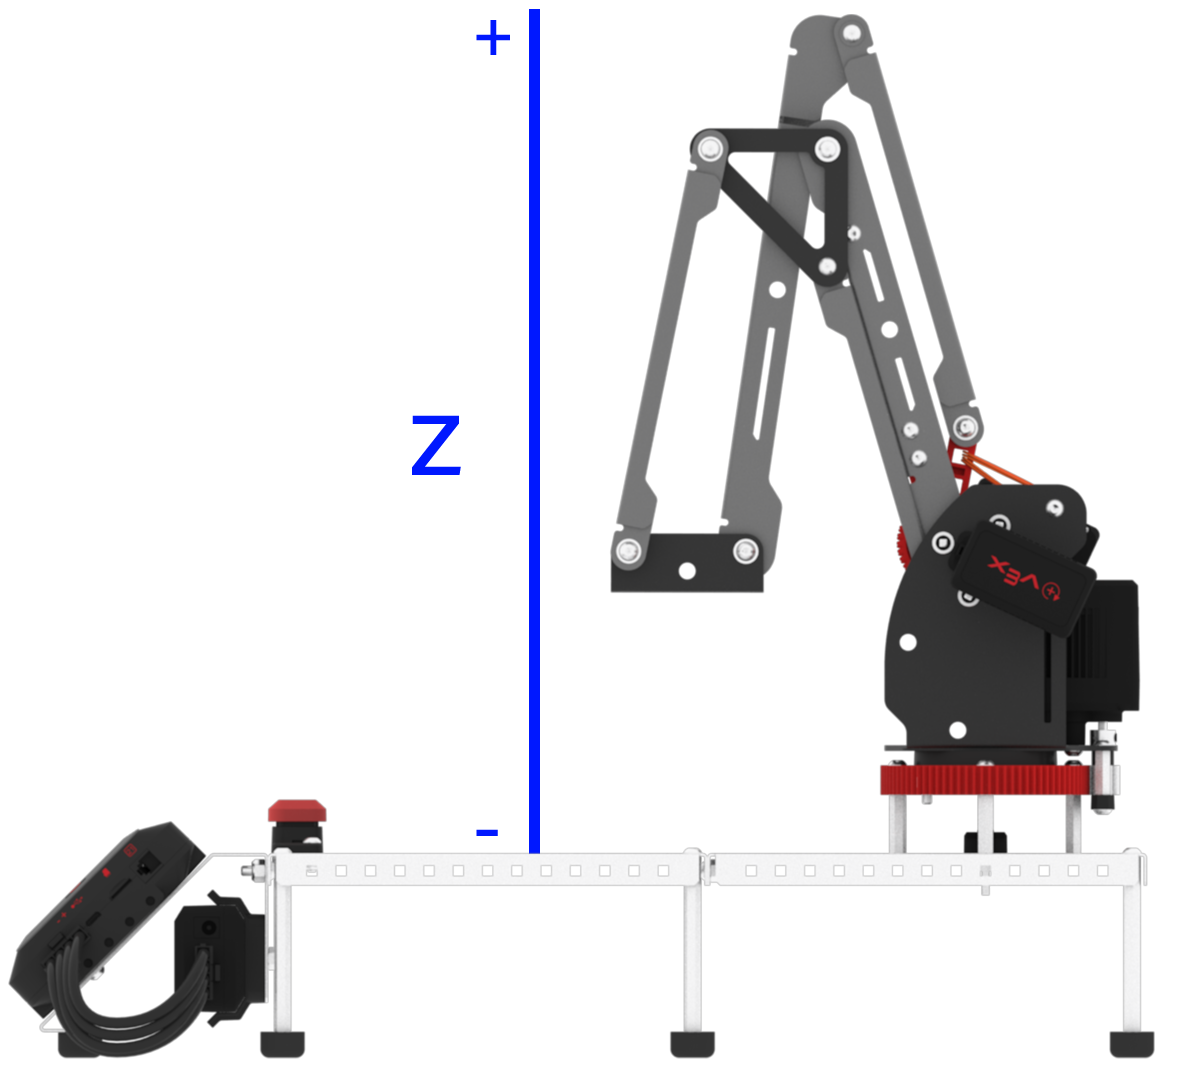
- Manually move the arm mounted on the V5 Workcell to Point 1. Then, lower the arm mounted on the V5 Workcell down along the z-axis until the Electromagnet comes in contact with the red disk. This is Point 2. Record the (x, y, z) coordinates of the location in your Engineering Notebook.
- Manually move the arm mounted on the V5 Workcell to Point 3 and lower the arm mounted on the V5 Workcell down along the z-axis until the disk is just above the standoffs. This is Point 4. Record the (x, y, z) coordinates of the location in your Engineering Notebook.
- Stop the project.
