
Create the Movement Project
-
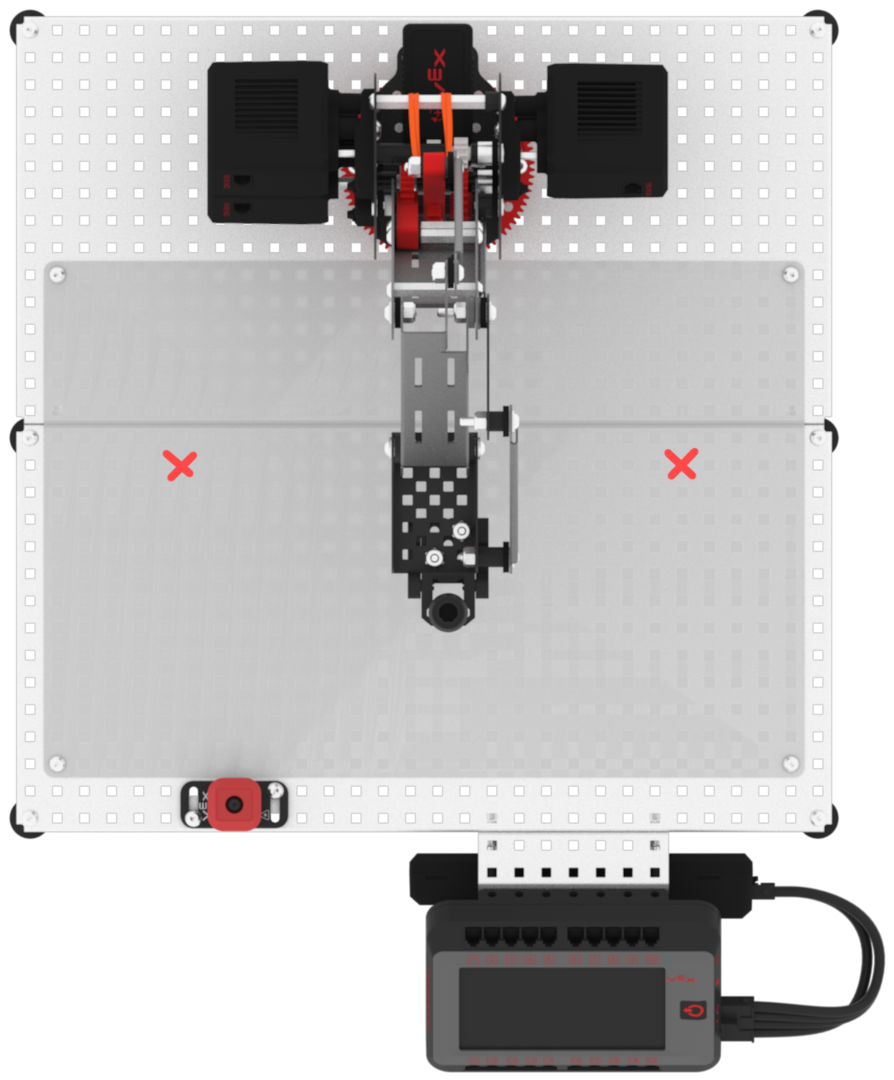
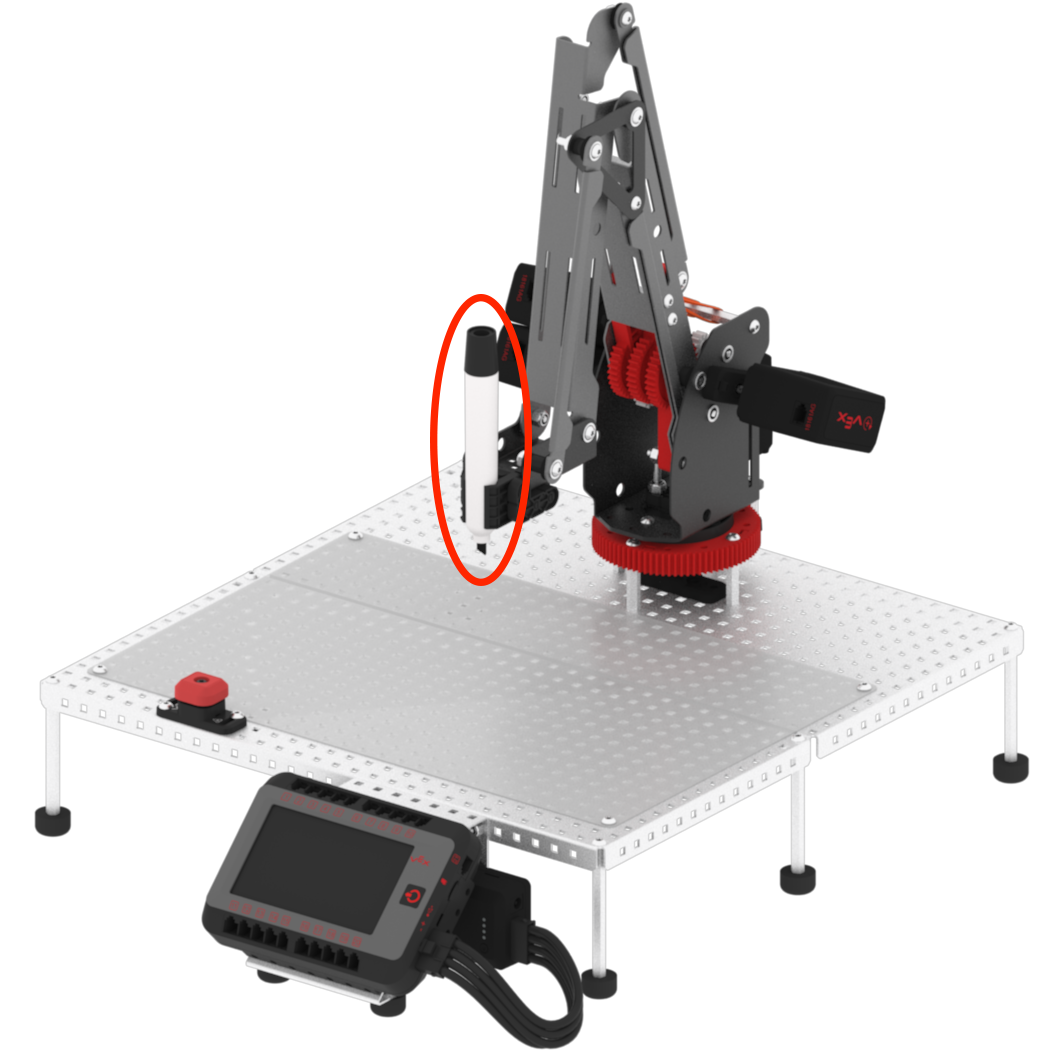
Remove the cap from the dry-erase marker and mark two points, Point 1 and Point 2, on the whiteboard along the y-axis. The exact location of the points may vary, but should be far enough apart to view lines and other points drawn between them.
-
Attach the dry-erase marker to the arm mounted on the VEX V5 Workcell.
-
Launch VEXcode V5.
-
Open the ‘Lab 3- Display Position’ project from the previous Lab.

-
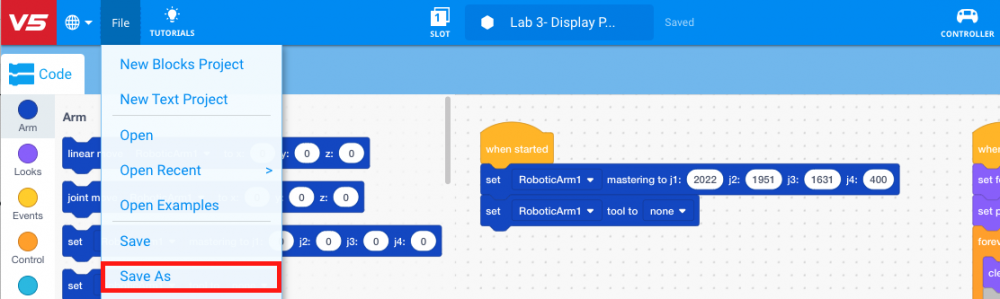
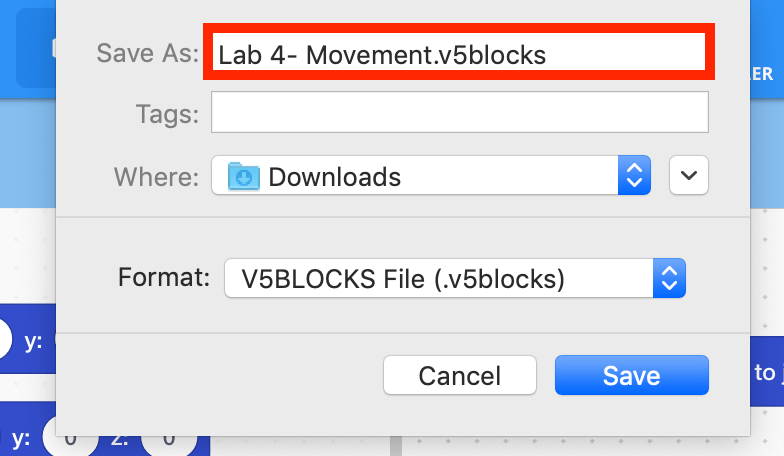
To save and rename the project for Lab 4, select ‘File’ and then ‘Save As’ from the Toolbar in VEXcode V5.
-
Name the project ‘Lab 4- Movement.’
Note: for more information about saving, view the Save a Blocks Project (Chromebook, Windows, macOS) articles.
-
The Toolbar will now display the project as ‘Saved.’ Any subsequent changes to the project will be automatically saved.

-
Set the parameter of the [Set tool] block to ‘Marker.’
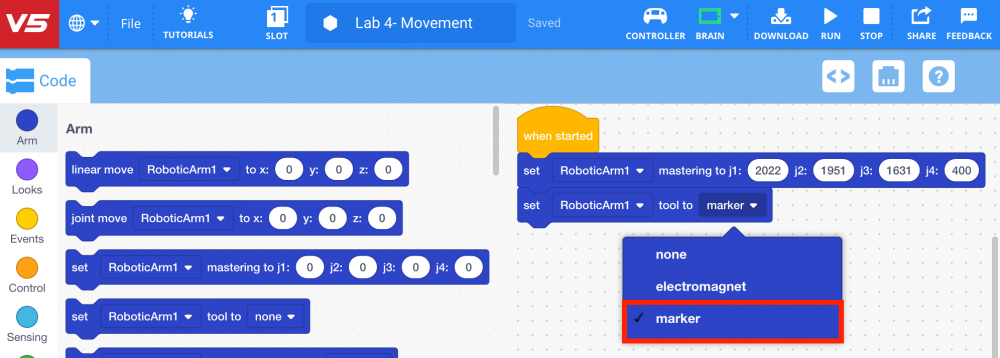
Note: ensure your mastering values are correct and if not, adjust them accordingly.