Background
The Touch to Code Unit will familiarize you and your students with fundamental coding concepts using the touch buttons on the 123 Robot. Students will learn terminology associated with robot behaviors, including decomposition and sequencing, and they will use this language as they engage in guided explorations, investigate the basics of coding, and problem-solve challenges using the 123 Robot.
What is a Robot?
A robot is a device that can carry out an action once it is programmed to do so. In Computer Science, a robot is defined as a device that can sense, think, and act. This is commonly referred to as the Sense → Think → Act decision loop.
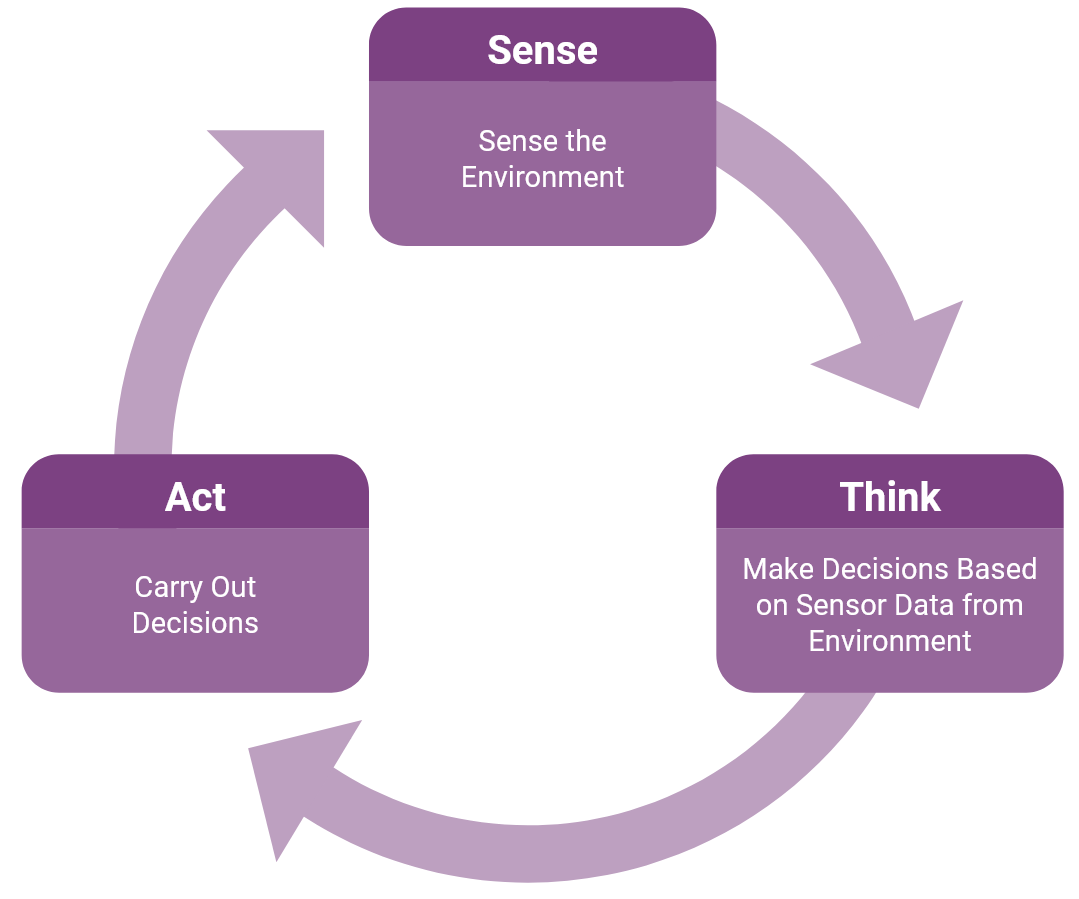
A 123 Robot uses sensors to collect data from its surroundings (Sense), make decisions based on this information (Think), and turn that information into instructions for behaviors (Act). A device, like a phone, is not a robot because it is unable to act on or within its environment. This ability to act is a key defining feature of what makes something a robot, as opposed to another kind of device.
It’s important to note for students that a robot cannot think for itself, it can only do what it is programmed to do. A robot requires programming, or coding, to be able to act on its environment.
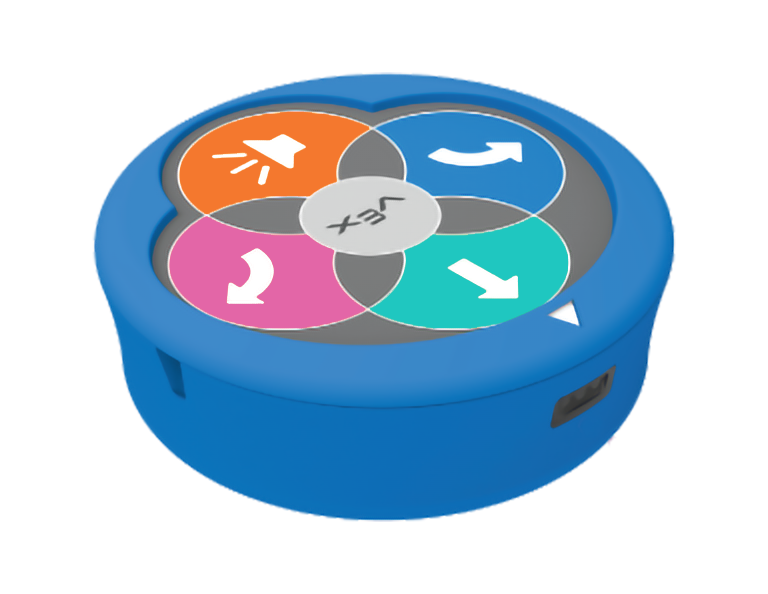
What is VEX 123?
VEX 123 allows children to explore Computer Science concepts, and you, the teacher, to incorporate things like spatial reasoning, coding, and decomposition into a wide array of content areas. VEX 123 offers an opportunity for students and teachers to engage with and share code easily, and tangibly, throughout a Lab’s activities. There are a number of Units and Labs written to give you ideas for ways to use VEX 123 in your classroom, and all of them will include the use of your 123 Robot in a hands-on way.
Teacher Resources are designed to provide you with the structure and support necessary to integrate VEX 123 into your learning environment. These resources will help novice teachers bring technology and innovation to their schools and experienced teachers create the classrooms of the future. Resources found on the 123 Teacher Resources page include:
- A Getting Started Guide for fitting VEX 123 into your STEM learning.
- An Implementation Guide to help you start teaching STEM Labs.
- A Teacher Value Document explaining the pedagogy behind the creation of STEM Labs.
- A Cumulative Pacing Guide to help you align and plan for which STEM Labs to teach.
- A list of Content Standards where country-specific charts are available to show the alignment of standards to the VEX 123 STEM Labs.
- A STEM Lab Master Materials List with everything you need to implement STEM Labs in your school or classroom.
What is a Programming Language?
A programming language is the mode of communication between a computer and a programmer. Programming languages follow step-by-step instructions that a computer understands in order for its programs to work. Children experience programming languages in early coding by creating simple commands using directional language. Creating these commands requires students to combine communication, thinking, and problem-solving skills.
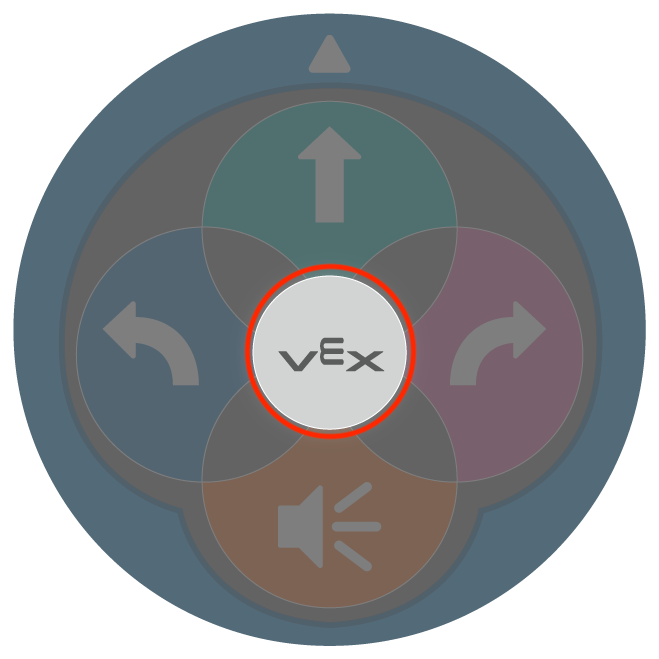
The 123 Robot uses touch buttons as commands. Combinations of button presses communicate to the robot what actions, or behaviors, it should carry out. In this Unit, students will use the buttons on the top of the 123 Robot to code the robot to complete challenges. The following table shows you the behavior executed with each of the touch buttons on the 123 Robot.
| Button | Name | Behavior |
|---|---|---|
 |
Start | Starts the project when pressed. |
 |
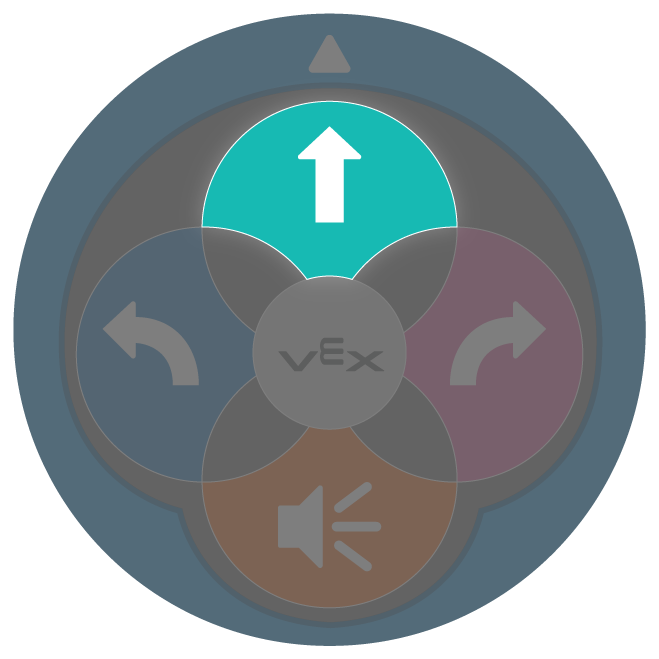
Move | 123 Robot will drive forward for 1 robot length, or 1 square on the 123 Field. |
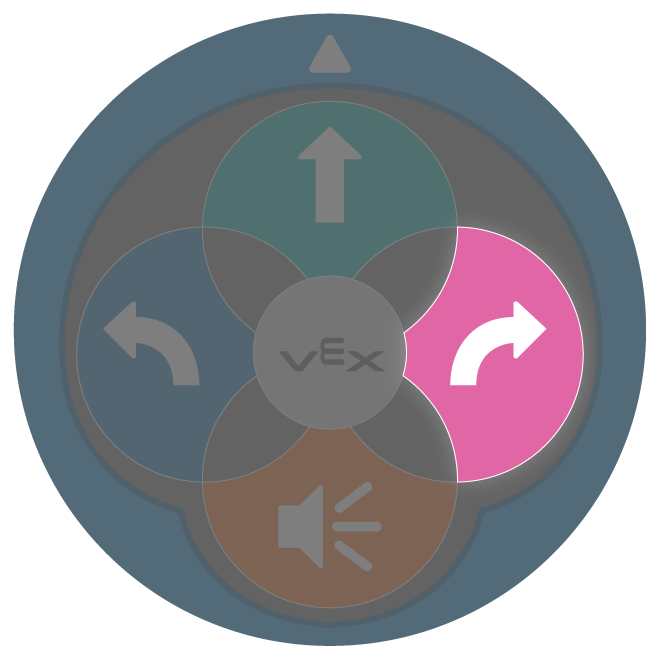 |
Right | 123 Robot will turn in place 90 degrees to the right. |
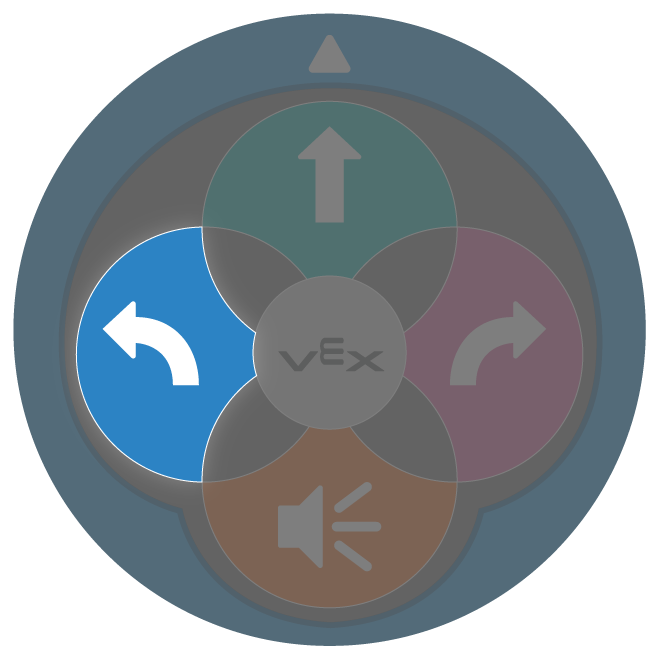 |
Left | 123 Robot will turn in place 90 degrees to the left. |
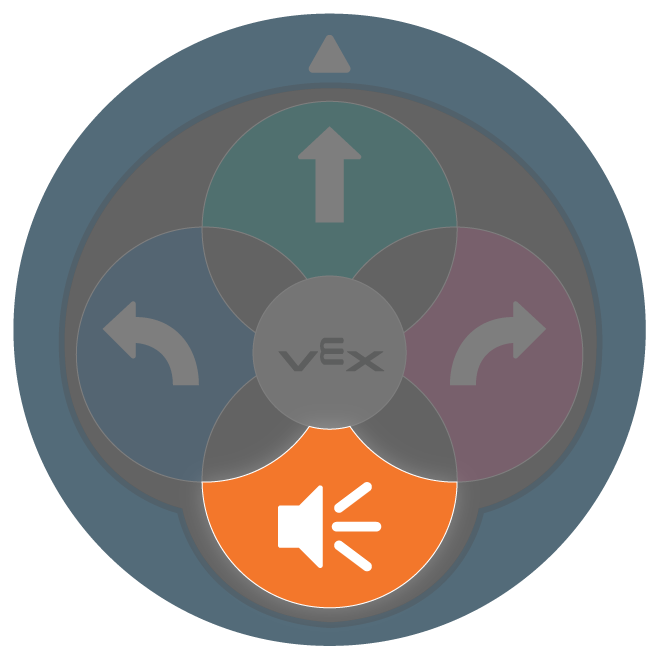 |
Sound | 123 Robot will play a honk sound. |
What is Decomposition?
Decomposition involves breaking down a complex problem into behaviors that are more manageable and easier to understand. Breaking the problem down into smaller parts means that each part can be examined in more detail and solved with greater ease. For example, if a student wants their robot to move in a square, they would need to break it down into smaller commands. Refining the breakdown process is important for students to practice, as they may not break down the commands into smaller components at first.
| Move in a square breakdown 1 | Move in a square breakdown 2 | Move in a square breakdown 3 |
|---|---|---|
|
|
|
How is sequencing used in this Unit?
Sequence is the order in which commands are executed in a project. Touch button commands are executed beginning with the first button press and run in the order that the buttons are pressed. The table below shows a sequence of button presses to code the 123 Robot to move in a square. The sequence of button presses is from left to right. If the students have not pressed the buttons in the proper sequence, then the 123 Robot will not move as intended.
| 1 | 2 | 3 | 4 | 5 | 6 | 7 | 8 |
|---|---|---|---|---|---|---|---|
|
|
|
|
|
|
|
|
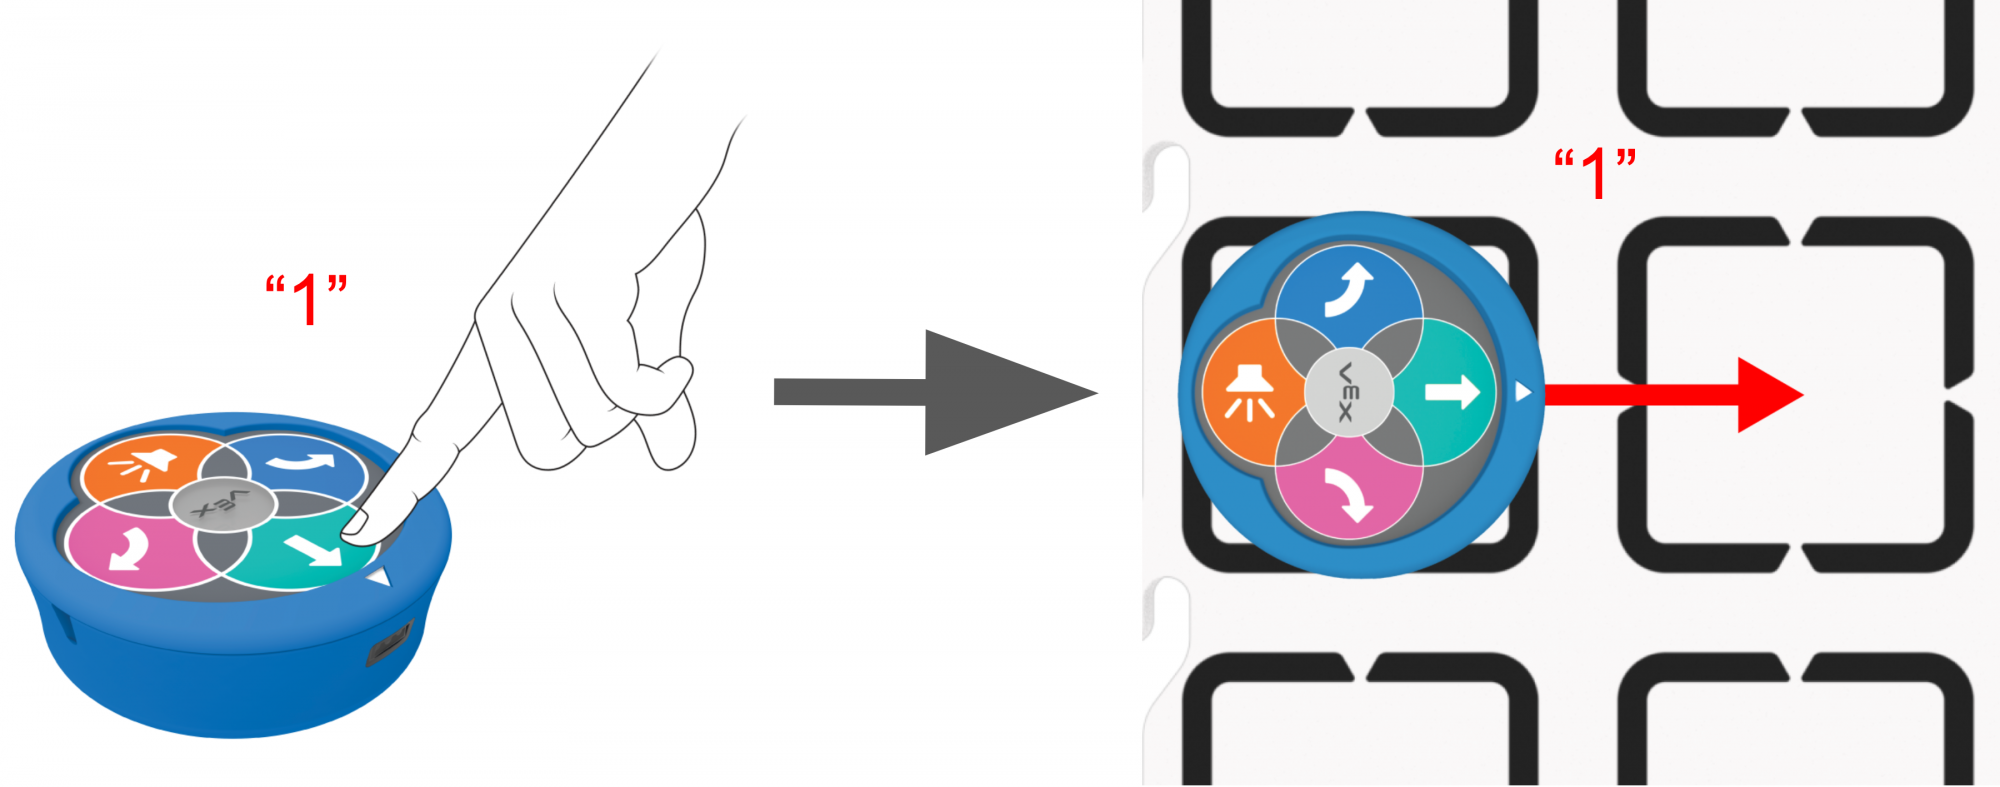
Students will need to understand that there is a 1:1 correspondence between a press of a button, and the action of the robot in order to plan their projects. For each press of a button on top of the 123 Robot, the robot will move or turn one unit or play a sound one time. For more information about how to use the Touch buttons on the 123 Robot, see the Coding with the Touch Buttons on the 123 Robot VEX Library article.
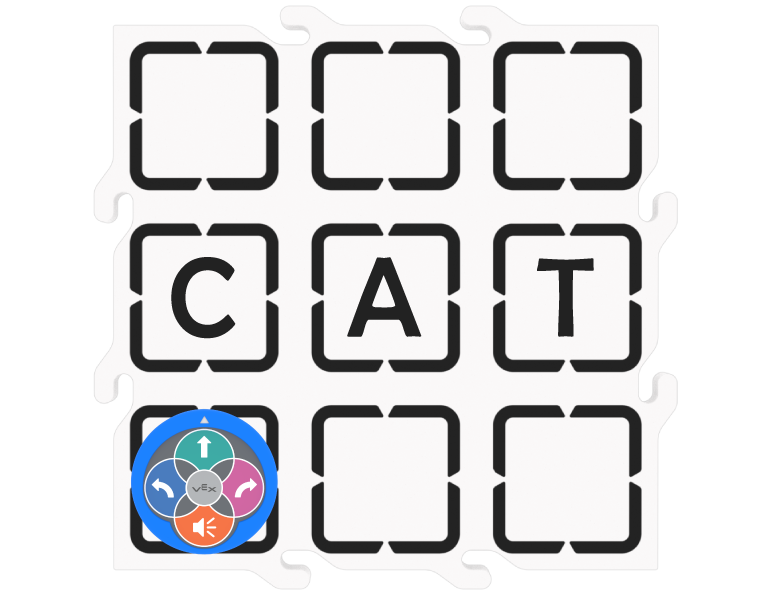
In order to tell a robot exactly and precisely how to move, both decomposition and sequencing are needed. First, the problem, such as how to move to the letters of a word, will be decomposed into smaller increments and behaviors. Then, once these behaviors are identified, they need to be organized into the correct sequence. This is important because the 123 Robot will only move as directed by the touch button presses. In the following animation, you can see the 123 Robot is coded with button presses that drive the robot to the first letter, make it turn, then drive over the letters of the word ‘CAT.’
Steps for planning and sequencing a project
Project planning requires students to identify the goal for their project, then break down the steps necessary to achieve that goal into discrete steps that can be executed by the 123 Robot. Once they have broken down the steps into Touch behaviors, they will sequence the button presses to build their project. Then, they can then test the project on the 123 Field to ensure that it reaches the goal.
- First, identify the goal - what needs to be done? For example, have the 123 Robot drive over each of the letters of the word CAT.
- Then, break down the steps needed to accomplish the goal, and identify the button presses needed to accomplish these steps. Here you will need to first drive forward for one square to the letter "C.” Then turn right and drive forward one square to drive to the letter “A." And finally, drive forward one more square to the letter “T.” This can be accomplished by pressing the “Move” and the “Turn right” buttons.
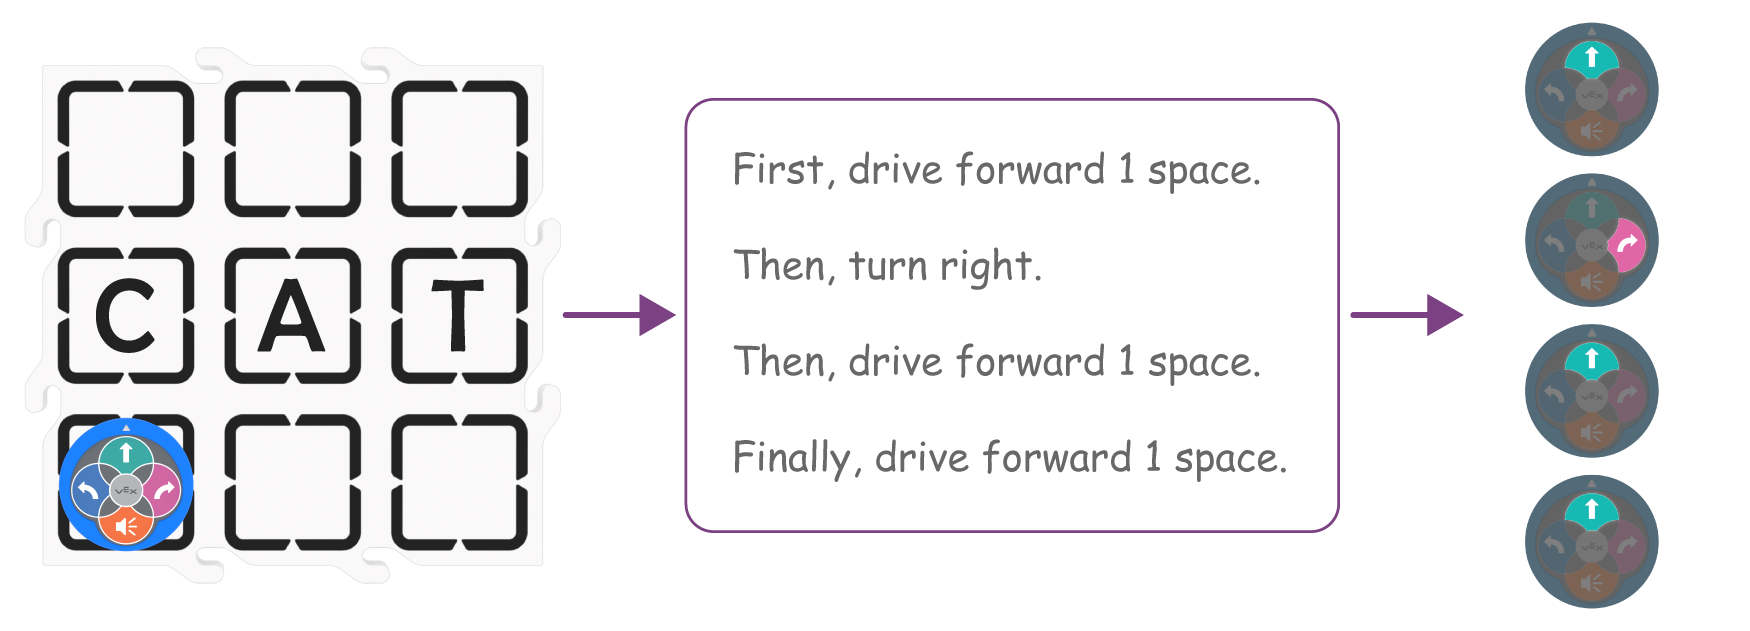
- Next, plan the sequence of the project. What is the order of the button presses needed to accomplish the goal?
| 1 | 2 | 3 | 4 |
|---|---|---|---|
 |
|
|
|
- Select “Start” to test the project and see if the 123 Robot accomplishes the goal identified in the first step.