The Vision Data Challenge
![]() Teacher Toolbox
Teacher Toolbox
The purpose of the Vision Data Challenge is to ensure that students understand the data collected from the Vision Sensor's snapshot and how center X and Y values are calculated. Your students should also finish this lab with an understanding of how that data might be interpreted (e.g., the center X value can be used to determine where the object is relative to the center point of the robot), and best practices for naming objects when configuring.
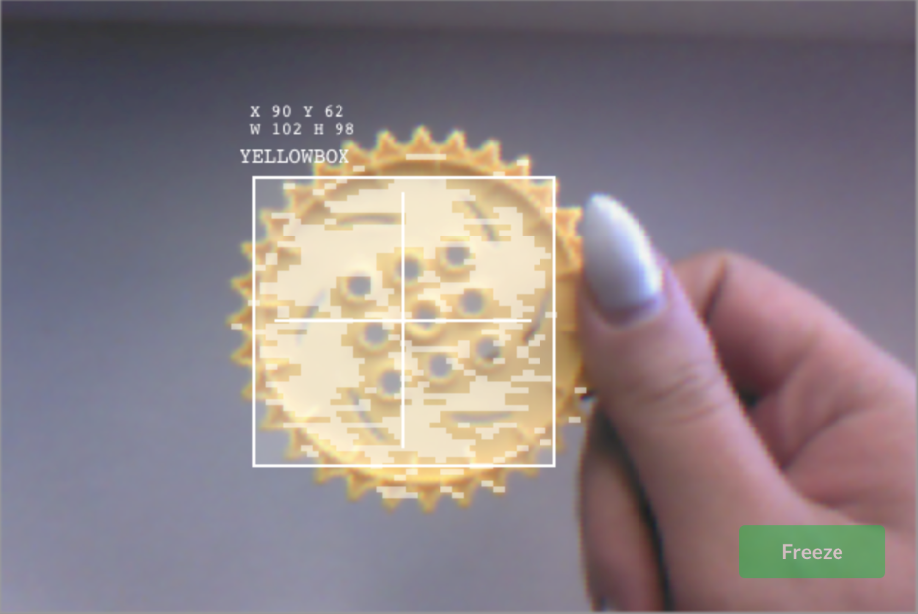
Complete the Vision Data Challenge by answering the questions and filling in the missing data in your engineering notebook.
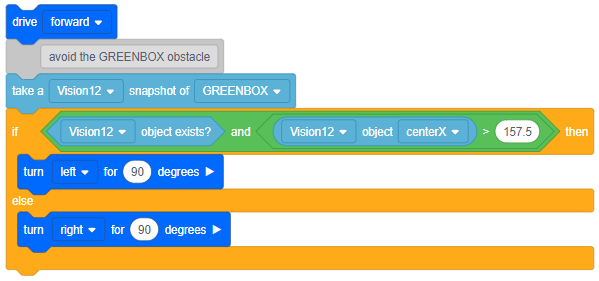
- Which of these blocks was used to take the snapshot above?
- Fill in these values:
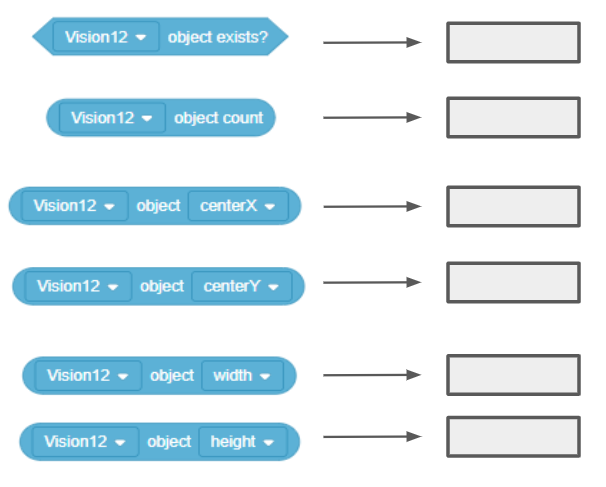
- Is YELLOWBOX to the left or to the right of the robot's center point?
- Is YELLOWBOX above or below the robot's center point?
- YELLOWBOX is NOT the best name to give this object if you want to easily recognize which color signature is which. Which of these is a better name? Why?
- YELLOWGEAR
- YELLOWCUBE
![]() Teacher Toolbox
-
Answers
Teacher Toolbox
-
Answers
Students' answers can be discussed as a class and/or you can review their engineering notebooks to ensure that they completed the activity successfully.
-
B.

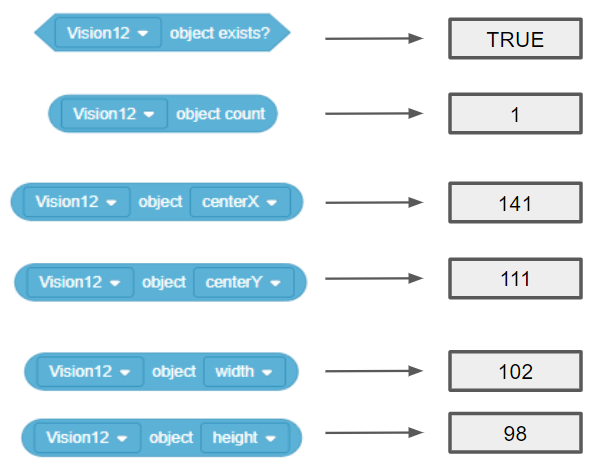
- YELLOWBOX is slightly to the left of the robot's center point but only by a difference of 16.5 pixels (center 157.5 - 141).
- YELLOWBOX is slightly lower than the robot's center point but only by a difference of 5.5 pixels (111 - center 105.5).
- A. YELLOWGEAR
This is a better name because it describes not only the color of the object but also the type of the object. It is a gear, not a box or cube.
![]() Extend Your Learning
-
Use the Sensing Blocks within a Project
Extend Your Learning
-
Use the Sensing Blocks within a Project
Now that some of the Vision Sensor's reported data is better understood, students might want to use these Sensing blocks within a project. Allow them to explore doing so.
Some students might simply add print blocks to display the values on the screen.
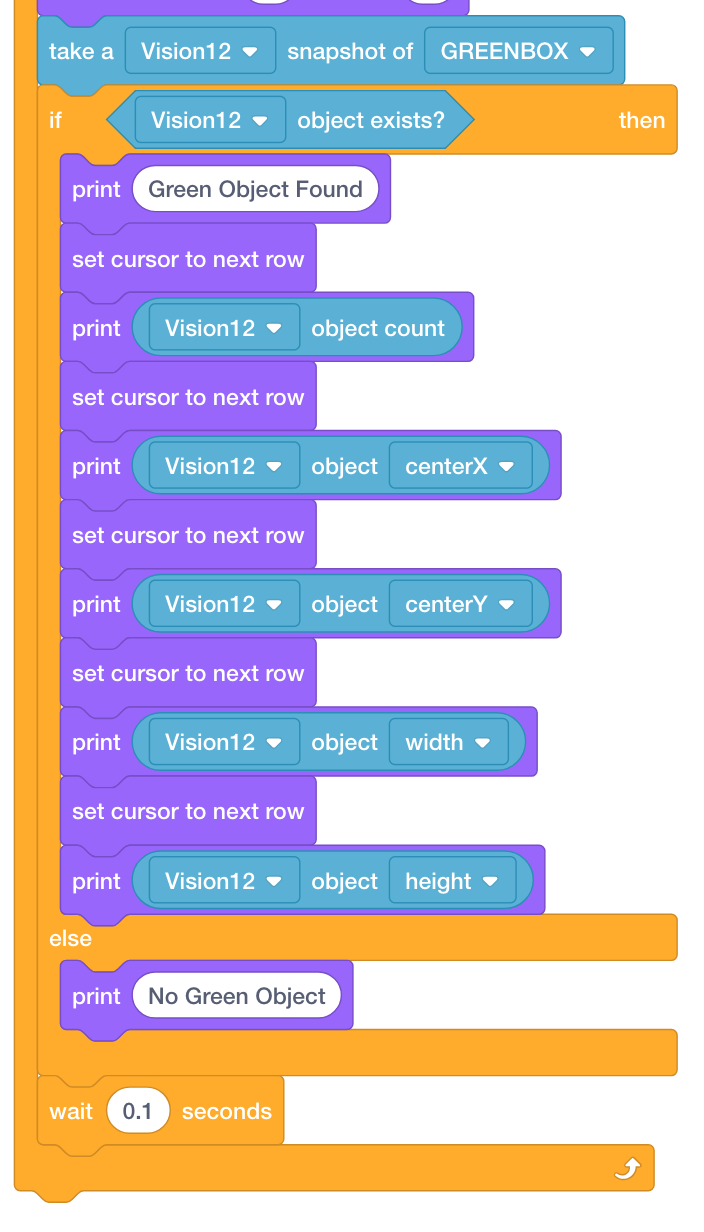
More advanced students might use these blocks within a project to make decisions. That will require adding a drivetrain to the robot's configuration.
