
Robot Battery Charging and Usage
In this section you will learn about assembling the Robot Battery Charger and charging the Robot Battery.
Materials Required:
| Quantity | Materials Needed |
|---|---|
| 1 |
Robot Battery Charger 228-2743 |
| 1 |
Robot Battery Charger Power Cord appropriate for your region |
| 1 |
Robot Battery 228-2604 |
Step 1: Connecting the Cord
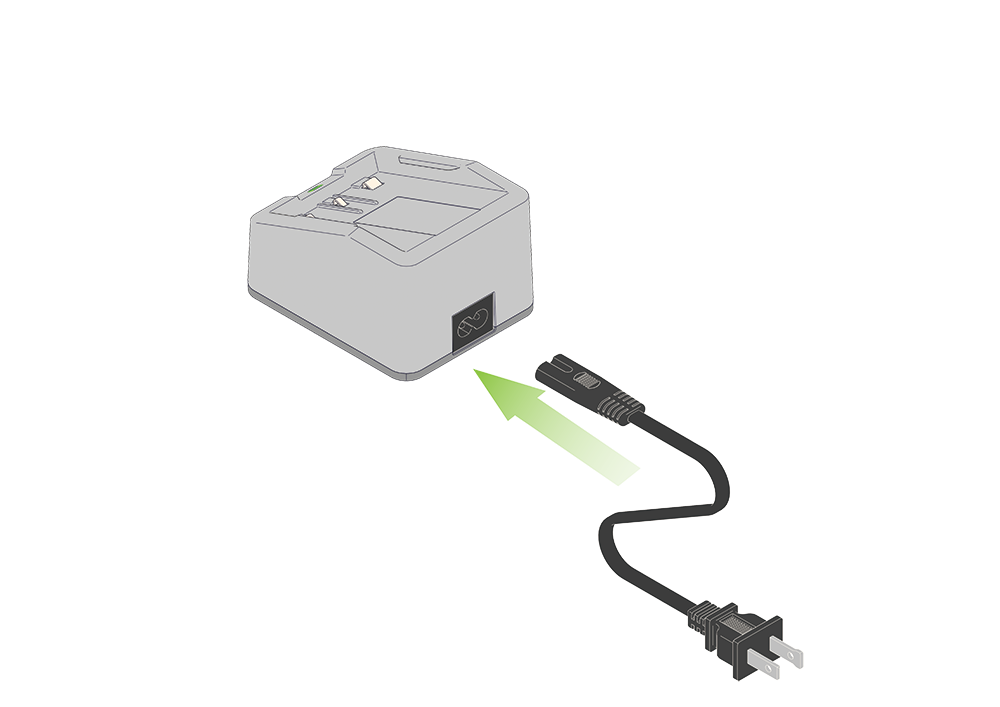
Connect the Robot Battery Charger Power Cord to the Robot Battery Charger.
Step 2: Plugging in to an Outlet
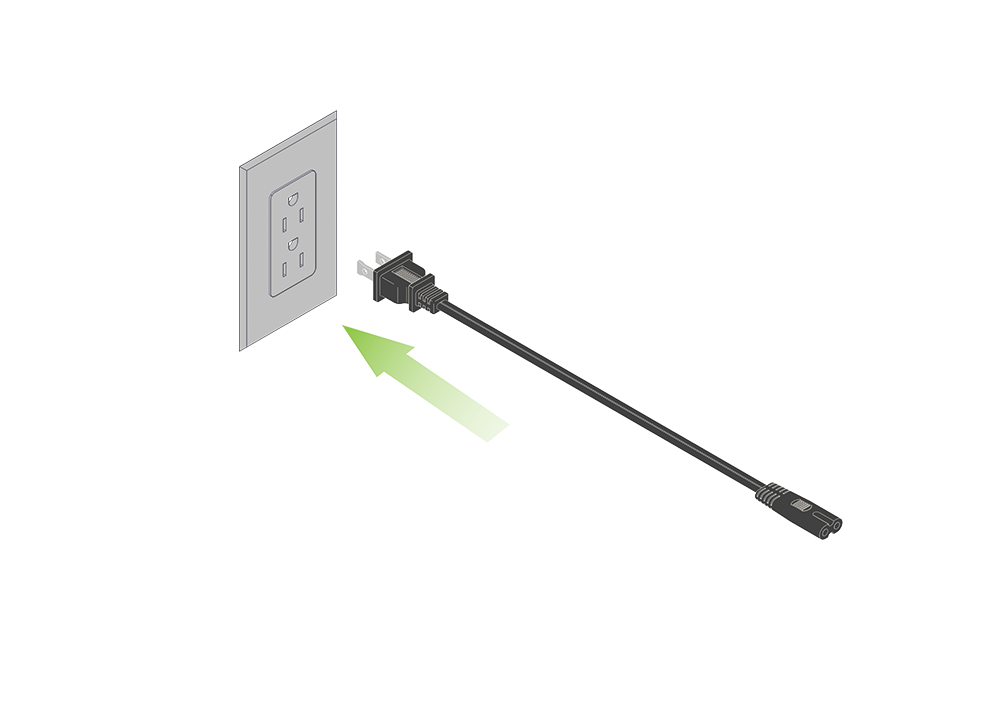
Plug the other end of the Robot Battery Charger Power Cord to a power outlet.
Step 3: Charging the Robot Battery
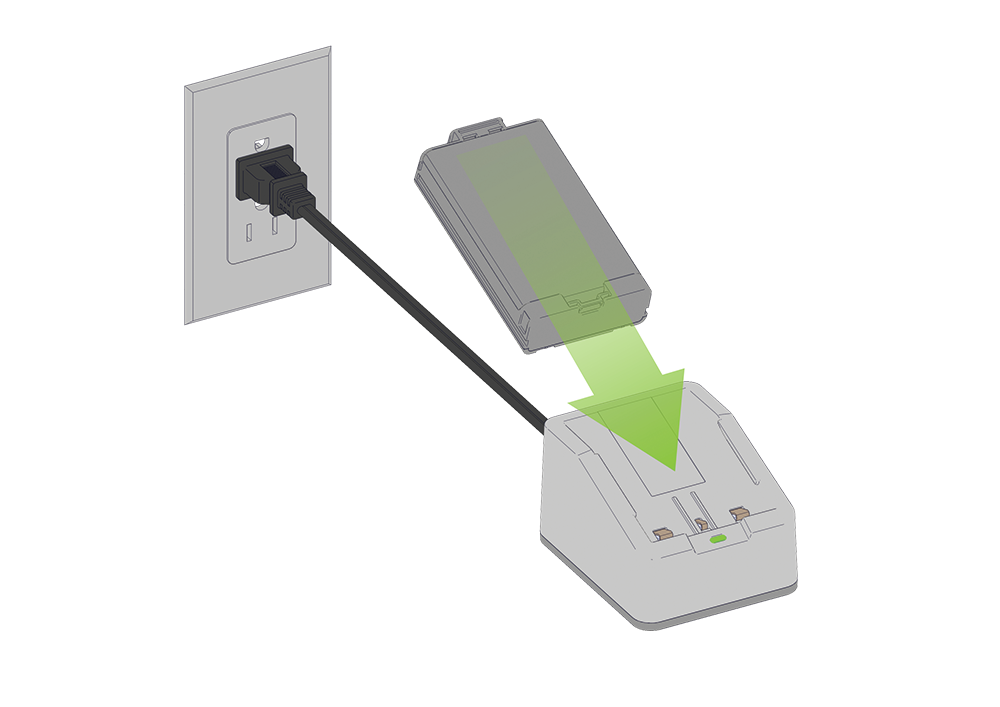
Slide the Robot Battery into the cradle of the Robot Battery Charger. You should see the light change to red to indicate that it is charging.
Conclusion:
Once the Robot Battery Charger is connected to a power outlet, the Robot Battery can be charged. It may take a few hours to fully charge.