
Programming with Conditionals - Python
The Clawbot is ready to make decisions!
This exploration will give you the tools to be able to start creating some cool projects that use if-else statement.s
- VEXcode V5 Python commands that will be used in this exploration:
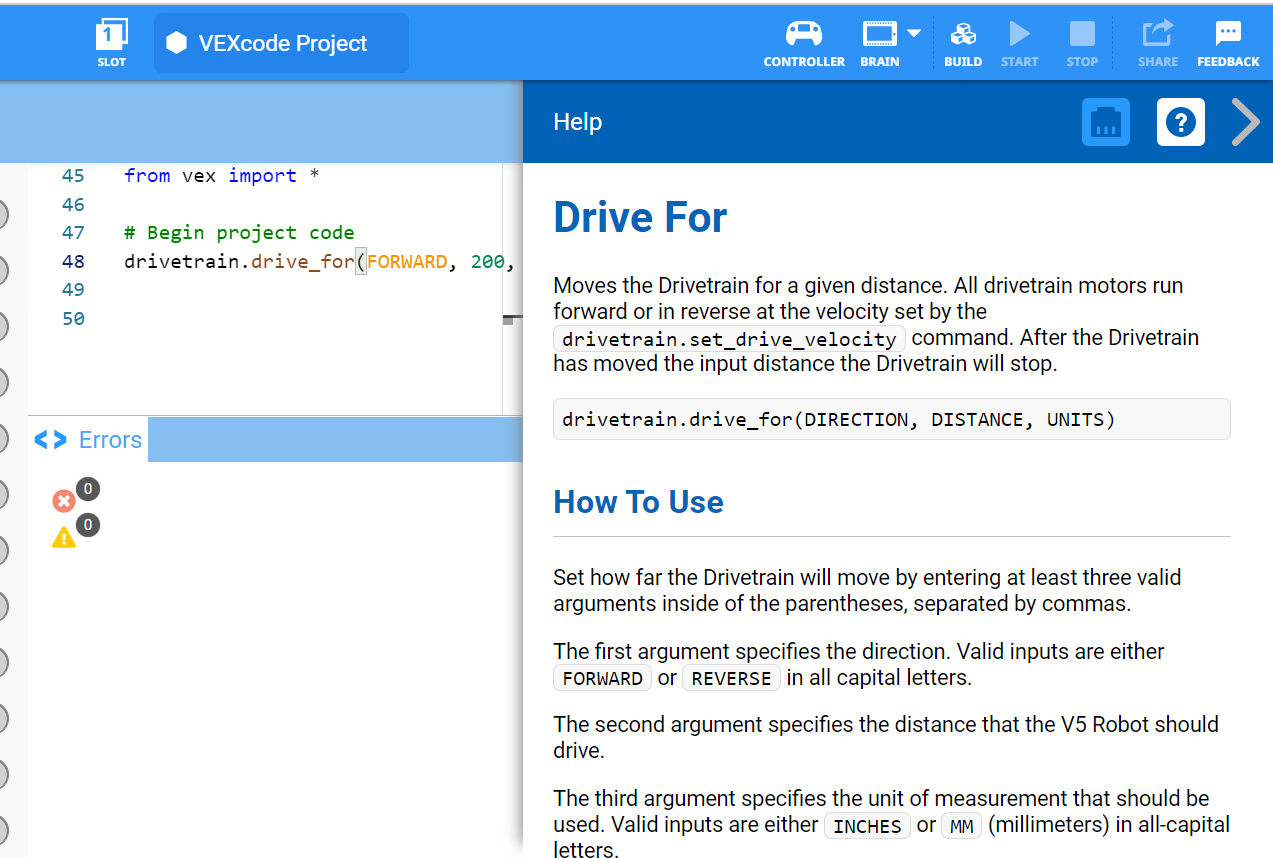
- drivetrain.drive_for(FORWARD)
- brain.screen.pressing()
- drivetrain.stop()
- if condition:
- else:
- while True:
- wait(5, SECONDS)
You can use the Help information inside of VEXcode V5 to learn about the Python commands.
Make sure you have the hardware required, your engineering notebook, and VEXcode V5 ready.
| Quantity | Materials Needed |
|---|---|
| 1 |
VEX V5 Classroom Starter Kit (with up-to-date firmware) |
| 1 |
VEXcode V5 (latest version, Windows, macOS) |
| 1 |
Engineering Notebook |
| 1 |
Clawbot (Drivetrain 2-motor, No Gyro) Template |
Step 1: Let's start with an understanding of conditional statements
Before you begin programming with conditionals, read the article explaining if-else statements. The article can be found here (Google Doc / .docx / .pdf).
For a list of operators to use in the if-else statements, read the article explaining Booleans. This article can be found here (Google Doc/.docx/.pdf).

Step 2: Let's start programming with conditional statements.
-
Open the Clawbot (Drivetrain 2-motor, No Gyro) template example project.

- Build the project below.
# Begin project code
while True:
    drivetrain.drive(FORWARD)
    if brain.screen.pressing():
        drivetrain.stop()
        while brain.screen.pressing():
            wait(5, MSEC)
    wait(5, MSEC)
Do the following in your engineering notebook:
- Explain what the project has the Clawbot do. You will need to explain more than the fact that it creates a stop button. Explain which instructions make the Clawbot do what.
- Write a one sentence summary that captures what the project does.
- Test to see if your prediction of what the project has the Clawbot do is correct.
- Name the project CreatingAStopButton. Download and run the project on the Clawbot.

- Check your explanations of the project, and add notes to correct them as needed.
Step 3: Understanding the while and wait() statements.
Notice that if the Brain's screen is pressed, the flow of the project moves quickly and the project will move to the next instruction, which is the drivetrain.stop() command.
Thus, the project needs the while and wait commands that tell the robot to remain stopped until the Brain's screen is released. Otherwise, the forever statement would cause the project to begin again.
while brain.screen.pressing():
	wait(5, MSEC)
The while and wait commands are necessary because of the speed of the project's flow. If they were not there, the project would move to the next instruction before the robot ever had time to respond.
Step 4: Change the project.
Our next step is changing the if statement to an if-else statement.
- Start by saving CreatingAStopButton as the new project, StopOrDrive.

- If you need help saving a project, view these articles.
- Then build the StopOrDrive project shown below.
# Begin project code
while True:
    if brain.screen.pressing():
        drivetrain.stop()
        while brain.screen.pressing():
            wait(5, MSEC)
    else:
        drivetrain.drive(FORWARD)
wait(5, MSEC)- Download StopOrDrive to Slot 2 on your Clawbot.

- For help downloading and running a project, see this article.
- Test CreatingAStopButton (Slot 1) and then test StopOrDrive (Slot 2) and compare them to see if there are any difference in the robot's behavior. Note any differences in your engineering notebook
The two projects have the Clawbot behave the same way. The only difference is the use of the if-else statement in the StopOrDrive project.
Using the if-else statement will allow you to add additional buttons to the screen in upcoming activities.