
Introduction
In this Lesson, you will learn how to add and use a Bumper Switch with your TrainingBot. You will also learn how to print to the Brain's screen, and configure your Controller using VEXcode V5. Then, you will apply these skills to compete in the Freeze Tag Challenge, where you will play a game of one-on-one Freeze Tag. Watch the animation below to see an example of a TrainingBot “tagging” another TrainingBot with a Bumper Switch. The robot on the left drives forward and contacts the Bumper Switch of the robot on the right. The robot on the right then “freezes” or stops moving, and the Brain screen shows red to indicate that it is “frozen”.
Add the Bumper Switch
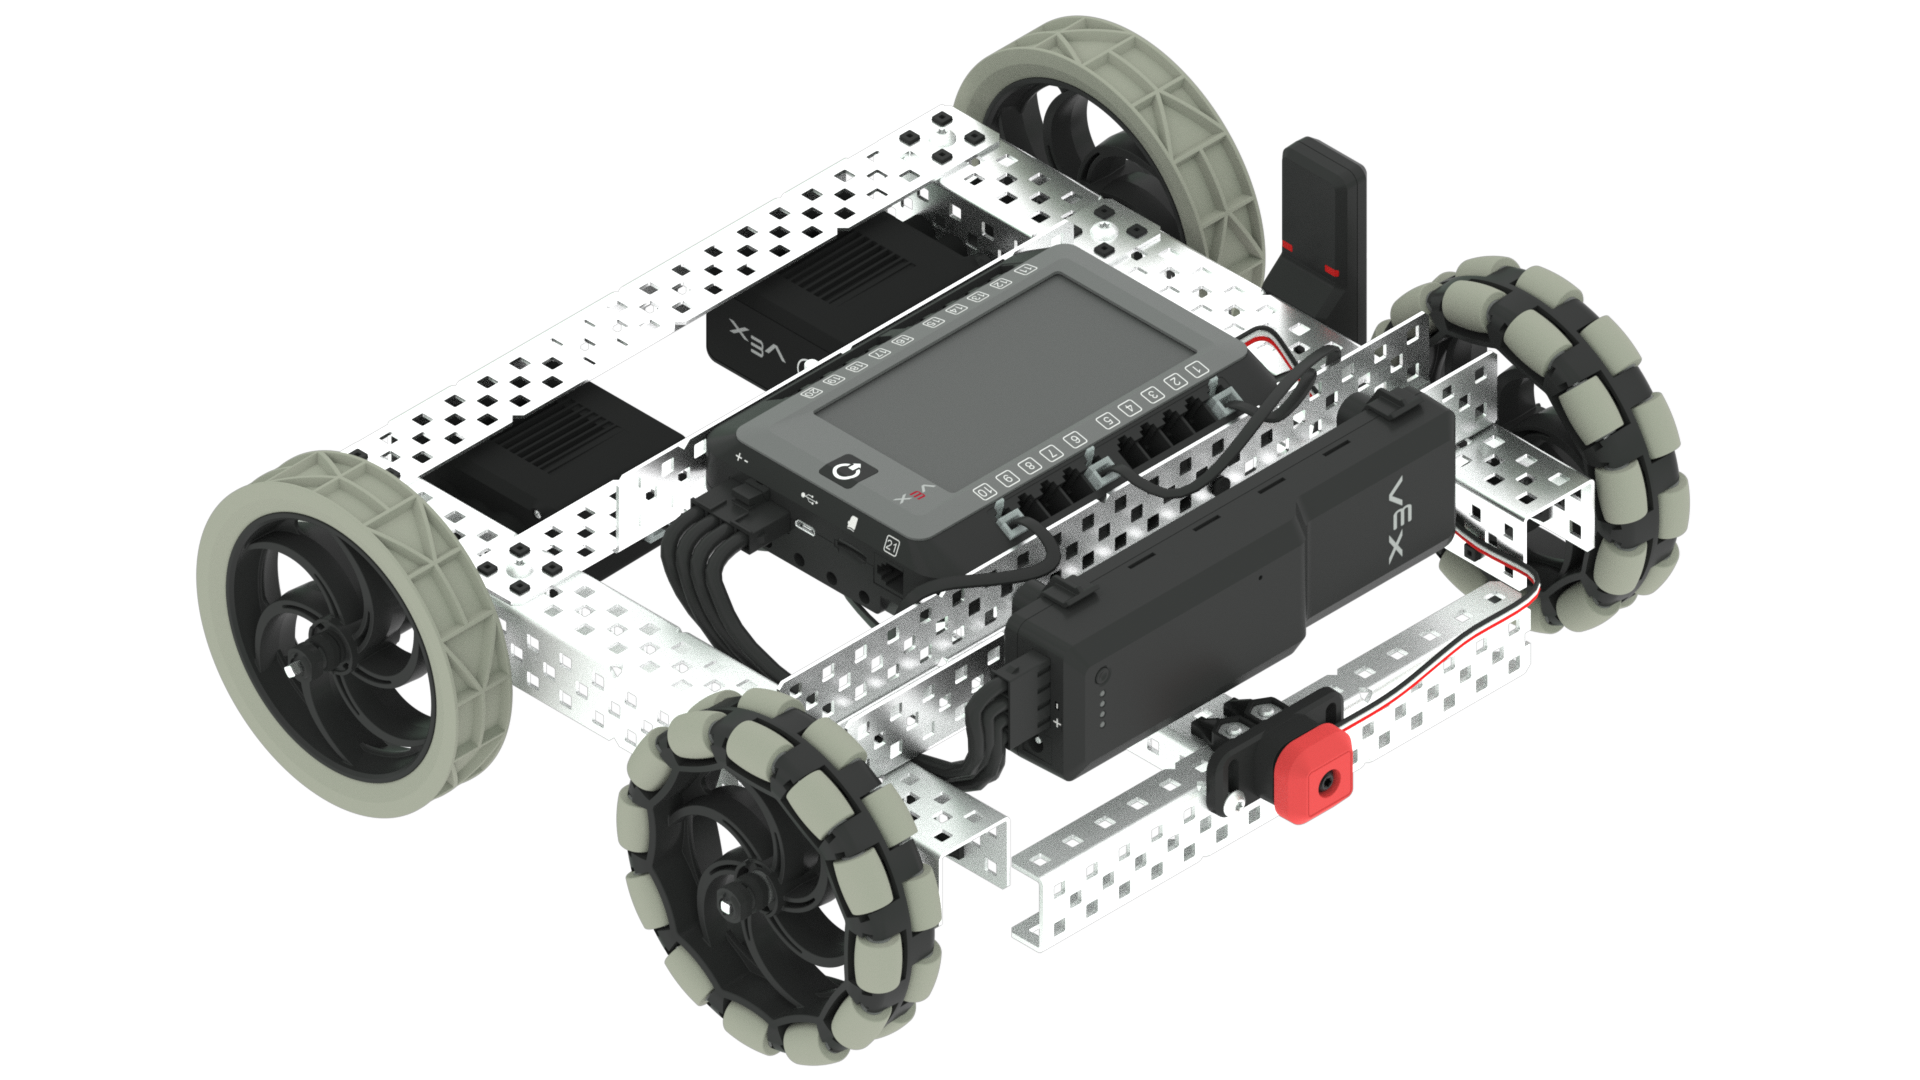
For this Lesson, you will be learning about the Bumper Switch and printing to the Brain's screen. But first, the Bumper Switch needs to be added to your TrainingBot.
Open and follow along with the steps in the build instructions to add a Bumper Switch to your TrainingBot.
Select Next > to learn about using the Bumper Switch and printing to the robot's Brain screen.