Mastering Values
The following steps will guide you through recording mastering values. You will open, name, save, and download the 'Arm Mastering' example project to your Brain. Then, you will run the project to record the current mastering values. Even though recording the mastering values was already done in Lab 1, this needs to be done at the beginning of each Lab. This is important, because the mastering values could change if the Workcell is moved a certain way, or from periods of extended use. Recording the mastering values at the beginning of each Lab ensures that the arm on the Workcell will move in an accurate and repeatable manner.
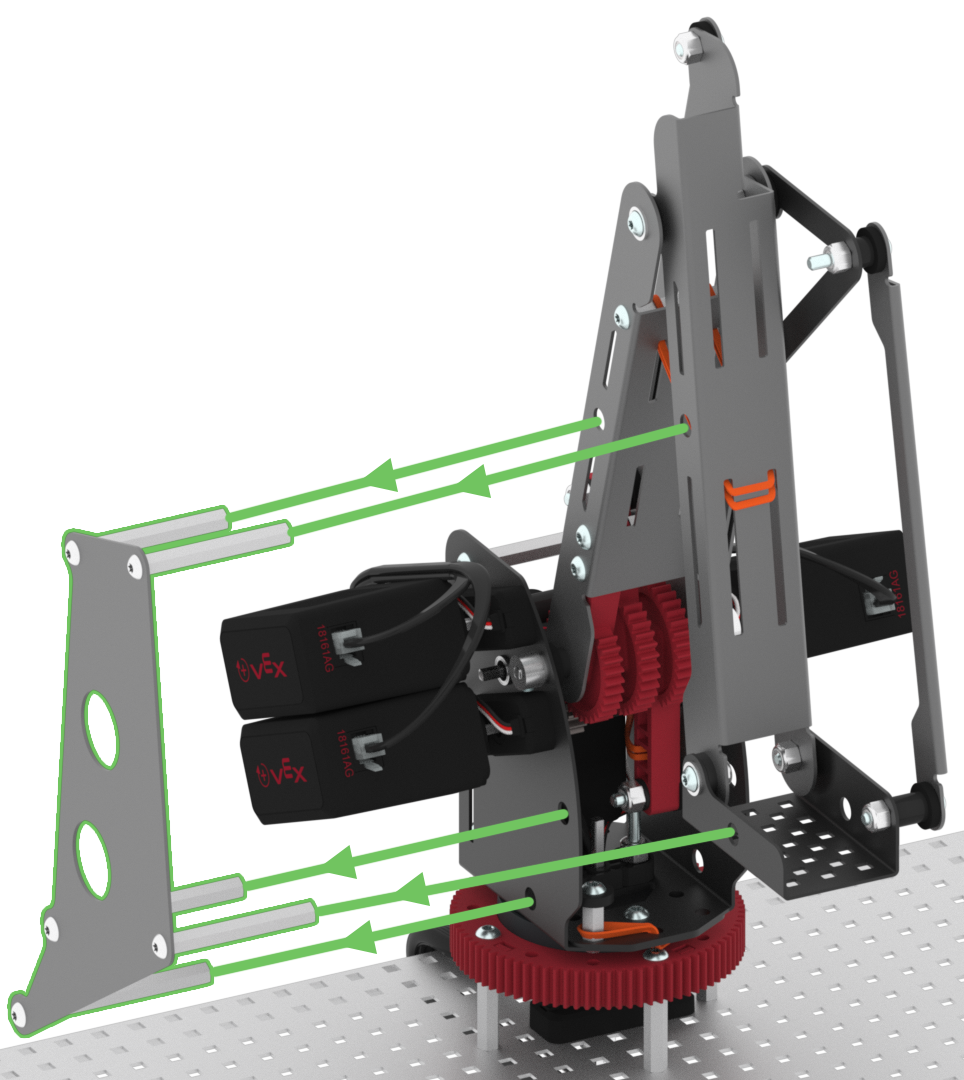
First, ensure that the mastering jig is inserted correctly into the arm mounted on the V5 Workcell.

In VEXcode V5, follow the steps in this video to open, name, save, and then change the download slot for the 'Arm Mastering' example project. If you are using a Custom Config, you may need to update the 'Arm Mastering' example project to ensure the port assignments match the ports used in the project.
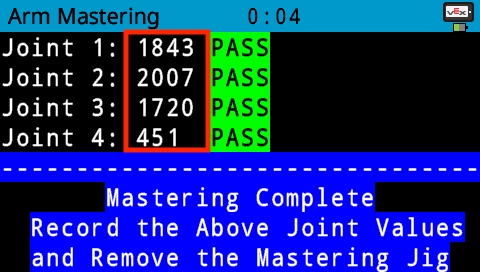
Download and run the project. The mastering values will be displayed on the V5 Brain's screen.

For Your Information
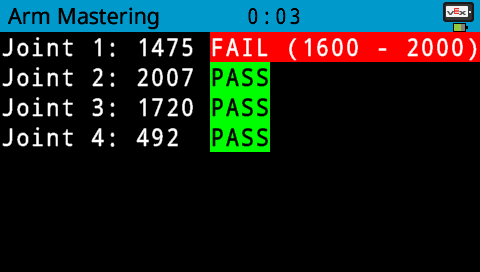
A joint may fail during the mastering process. An example of a joint failing is shown in this image.

Record each of the four joint values.
Record your values, not the ones shown in this image.
If any joint is reported to be failing, alert your teacher.

Remove the mastering jig.

