Exploration of Velocity - Part 1
![]() Teacher Toolbox
Teacher Toolbox
-
Activity Outline
This exploration will first introduce students to setting the velocity for driving and then ask them to test setting the velocity for turns. Click (Google Doc/.docx/.pdf) for the outline of this activity. -
What the Students will Program
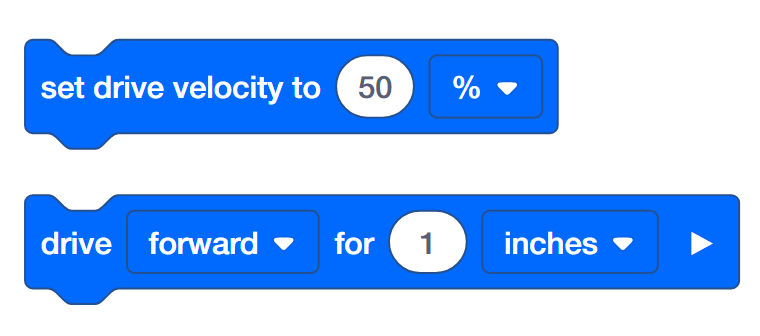
Using the drivetrain robot configuration allows the students to change the velocity settings of the [drive for] and [turn for] blocks simply by adding either a [set drive velocity] or a [set turn velocity] block to a stack. The guided part of the activity has students work with the [set drive velocity] block and the end of the activity asks them to apply what they’ve learned to using the [set turn velocity] block.For more information about what the students are asked to build in the Play section, click one of these links (Google Doc/.docx/.pdf).
-
Students’ Exploration Roles
For help organizing students for this activity, click one of these links (Google Doc/.docx/.pdf).
![]() Teacher Tips
Teacher Tips
-
If this is the student’s first time using VEXcode IQ, they can reference the Tutorials at any time during this exploration. The Tutorials are located in the toolbar.

- Click one of these links (Google Doc/.docx/.pdf) for suggestions for demonstrating how the Drivetrain and drive blocks are related.
- Make sure each student group has all of the necessary materials.
Autopilot is ready to drive at different velocities!
This exploration will give you the tools to be able to start creating projects that can move the Autopilot’s motors at velocities that fit the robot's purpose.
VEXcode IQ will be used in the first part of this exploration:

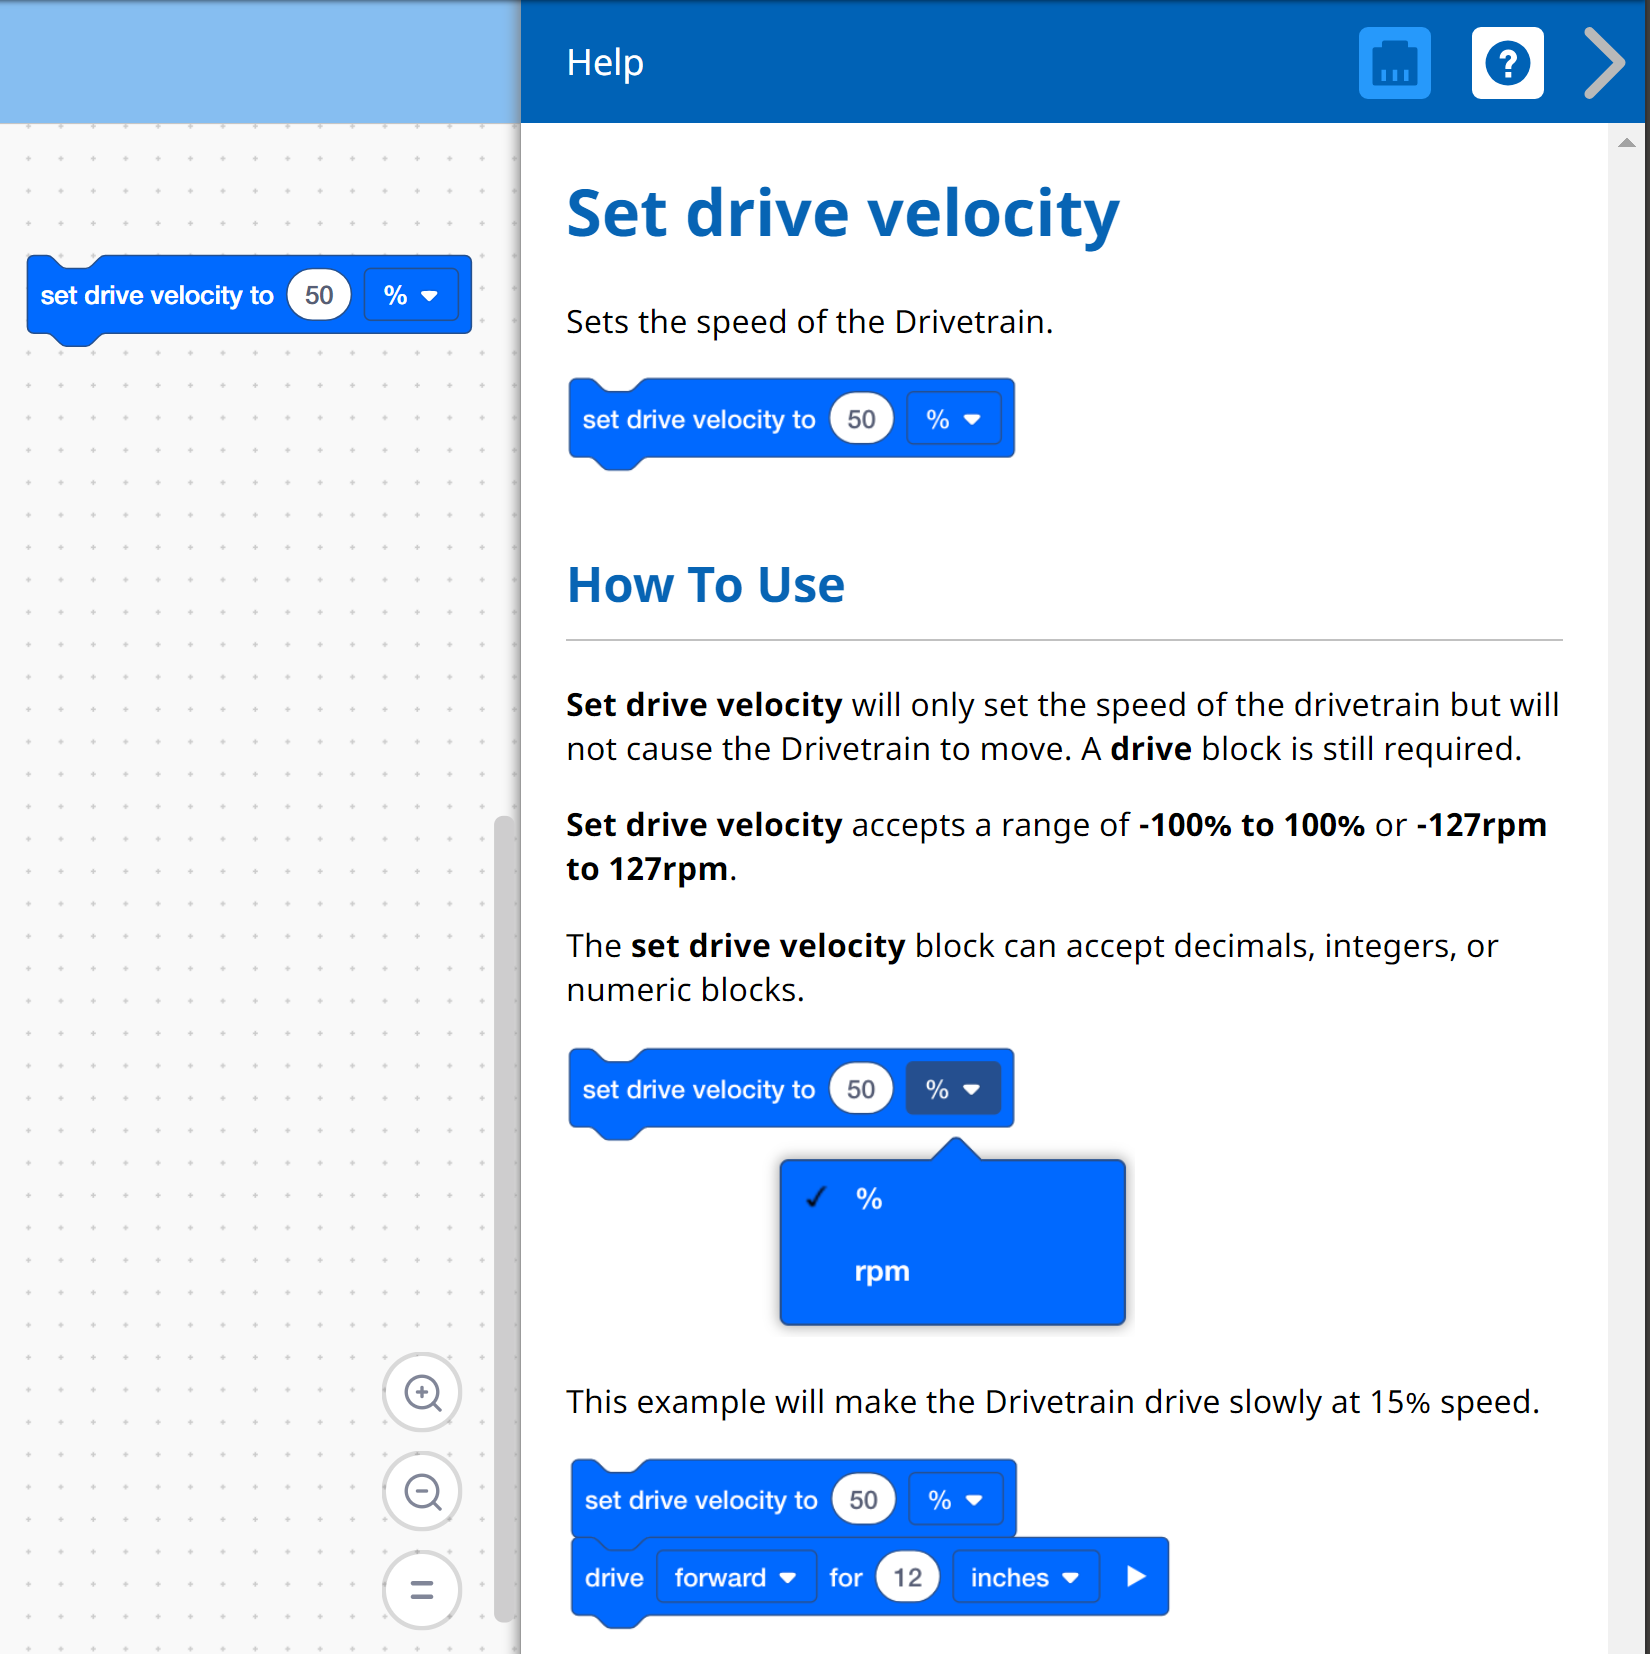
To find out more information about the block, open the Help and then select the block you want to read about.

The Builder in each group should get the hardware required. The Recorder should get the group’s engineering notebook. The Programmer should open VEXcode IQ.
| Quantity | Materials Needed |
|---|---|
| 1 |
Autopilot Robot |
| 1 |
1x1 Connector Pin |
| 1 |
Charged Robot Battery |
| 1 |
VEXcode IQ |
| 1 |
USB Cable (if using a computer) |
| 1 |
Engineering Notebook |
Step 1: Preparing for the Exploration
Before you begin the activity, do you have each of these items ready? The Builder should check each of the following:
- Are all the motors and sensors plugged into the correct port?
- Are the smart cables fully inserted into all of the motors and sensors?
- Is the Brain turned on?
- Is the battery charged?
Step 2: Start a New Project
Before you begin your project, the Programmer needs to select the correct template project. The Autopilot template contains the Autopilot motors and sensors configuration. If the template is not used, your robot will not run the project correctly.

The Programmer should complete the following steps:
- Open the File menu.
- Select Open Examples.
-
Use the filter bar at the top of the application and select "Templates."

-
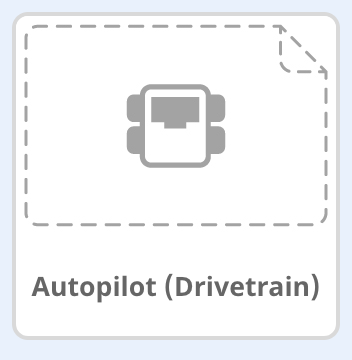
Select and open the Autopilot (Drivetrain) Template.

- Rename your project Drive Velocity because we will be using the [set drive velocity] block.
- Save your project. Click on one of the following links for more information on saving: macOS, Windows, Chromebook, iPad.

- Check to make sure the project name Drive Velocity is now in the window in the center of the toolbar.
![]() Teacher Toolbox
Teacher Toolbox

- Saving Projects
Point out that when they first opened VEXcode IQ, the window was labeled VEXcode Project and it was not saved (indicated on the toolbar). VEXcode Project is the default project name when VEXcode IQ first opens. Once the project is renamed Drive Velocity and saved, the display updates to Saved. Using this window in the toolbar, it is easy to check that the students are using the correct project and it is saved.
Once a project is initially saved, VEXcode IQ autosaves any subsequent changes, as indicated by the message next to the project name.
Tell the students that they are now ready to begin their first project. Explain to the students that by following a few simple steps, they will be able to create and run a project that will set the velocity of the Autopilot’s drivetrain. - Stop and Discuss
This is a good point to pause and have the student groups review the steps that were just completed on starting a new project in VEXcode IQ. Click one of the following links(Google Doc/.docx/.pdf) for suggestions.