Turning Right and Left Exploration - Part 1
![]() Teacher Toolbox
-
Activity Outline
Teacher Toolbox
-
Activity Outline
-
This exploration will introduce students to basic turning right and left programming behaviors. Click here (Google / .docx / .pdf) for the outline of this activity.
-
Using the drivetrain robot configuration enables the students to program Autopilot to move turn by just selecting the turn block. For more information about the blocks used, click here. (Google / .docx / .pdf)
![]() Teacher Tips
Teacher Tips
- If this is the student’s first time using VEXcode IQ, they can reference the Tutorials at any time during this exploration. The Tutorials are located in the toolbar.

- Click here (Google / .docx / .pdf)or suggestions for demonstrating how the Drivetrain to [Turn for] blocks are related.
- Make sure each student group has all of the necessary materials.
Autopilot is ready to turn!
This exploration will give you the tools to be able to start creating some cool projects for your Autopilot to follow.
- VEXcode IQ that will be used in this exploration:

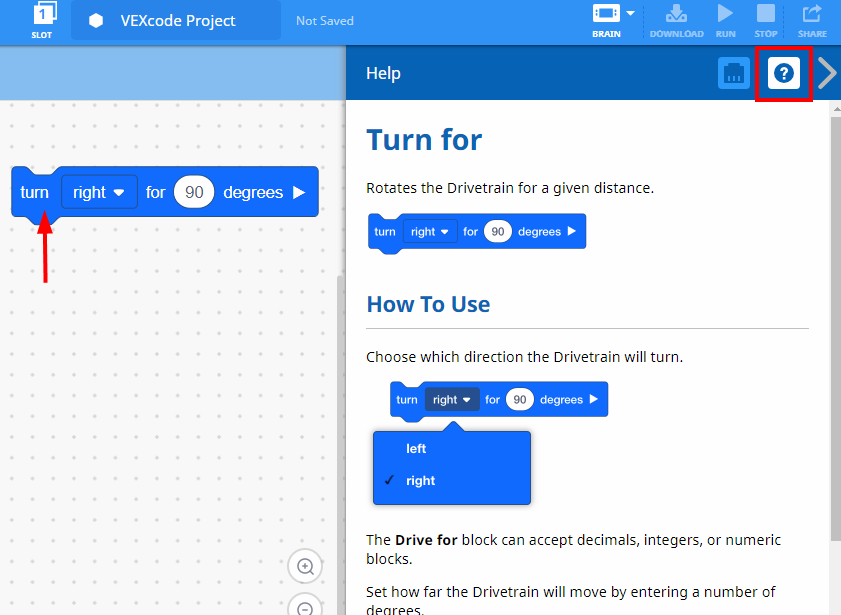
- To find out more information about this block, open Help and then select the [Turn for] block.

- The Builder in each group should get the hardware required. The Recorder should get the group’s engineering notebook. The Programmer should open VEXcode IQ.
| Quantity | Materials Needed |
|---|---|
| 1 |
Autopilot Robot |
| 1 |
Charged Robot Battery |
| 1 |
VEXcode IQ |
| 1 |
Engineering Notebook |
| 1 |
USB Cable (if using a computer) |
![]() Teacher Tips
Teacher Tips
-
Model each of the troubleshooting steps for the students. Remind the students that each group has someone in the role of the builder. That person should be checking these items throughout the exploration.
-
Click here for Autopilot’s motors and sensors configuration.
Step 1: Preparing for the Exploration
Before you begin the activity, do you have each of these items ready? The Builder should check each of the following:
- Are all the motors and sensors plugged into the correct port?
- Are the smart cables fully inserted into all of the motors and sensors?
- Is the Brain turned on?
- Is the battery charged?
Check out the troubleshooting tutorial if Autopilot does not pass any of these steps.

![]() Teacher Tips
Teacher Tips
-
Since this is a beginning activity with programming, the teacher should model the steps, and then ask the students complete the same actions. The teacher should then monitor the students to ensure that they are following the steps correctly.
-
Make sure that the students have selected Open Examples from the File menu.
-
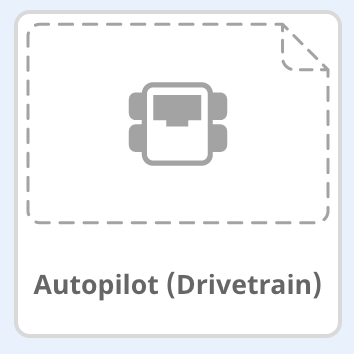
Make sure that the students have selected the Autopilot (Drivetrain) Template.
You can point out to the students that there are several selections to pick from on the Examples page. As they build and use other robots, they will have a chance to use different templates.
-
You can ask students to add their initials or the name of their group to the project name. This will help differentiate the programs if you ask the students to submit them.
Step 2: Start a New Project
Before you begin your project, the Programmer needs to select the correct template project. The Autopilot (Drivetrain) template contains the Autopilot motors and sensors configuration. If the template is not used, your robot will not run the project correctly.

The Programmer should complete the following steps:
- Open the File menu.
- Select Open Examples.
-
Use the filter bar at the top of the application and select "Templates."

-
Select and open the Autopilot (Drivetrain) Template.

- Since we will be using the [Turn for] block, rename your project Turn.
- Save your project.
![]()
- Check to make sure the project name Turn is now in the window in the center of the toolbar.
![]() Teacher Toolbox
-
Saving Projects
Teacher Toolbox
-
Saving Projects
![]()
Point out that when they first opened VEXcode IQ, the window was labeled VEXcode Project and it was not saved (indicated on the toolbar). VEXcode Project is the default project name when VEXcode IQ is first opened. Once the project is renamed Turn and saved, the display updates to Saved. Using this window in the toolbar, it is easy to check that the students are using the correct project and it is saved. Once a project is initially saved, VEXcode IQ autosaves any subsequent changes, as indicated by the message next to the project name.
Tell the students that they are now ready to begin their first project. Explain to the students that by following a few simple steps, they will be able to create and run a project that will turn the Autopilot.
![]() Teacher Toolbox
-
Stop and Discuss
Teacher Toolbox
-
Stop and Discuss
This is a good point to pause and have the student groups review the steps that were just completed on starting a new project in VEXcode IQ. These steps are very important because they will begin almost all programming explorations. For example you can say, “Let’s pause here for a moment. As a group summarize the steps we just completed. Record your summary in your engineering notebook.”
Remind the students that each group should have someone in the Recorder role. Allow students approximately 5 - 10 minutes to summarize the steps. If time allows, ask each group to share their summary. An example of what the summary could look like:
-
Open the file menu
-
Select examples
-
Choose a template
-
Name the project
-
Save the project
If students have done this activity in another stem lab, vary it by writing the steps on the board out of order, and ask students to put them in the correct order.