Remix Challenges - Part 1
![]() Teacher Tips
Teacher Tips
The students can refer to the tutorials if they run into any problems creating, renaming, and saving a program. Walk around and monitor the students to ensure they complete all the steps.
![]()
The Programmer should complete the following steps:
- Open the File menu.
- Select Open Examples.
- Select and open the Autopilot (Drivetrain) Template.
- Name your project Turn Remix Box.
- Save your project.

Let’s Get Moving!
Activity A: Drive around a box!
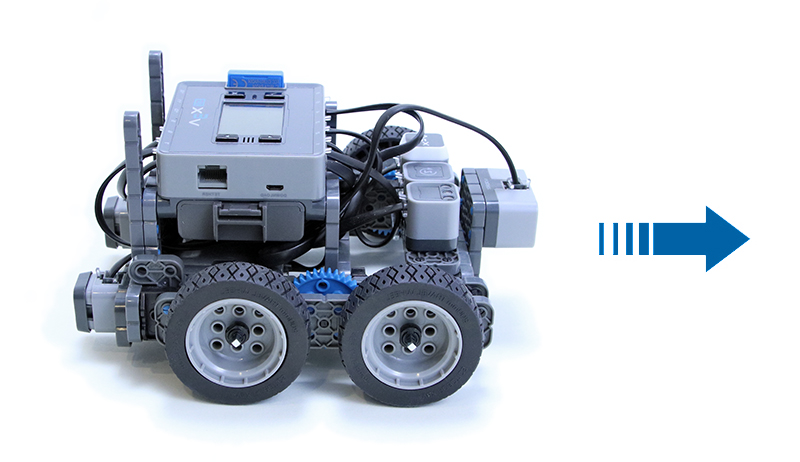
The goal of this activity is to program the Autopilot to drive around a box. This task will require multiple steps, so remember to think like a robot!
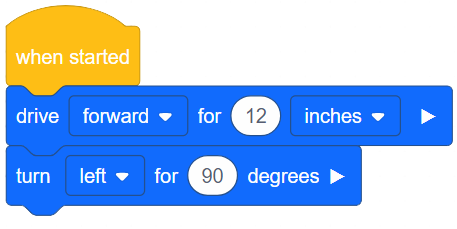
You will need to use two blocks to create this project: the [Turn for] and [Drive for] blocks.


Here are some steps to guide your team:
- Builder, place the box and Autopilot next to each other on the floor, making sure to give the Autopilot space to move. Use the ruler to measure the distance the Autopilot will need to move, in inches.
- Tip: Make sure to measure further than the exact side of the box to give Autopilot room to turn!
- Recorder, draw a diagram of the box and list the measurements the Builder gives on each side of the box. Confirm with your team that the measurements are correct.
- Driver, list the steps the Autopilot will need to drive in order to get around the box. Include the drive and turn steps!
- Recorder, write the steps the Driver lists in the engineering notebook.
- Programmer, use the diagram and steps from the engineering notebook to program the new project. Add the turn for and drive for blocks in the correct order. Then change the distances included in the drive for blocks to those recorded in the engineering notebook.
- Tip: Make sure turn for block is set to turn the correct direction!
-
Your project may begin to look something like this:

- Programmer, download the project when finished.
- Driver, run the project on the Autopilot.
Congratulations! You programmed a more complex task using simple behaviors.
Now, did the Autopilot move around the box as you expected? If not, why do you think that is? What changes do you think you could make?
![]() Teacher Tips
Teacher Tips
-
Use the duplicate option to repeat a set of blocks without having to drag them one by one. To learn more about how to duplicate, click here (Google / .docx / .pdf) .
-
Use the repeat block to repeat a drive forward and turn group of blocks. To learn more about how to use the repeat block, click here. (Google / .docx / .pdf)
![]() Motivate Discussion
-
Perimeter
Motivate Discussion
-
Perimeter
Q: What was the perimeter of your box? The perimeter of an object is calculated by adding up the length(s) all of the sides.
A: Students will answer based on the size of their box.
Q: What was the perimeter of the Autopilot’s route around the box?
A: Students will answer based on the measurements they used for their program.
Q: Why are these two perimeters different?
A: The Autopilot will need extra space to move past each side of the box to make its turn. Therefore, the Autopilot will create a larger perimeter than the box perimeter itself.
