
Programming Drive Forward and Reverse - C++
The Speedbot is ready to move!
This exploration will give you the tools to be able to program your Speedbot for simple movements. At the end of this activity, you will engage in the Basketball Drills Challenge using forward, reverse, and waiting behaviors.
- VEXcode V5 instructions that will be used in this exploration:
- Drivetrain.driveFor(1, inches);
- wait(1, seconds);
-
To find out more information about the instruction, select Help and then select the question mark icon next to a command to see more information.

- Make sure you have the hardware required, your engineering notebook, and VEXcode V5 downloaded and ready.
| Quantity | Materials Needed |
|---|---|
| 1 |
Speedbot Robot |
| 1 |
Charged Robot Battery |
| 1 |
VEXcode V5 |
| 1 |
USB Cable (if using a computer) |
| 1 |
Engineering Notebook |
Step 1: Preparing for the Exploration
Before you begin the activity, do you have each of these items ready? Check each of the following:
-
Are the motors plugged into the correct ports?
-
Are the smart cables fully inserted into all of the motors?
-
Is the Brain turned on?
-
Is the battery charged?
Step 2: Start a New Project
Complete the following steps to begin the project:
-
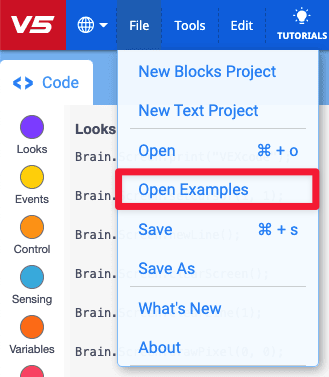
Open the File menu and select Open Examples.
-
Select and open the Speedbot (Drivetrain 2-motor, No Gyro) template project. The template project contains the Speedbot's motor configuration. If the template is not used, your robot will not run the project correctly.

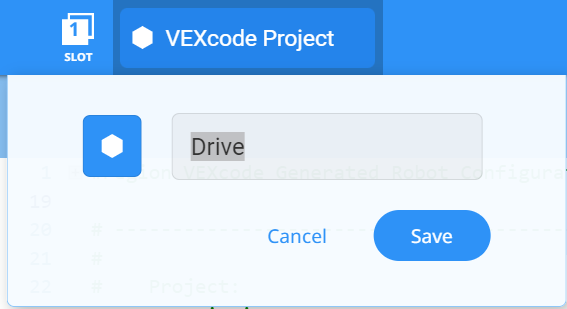
- Since you will be working on moving the Speedbot forward and reverse, you will name your project Drive. Select the Project Name, Type in 'Drive' and then select 'Save.'
-
Check to make sure the project name Drive is now in the window in the center of the toolbar.

Step 3: Drive Forward
You are now ready to begin programming the robot to drive forward!
-
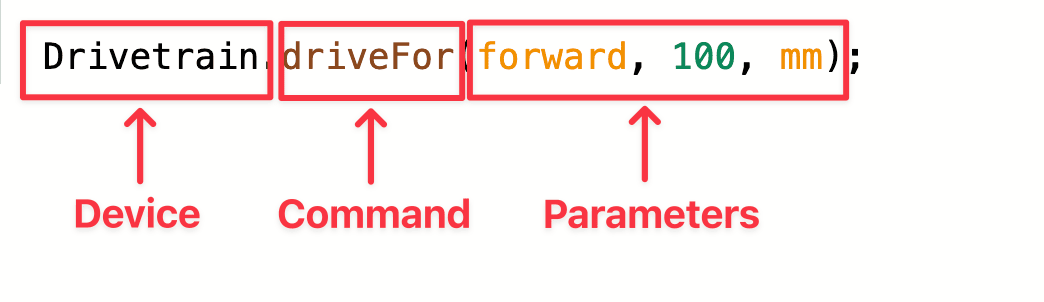
Before we begin programming, we need to understand what an instruction is. There are three parts to an instruction. For more information on what an instruction is, view this article.
-
Add the instruction to the project, so that your project looks like this:
int main() {
  // Initializing Robot Configuration. DO NOT REMOVE!
  vexcodeInit();

  // Begin project code
  Drivetrain.driveFor(forward, 100, mm);
-
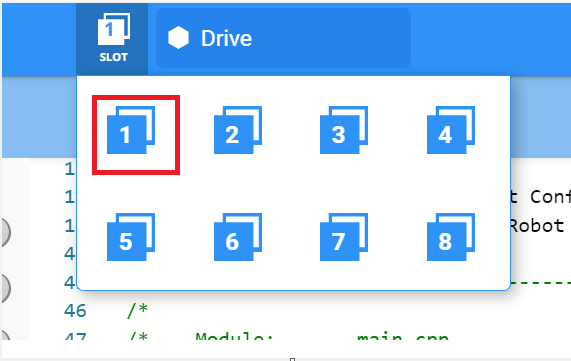
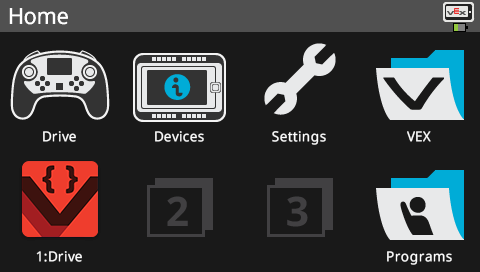
Select the Slot icon to choose one of the eight available slots on the Robot Brain and select slot 1.
-
Connect the V5 Robot Brain to the computer using a micro USB cable and power on the V5 Robot Brain. The Brain icon in the toolbar turns green once a successful connection has been made.

-
Select Download to download the project to the Brain.

-
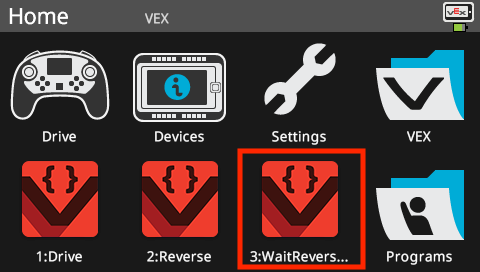
Check to make sure your project has downloaded by looking at the Robot Brain’s screen. The project name Drive should be listed in Slot 1.
-
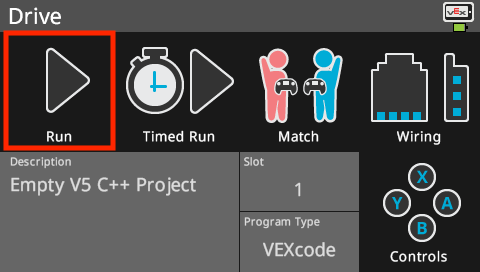
Run (C++) the project on the robot by making sure the project is selected and then press the Run button on the Robot Brain. Congratulations on creating your first project!
Step 4: Drive Reverse
Now that you have programmed your robot to drive forward, let us program it to now drive in reverse.
-
Change the parameter in the drive instruction to reverse, so your project looks like this:
int main() { // Initializing Robot Configuration. DO NOT REMOVE! vexcodeInit(); // Begin project code Drivetrain.driveFor(forward, 100, mm); } -
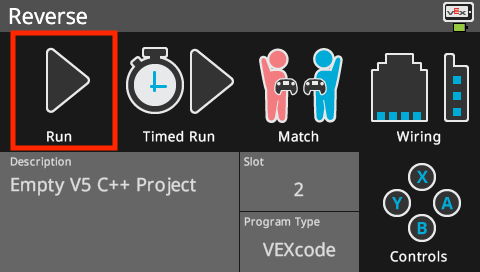
Select the Project Name to change it from Drive to Reverse.

-
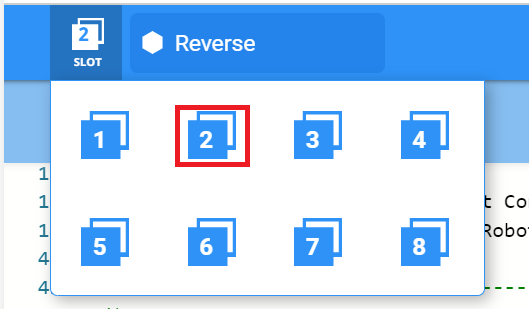
Select the Slot icon to choose a new slot. Select slot 2.
-
Download (in C++) the project.

-
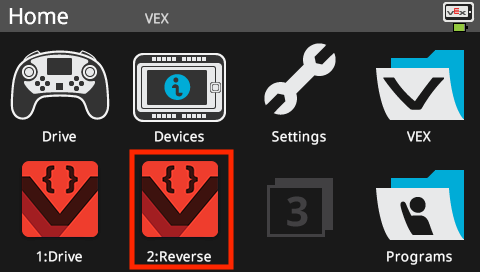
Check to make sure your project has downloaded (in C++) by looking at the Robot Brain’s screen. The project name Reverse should be listed in Slot 2.
-
Run (in C++) the project on the robot by making sure the project is selected and then press the Run button on the Robot Brain.
Step 5: Wait then Drive in Reverse
Now that we have programmed the robot to drive forward and then in reverse, we can now add a wait instruction so that the robot waits a certain amount of time before driving in reverse.
-
Add a Wait instruction before the Drive for command. Be sure the Wait is indented to match the Drive for command, and that all commands are within the curly braces. This tells the robot to wait three seconds before driving in reverse.
wait(3, seconds); Drivetrain.driveFor(forward, 100, mm); -
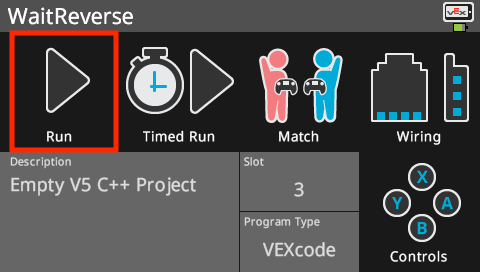
Select the Project Name to change it from Reverse to WaitReverse.

-
Select the Slot icon to choose a new slot. Select slot 3.

-
Download (in C++) the project.
-
Check to make sure your project has downloaded (in C++) by looking at the Robot Brain’s screen. The project name WaitReverse should be listed in Slot 3.
-
Run (in C++) the project on the robot by making sure the project is selected and then press the Run button.
Step 6: Complete the Basketball Drills Challenge!
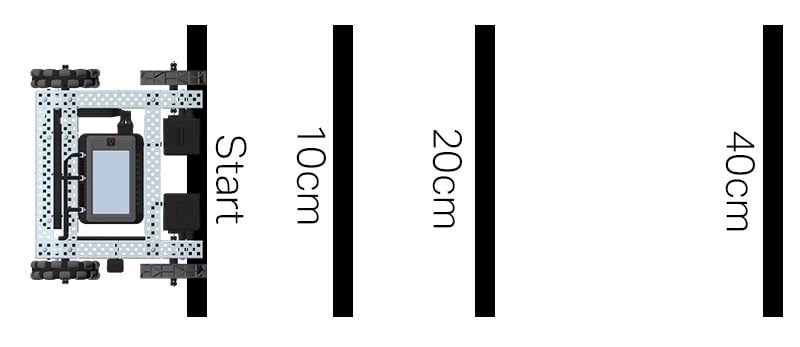
Basketball Drills Challenge layout
In the Basketball Drills Challenge, the robot must be able to navigate a series of lines at different distances. The robot will travel forward to the first line which is 10 cm from the starting position, wait 1 second, and then travel backwards returning to that same line. The robot will then repeat the action by driving forward 20 cm to the second line, wait 1 second, and then drive backward to the original starting line. The robot will drive forward to the third line with a distance of 40 cm, wait 1 second, and then finally return to the starting line to finish the challenge.
Before programming the robot, plan out the robot's path and behaviors in your engineering notebook.
After completing the Basketball Challenge, you will be able to combine forward and reverse movements with additional robot behaviors to complete even more advanced challenges.
Keep in mind when programming that 1 cm = 10 mm.