The Completed Look of the Build
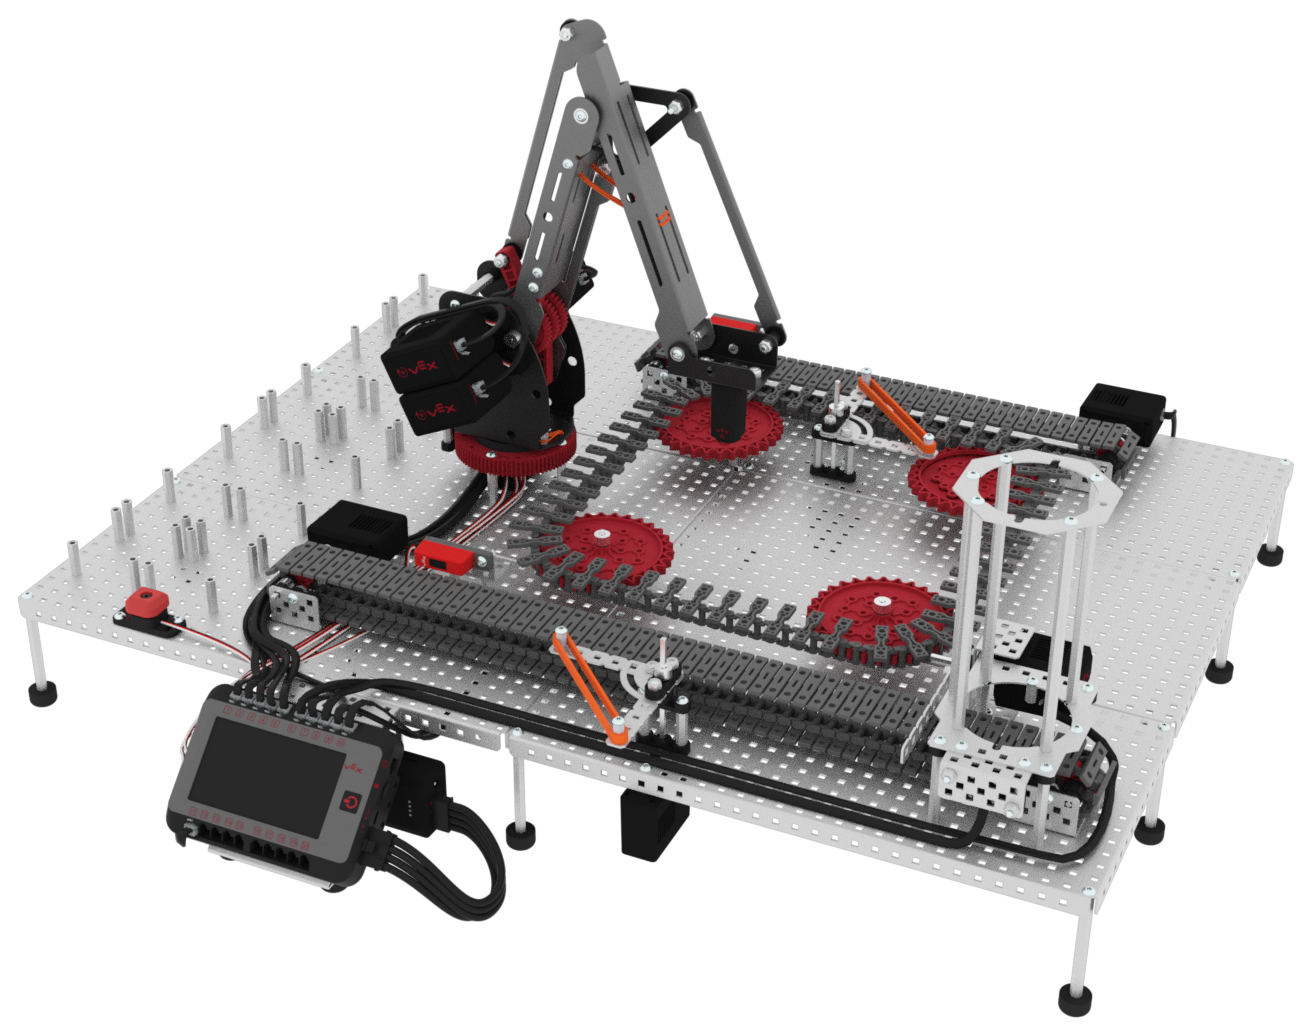
In this Seek section, you will be preparing for the Play section by turning on your Brain, reviewing port configurations, and recording mastering values. You will follow the Seek Checklist below to ensure everything is ready for Play. You can edit the Workcell however you wish in order to compete in the Rethink section. Your build must include some basic elements shown here. Review the Capstone Project Competition document (Google / .docx / .pdf) to learn more about the competition and what elements may be helpful when designing your Workcell. Use this as you begin to contemplate your strategy for designing and building a Workcell to sort all 36 disks.
Recommended Elements
Unsure where to start with your Workcell design? Consider some of the following elements that were covered in Labs 1-12 or in the Workcell Extensions. The value of each element will be explained, and links to related Workcell Extensions will be provided. For more information about elements highlighted in the Workcell Extensions, see this article.
Gates
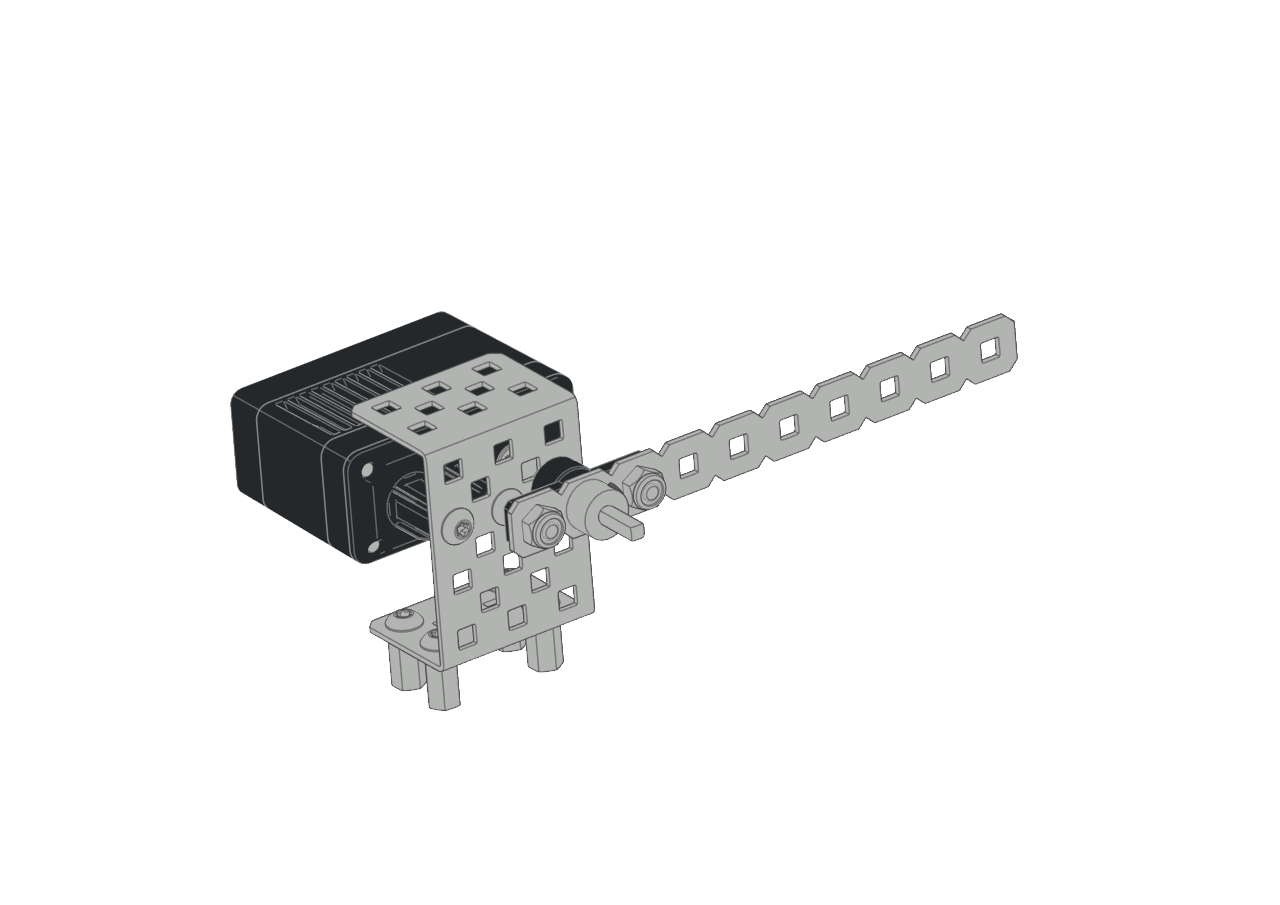
In some systems, disks go along different conveyor paths depending on their color. Gates minimize the number of disks going through the system at once, which can lead to a more accurate system. When using a gate or multiple gates, there is a lesser chance of disks going down the wrong path, or ending up in the wrong loading zone.
Conveyors
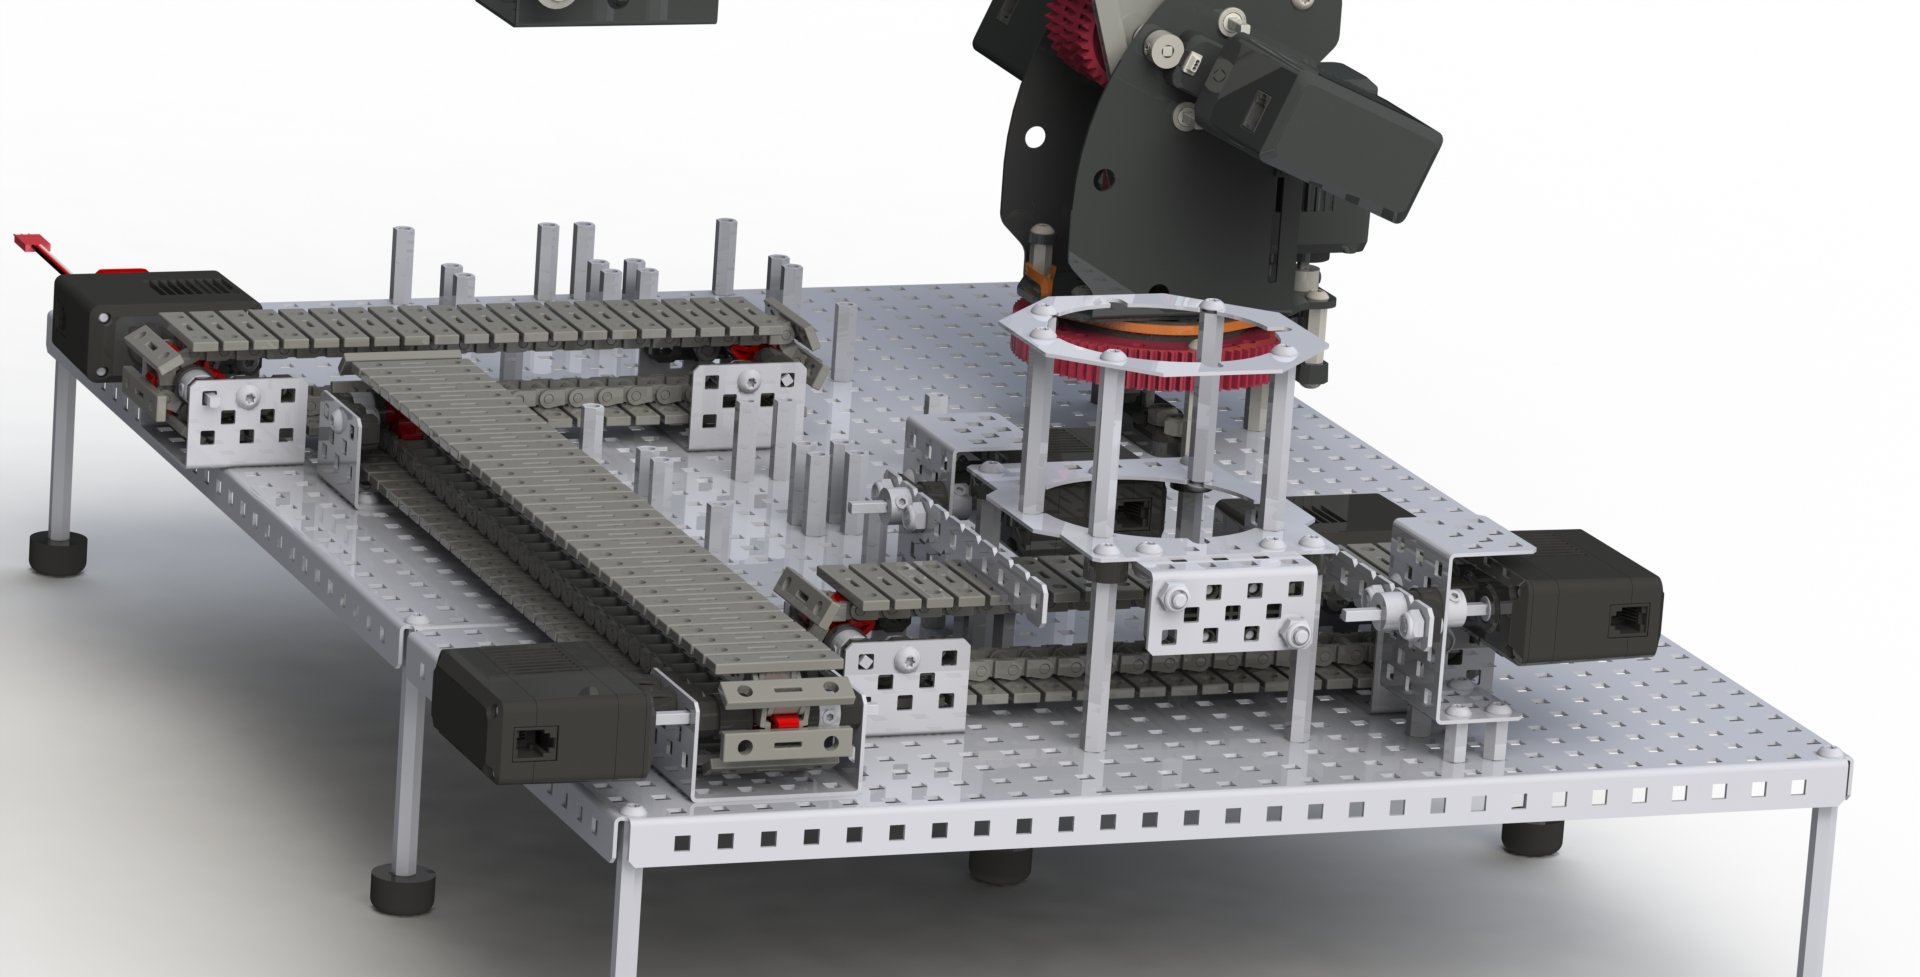
Conveyors allow disks to move around a system. Rather than relying on workers to move products across a system, diverters and conveyors can be used to increase efficiency. The number and arrangement of conveyors also allows for more accurate movement of objects from one area to another. It is important to consider how multiple conveyors work together. Consider the speed each conveyor is moving and how the disk will transfer from one to another.
Sensors
Sensors can increase the accuracy and efficiency of a system. The sensors can report the location of an object along a conveyor, the color of the object, or be used to determine the turning radius of diverters. This added functionality allows you to begin automating systems rather than relying on manual inputs to report the presence or color of an object.
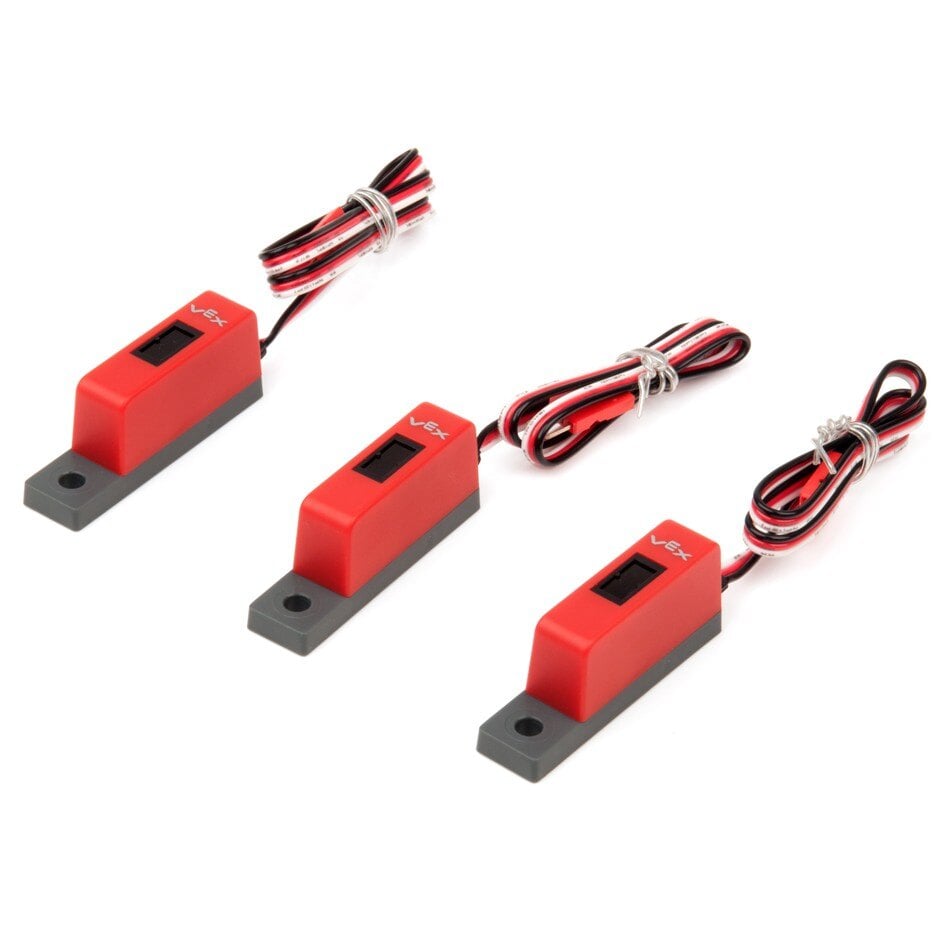
Line Trackers report the percentage of light being reflected back from the sensor. This allows you to code the Workcell to respond when objects are detected at a certain position on a conveyor. This is also covered in Lab 10. For more information on using line trackers, view this article from the VEX Library.
Workcell Extension(s) that Cover this Concept:
Line Trackers
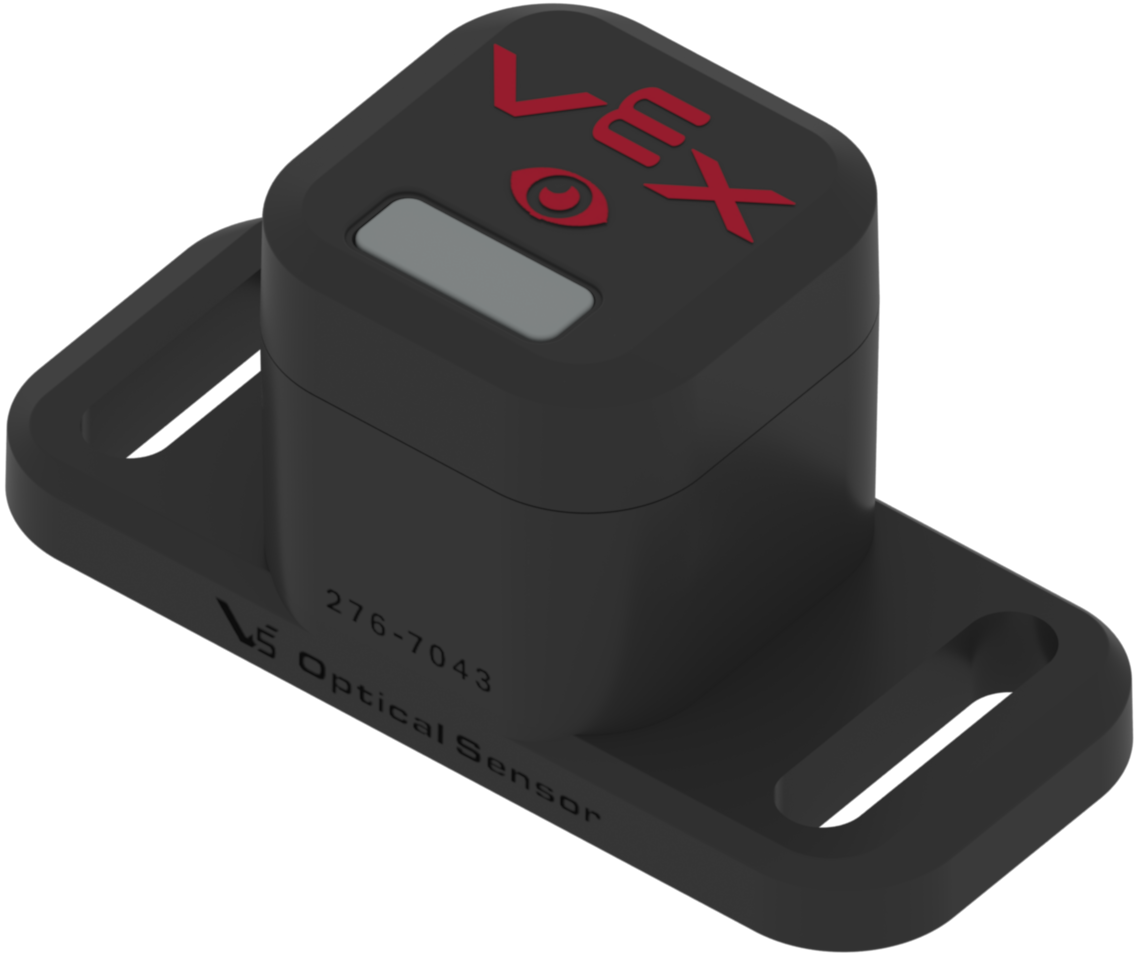
Optical Sensors can be used to detect color, proximity, and ambient light. This allows a project to include different behaviors depending on the color reported by the sensor. For more information on using optical sensors, view this article from the VEX Library.
Workcell Extension(s) that Cover this Concept:
Optical Sensor
Retaining Wall
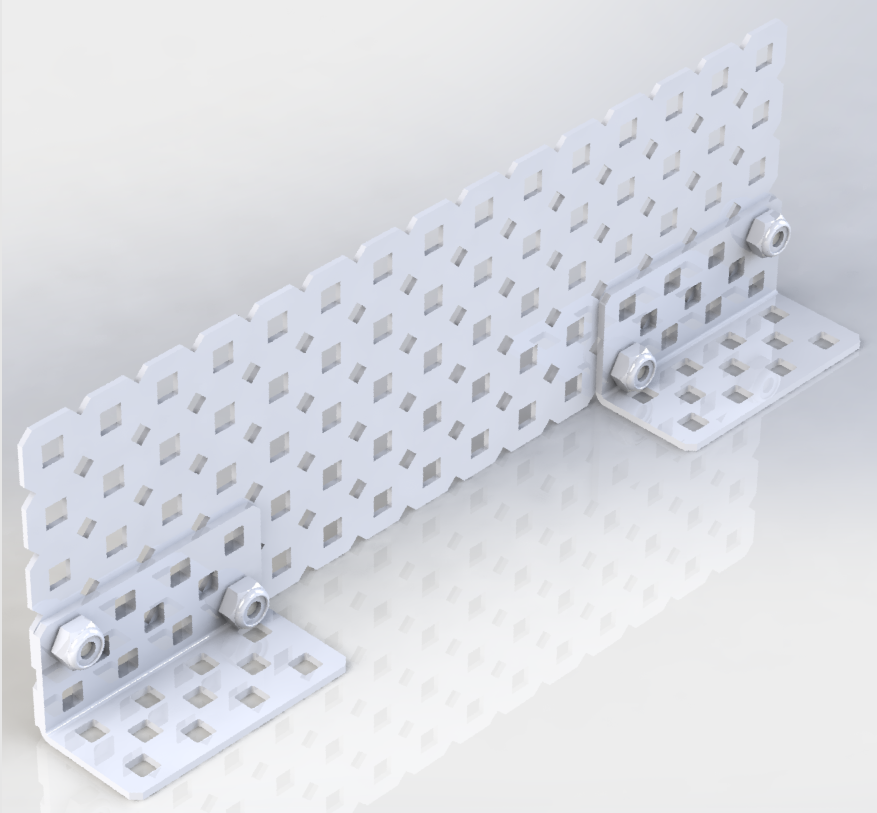
Sometimes when disks are transitioning from one conveyor to another, they fall off the second conveyor due to the speed they are moving. This is also seen when going around bends in circular conveyors. Rather than decreasing the velocity of the conveyor, retaining walls can be built to keep the disk on the conveyor.
Seek Checklist
Prepare for the rest of the Lab by ensuring each of these items have been complete.
- Is the battery charged?
- Is the battery attached to the Brain?
-
Is the Brain on and connected to your device?
- Is VEXcode V5 open?
- Are the port configurations correct?
- Check and record mastering values. Follow the steps on the Mastering Values page in the Seek section for how to find those values.
Measuring and Making Your Own Cables
As you build your Workcell, you may want to make your own customized V5 Smart Cables instead of using the pre-determined sized cables. To do so, follow the instructions in the Crimping Tool Knowledge Base Article. For help with measuring these cuts, as well as measuring many different pieces in the VEX V5 ecosystem, view this article for information on how to Use the Printable VEX V5 Parts Ruler.
Installing V5 Workcell Rubber Bands
Installing the rubber bands on the Workcell is crucial for reliable and repeatable movements of the arm. Think of these rubber bands as the muscle of the Workcell. Installing these rubber bands correctly ensures that your Workcell will function as intended. If you notice that your V5 Workcell’s arm is not moving accurately, shaking, or generally not moving in a smooth manner, the rubber bands may not be installed correctly, or at all. View this article from the VEX Library for helpful tips and tricks, as well as animations for how to install your rubber bands.
