
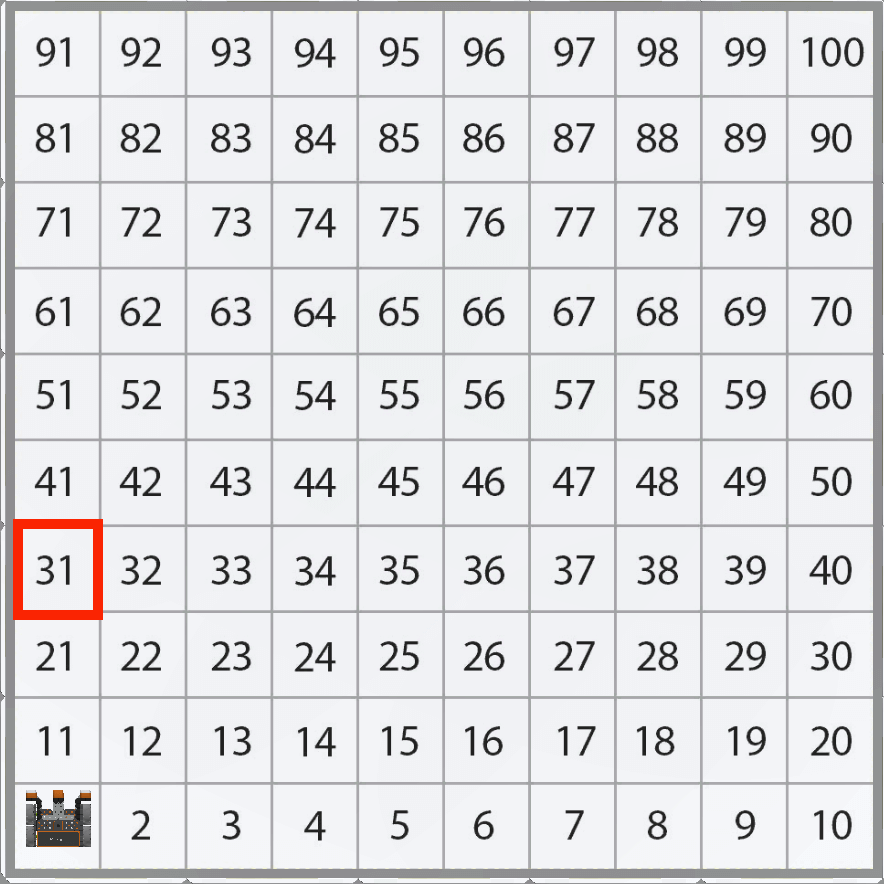
Lesson 3: Drive to Number '31'
In this Lesson, the VR Robot will drive to the number ‘31’ and then back to number ‘1’ on the Number Grid Map Playground!
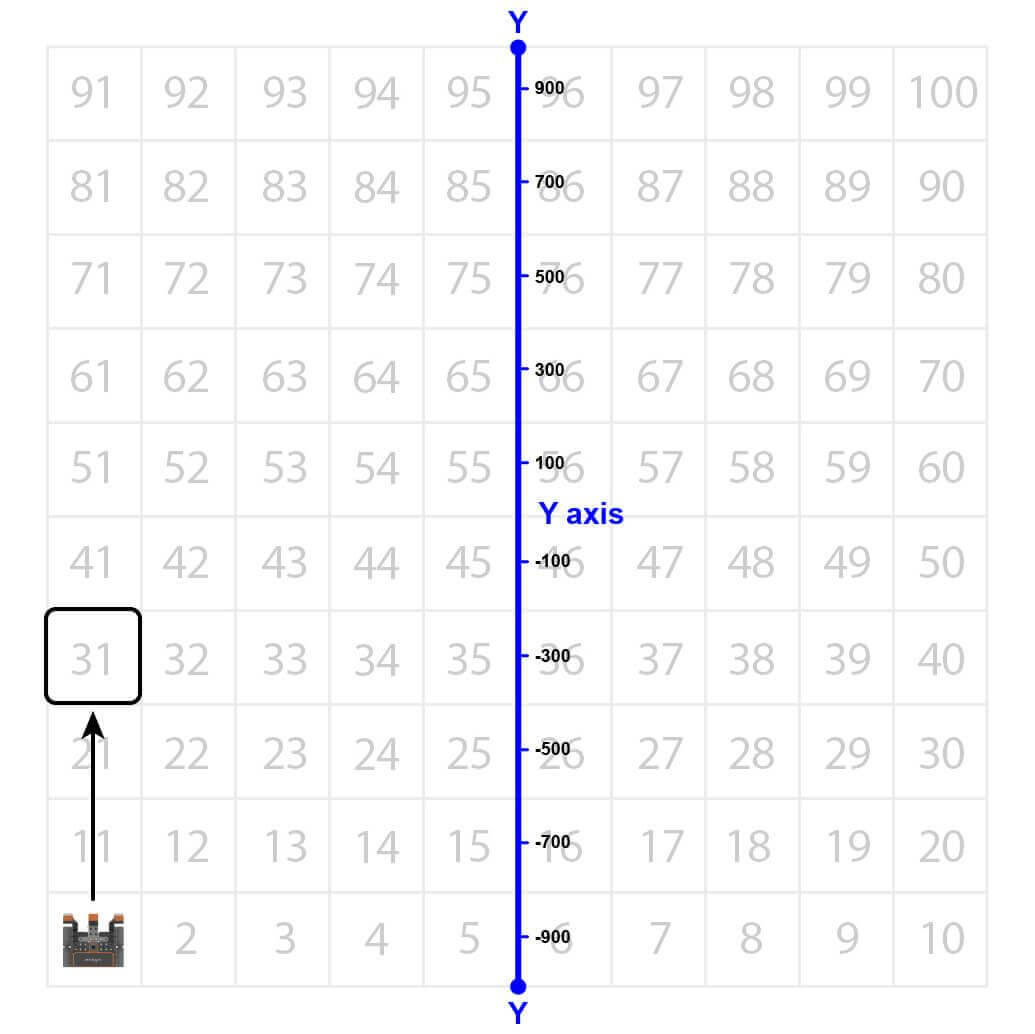
Notice that the VR Robot will be traveling along the Y axis to move to the number ‘31’ on the Number Grid Map Playground.
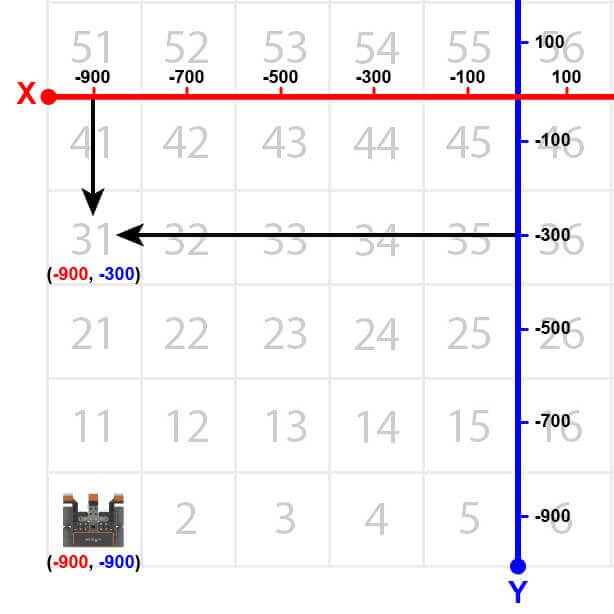
The VR Robot will drive to the location of the number ‘31’ on the Number Grid Map Playground. However, before the VR Robot can navigate to that number, the VR Robot has to be told where that number’s location is. The coordinates of number ‘31’ are (-900, -300).
- Drag in or type a while loop.
# Add project code in "main"
def main():
    while condition:
wait(5, MSEC)- Set the condition for the while loop to the position command in the Y-axis less than -300 in millimeters (mm). Your project should look like this:
# Add project code in "main"
def main():
    while location.position(Y, MM) < -300:
wait(5, MSEC)- Drag or type the non-waiting drive command inside the while loop. Your project should look like this:
# Add project code in "main"
def main():
    while location.position(Y, MM) < -300:
        drivetrain.drive(FORWARD)
wait(5, MSEC)-
Note that the less than operator is used instead of the greater than operator because the VR Robot is driving up from the bottom of the Playground. The VR Robot is starting at a Y-value of -900 millimeters (mm). As the VR Robot drives forward, the Y-values increase.
- Drag in or type the stop command outside the while loop. Your project should look like this:
# Add project code in "main"
def main():
    while location.position(Y, MM) < -300:
        drivetrain.drive(FORWARD)
        wait(5, MSEC)
drivetrain.stop()- Open the Playground Window if it is not already open. Be sure the Number Grid Map Playground opens, and run the project.
-
Watch the VR Robot drive to number ‘31’ on the Number Grid Map Playground.

- In this project, the VR Robot drives to the number ‘31’ on the Number Grid Map Playground. Since the Y-values are increasing as the VR Robot drives to the number ‘31,’ the project uses a less than operator.
- The VR Robot will drive forward while the Y-value is less than the coordinate that the indicated number is on and stop once its Y-value is greater than the Y-value of the coordinate. Since the Y-value of the number ‘31’ is -300, the VR Robot will stop driving once the Y-value is greater than -300.
Select the Next button to continue with the rest of this Lesson.