Lesson 1: What is the Location Sensor?
In this Lesson, you will learn what the Location Sensor is and how to use the Location Sensor to navigate the VR Robot on the coordinate plane on the Number Grid Map Playground. You will learn how the Location Sensor works and how to use the Location Sensor in a VEXcode VR Python project.
Learning Outcomes
- Identify that the Location Sensor reads (X,Y) coordinates from the center turning point of a VR Robot.
- Identify that the position command reports the X or Y coordinate position of a VR Robot in either millimeters or inches.
- Describe why the Location Sensor would be used in a project.
Location Sensor
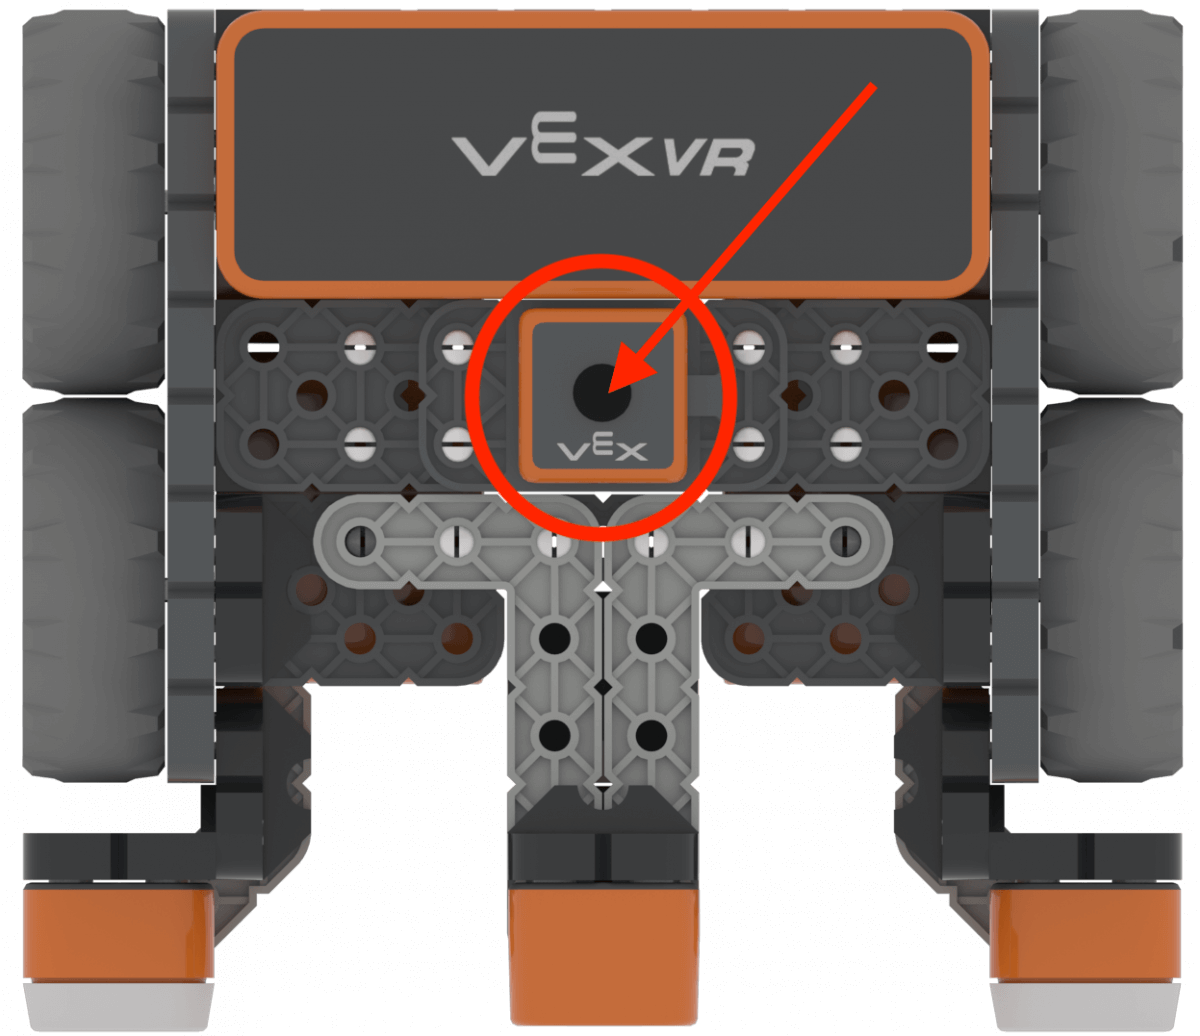
A VR Robot has a Location Sensor built in that reports the (X,Y) position of the VR Robot. The location of the VR Robot is determined by the front-center turning point. This is also the location of the Pen on the VR Robot.
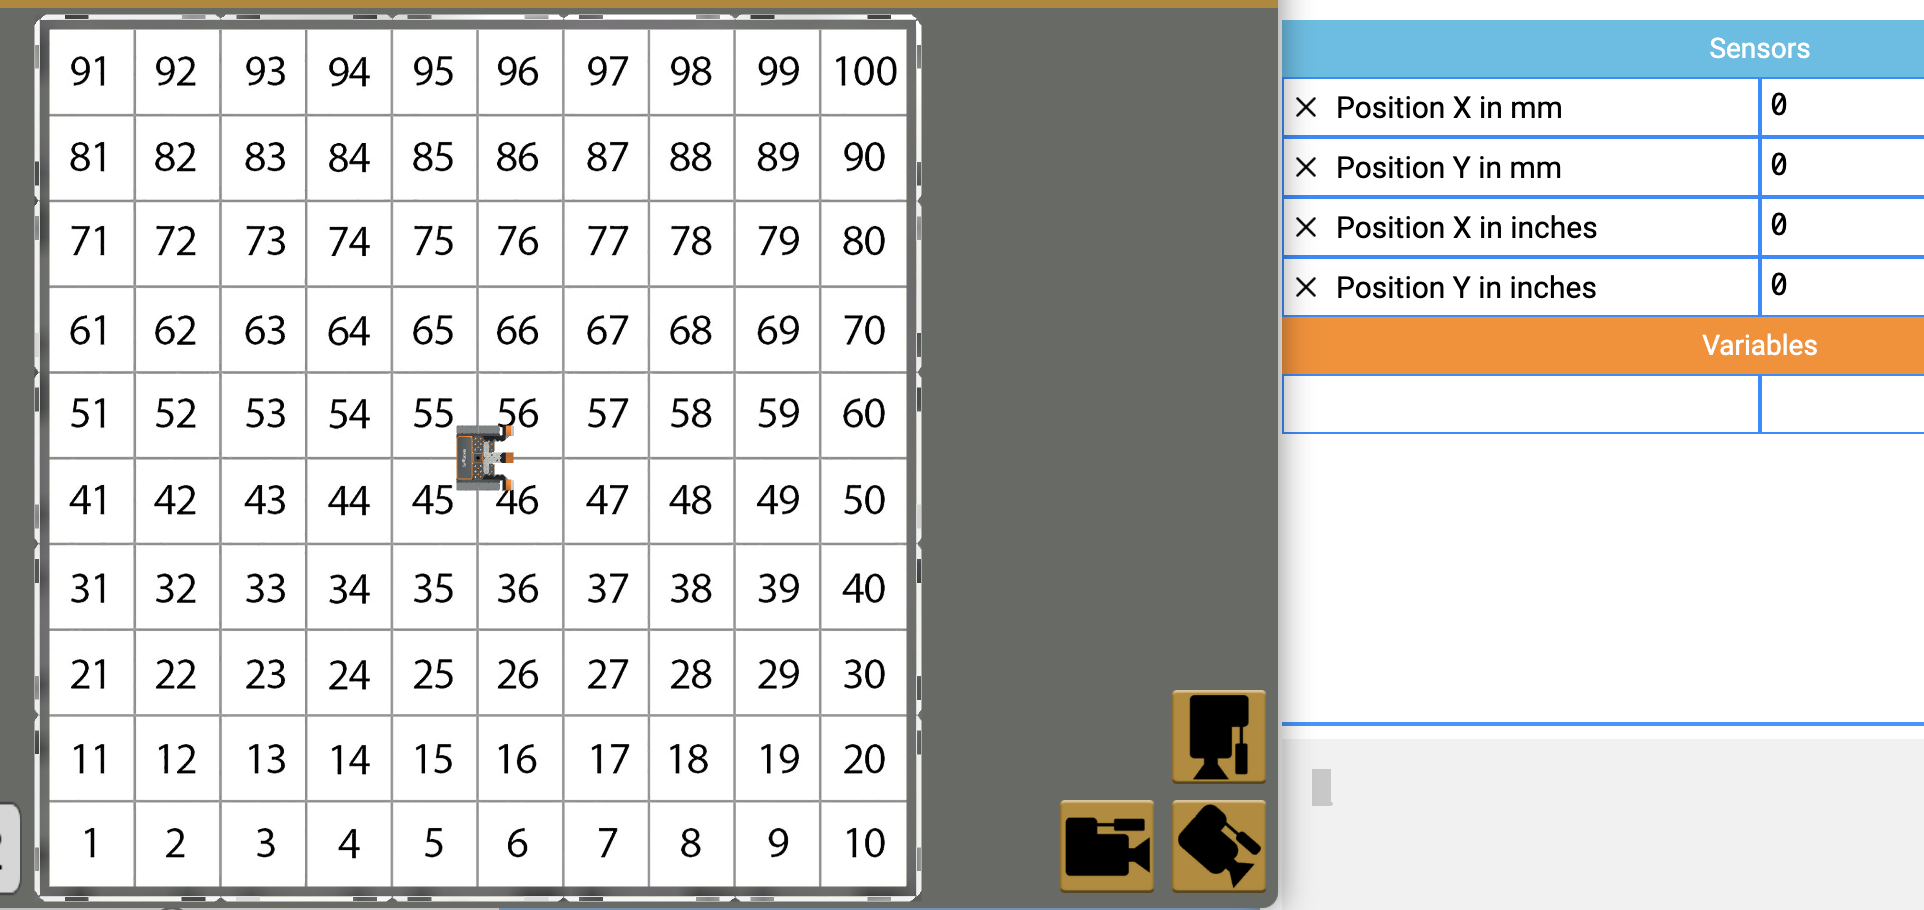
Location Sensor values can be seen on the Dashboard in VEXcode VR.
Location Sensor and Coordinates in VR Playgrounds
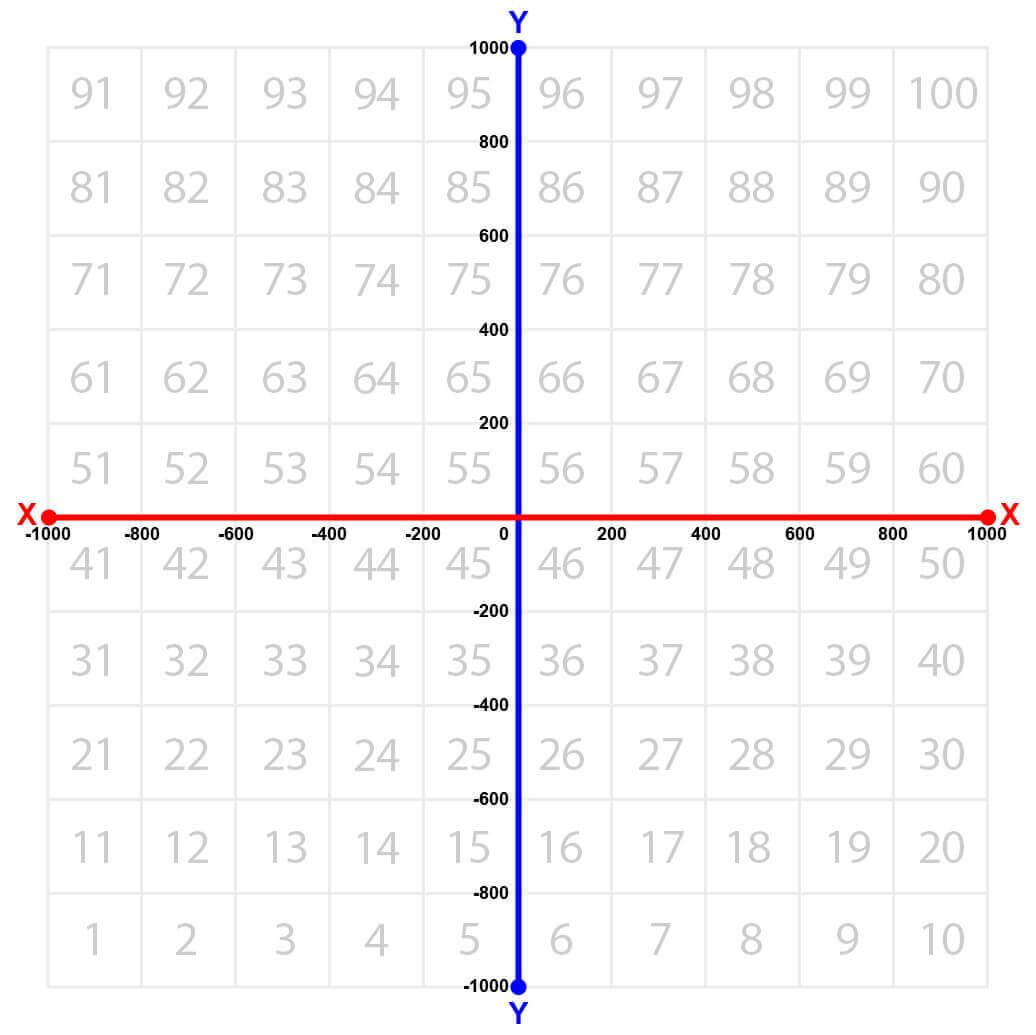
The Location Sensor can be used to navigate the coordinates of any Playground. Each Playground ranges from -1000 millimeters (mm) to 1000 millimeters (mm) for the X and Y positions.
The VEXcode VR Dashboard displays the (X,Y) position of a VR Robot determined from the Location Sensor.
View the following article for information on how to Identify the (X,Y) coordinates on a Playground, and how to identify the coordinates of a VR Robot’s current location and angle.
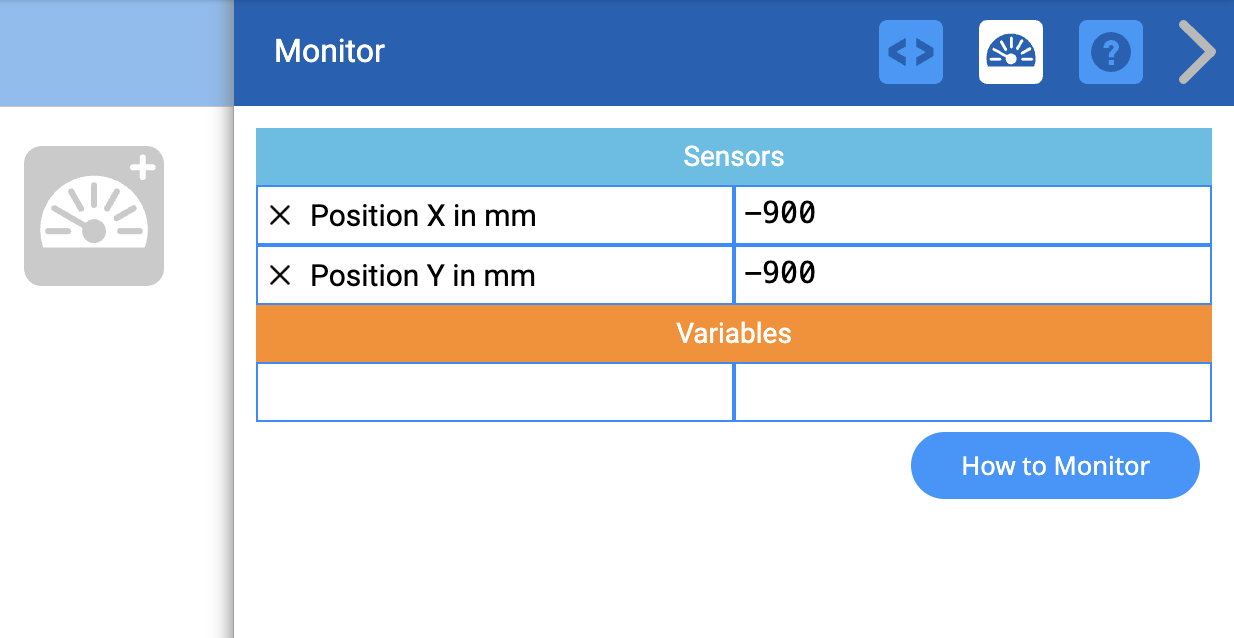
For more information about the Monitor Console, see this article.
For more information on how to use the coordinate system (X,Y), and position commands, see the following article.
Position Command
The Location Sensor can be used to navigate the VR Robot to or from a precise location on a Playground, based on its X, Y coordinates. The data from the Location Sensor can be used in a project so the VR Robot can make a decision based on its reported position on the coordinate plane.
Use the position command in a Text project to report the position of the Location Sensor. The position command returns a numeric value that reports the X or Y coordinate position of the center of the Location Sensor (the center of the VR Robot). Choose whether the X or Y coordinate position is reported by entering the X or Y parameter.
location.position(X, MM)
location.position(Y, MM)
The position command can also report values in millimeters (mm) or inches.
location.position(X, MM)
location.position(X, INCHES)
Like the get_distance command discussed in Unit 5, the position command is typically used with a control structure, like a while loop, as well as a comparison operator, so that the VR Robot can use the data from the Location Sensor to navigate along the X and Y axes to a location. You will learn more about using the position command in this way in this Unit.
Viewing Location Sensor Data
You can view the data reported by the Location Sensor in the VR Dashboard, or via the Monitor Console. Load and run the “Location” example project to see how Location Sensor data is reported, so that you can use it in a project to navigate the VR Robot to a specific location.
For Your Information
The Location Sensor can also be used to report the angle of the VR Robot's position in degrees. This can be useful when trying to turn to a precise location, or to move from your current position a precise amount.
The position_angle command can be used to report the numerical value of the position angle of the VR Robot in degrees.
location.position_angle(DEGREES)The 'Location Sensing' Example Project uses the values reported by the Location Sensor by using both the position and position_angle commands.
- In VEXcode VR, select “Open Examples” from the File dropdown menu.
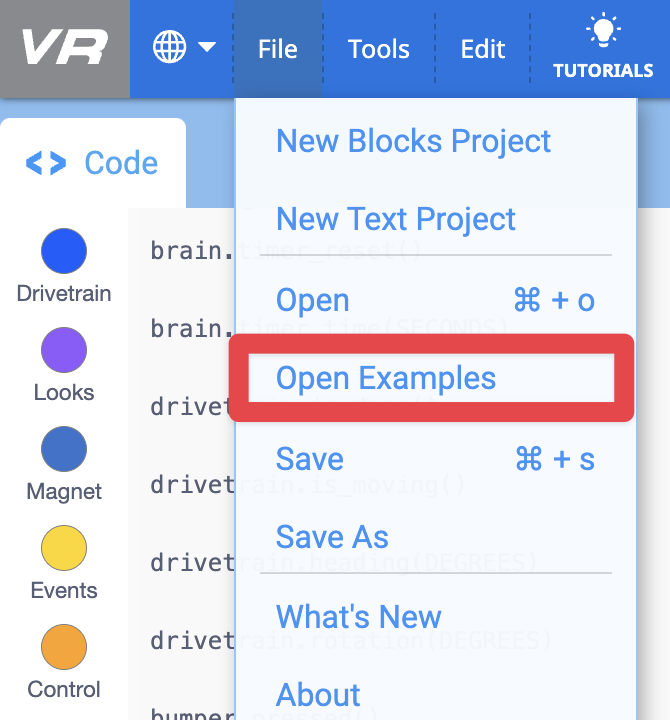
- Select the “Location” example project.
- Open the Playground Window if it isn’t already open. Be sure the Number Grid Map Playground opens, and run the project. This project is also shown here.
# Add project code in "main"
def main():

    # The robot will drive until it passes 0 on the Y axis
    while location.position(Y, MM) < 0:
        drivetrain.drive(FORWARD)
        wait(5, MSEC)

    drivetrain.turn_for(RIGHT, 90, DEGREES)

    # The robot will drive until it passes 0 on the X axis
    while location.position(X, MM) < 0:
        drivetrain.drive(FORWARD)
        wait(5, MSEC)

    drivetrain.stop()

# VR threads — Do not delete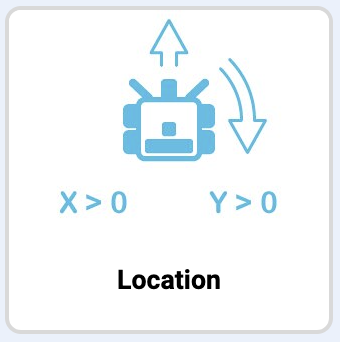
vr_thread(main)- Notice that the VR Robot drives until the Y coordinate is greater than zero, turns right, then drives until the X coordinate is greater than zero. This places the VR Robot close to the center of the Number Grid Map Playground, near location (0, 0).