
Joint Movement
![]() Teacher Toolbox
-
Facilitating the Joint Movement page
Teacher Toolbox
-
Facilitating the Joint Movement page
What the Teacher Will Do:
- Instruct students that they will be working together in their groups to follow the steps on this page.
- Circle the classroom as students work through the steps on this page and answer any questions that arise.
- Students will let you know when they are ready for their check in. Guidance for this check in is provided in a Teacher Toolbox at the bottom of this page.
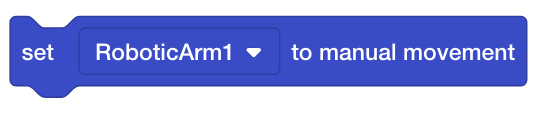
In VEXcode V5, follow the steps in this video to remove the [Manual movement] block, add a [Joint move] block, and input the x, y, and z-values for point 1.
Ensure you are using your values for point 1, and not the ones displayed in this video.


Download and run the project. The arm will move to point 1.
If your arm did not move to point 1, notify your teacher.


In VEXcode V5, follow the steps in this video to add a second [Joint move] block and input the x, y, and z-values for point 2.
Ensure you are using your values for point 2, and not the ones displayed in this video.


Download and run the project. The arm will move to point 2.
If your arm did not move to point 2, notify your teacher.

Once you have finished coding the arm to move to both point 1 and point 2, stop the project and check in with your teacher.
Do not erase any lines on your whiteboard. You will use these in the next part of Play.

![]() Teacher Tips
Teacher Tips
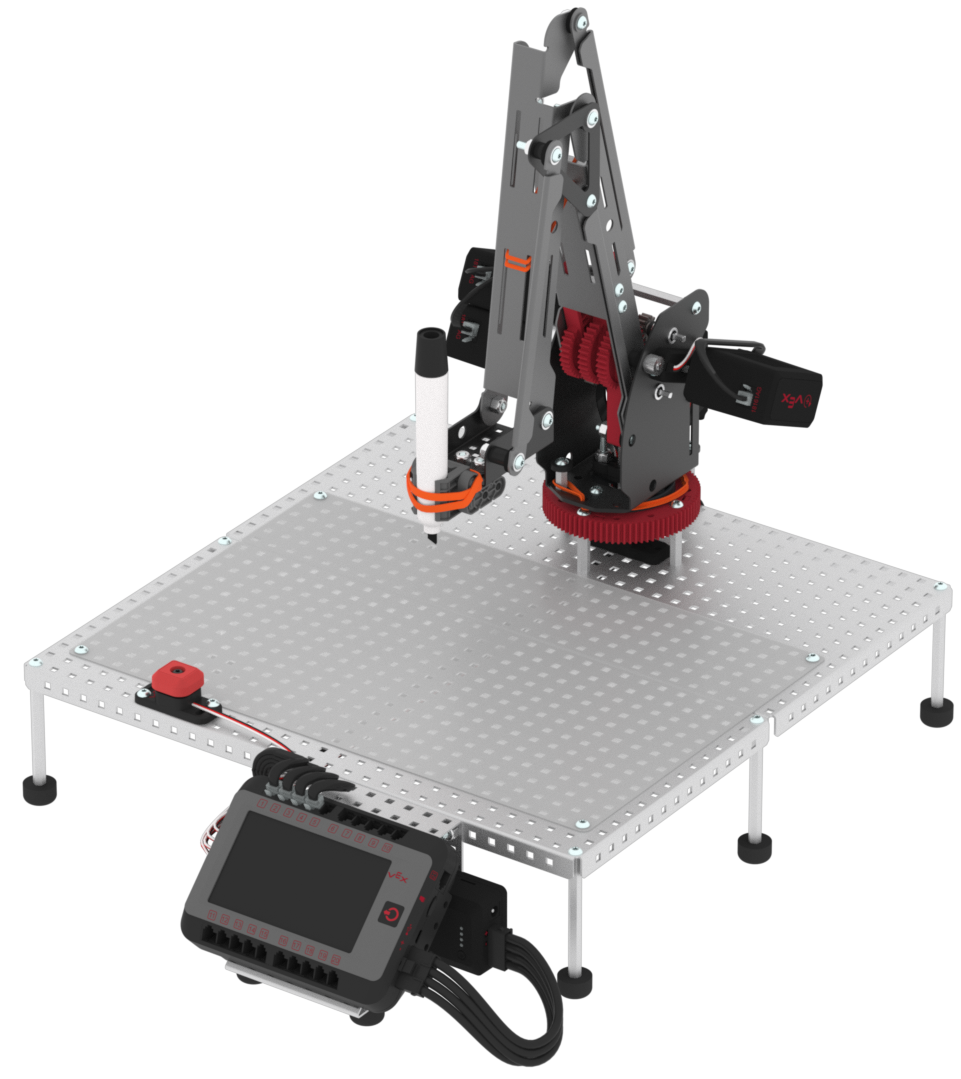
- To further stabilize the dry-erase marker, add a rubber band around the marker and marker attachment on the arm of the Workcell.
- For more information on deleting blocks in a VEXcode V5 project, view this article from the Knowledge Base.
- Remind students that their values for points 1 and 2 will be different than the one shown in the video. Students should be using their values, and not the values from the video.
- For additional tips, go to the V5 Workcell Educator Certification.
![]() Teacher Toolbox
-
Troubleshooting
Teacher Toolbox
-
Troubleshooting
If groups are finding that the marker does not reach the expected point on the Workcell when they run their project, try the following troubleshooting techniques.
- Check the mastering values.
- Instruct students to check that the mastering values they recorded in their engineering notebook during Seek match what is in the [Set mastering] block.
- If the problem still persists, have students follow the steps in Seek to rerecord their mastering values.
- Check the VEXcode V5 project.
- Have students compare their project to the video on this page and ensure the order of the blocks match. Make sure students are re-downloading their project each time they make a change and before they run the project
- Check the build.
- There may be a mechanical issue with your Workcell. Instruct students to look at the Lab build instructions first and verify that the additions to their Workcell match.
- Have students go back to the Lab 1 build instructions for a complete look at the build and check that all elements match. Even one small detail being wrong can affect the movement of the arm on the Workcell.
![]() Teacher Toolbox
-
Check in
Teacher Toolbox
-
Check in
Review the following with the group during their check in:
- Ensure groups removed the [Manual movement] block. The project will not work correctly if this block is still in the stack.
- Ensure their project contains the correct values for points 1 and 2.
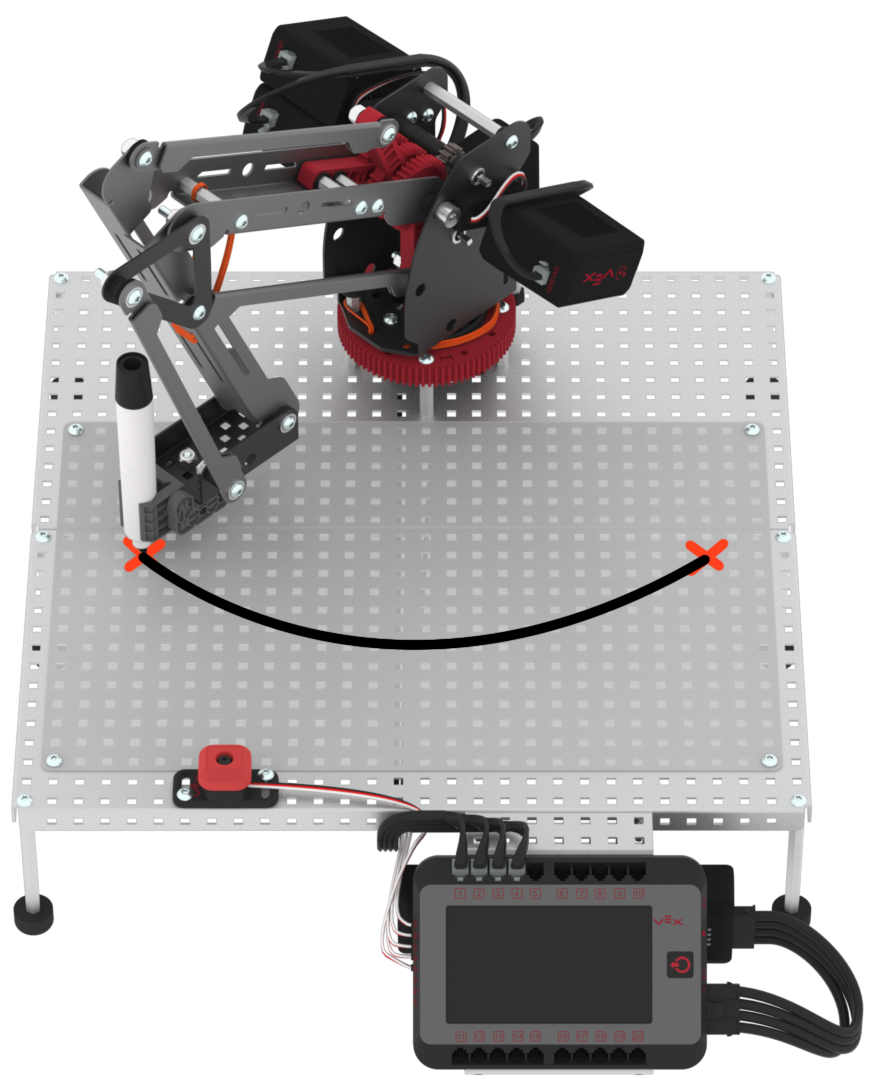
- Ensure that the marker touches the whiteboard surface and connects points 1 and 2 when it moves. If the marker does not come down far enough, tell students to adjust the z-value of their point to be closer to zero. This will bring the marker closer to the whiteboard.
- Ensure groups did not erase any lines that the arm drew.