Linear Movement
![]() Teacher Toolbox
-
Facilitating the Linear Movement page
Teacher Toolbox
-
Facilitating the Linear Movement page
What the Teacher Will Do:
- Instruct students that they will be working together in their groups to follow the steps on this page.
- Circle the classroom as groups work through the steps on this page and answer any questions that arise.
- Students will let you know when they are ready for their check in. Guidance for this check in is provided in a Teacher Toolbox at the bottom of this page.
- Once all groups have finished testing their projects and checked in with you, bring the groups together for a whole-class discussion. Guidance for this discussion is provided in a Teacher Toolbox at the bottom of this page.
In VEXcode V5, follow the steps in this video to remove the [Joint move] blocks from the stack, add [Linear move] blocks to the stack, and input the x, y, and z-values for points 1 and 2.
Ensure you are using your values for points 1 and 2, and not the ones displayed in this video.
Download and run the project. The arm should move from point 1 to point 2.
If your arm did not move from point 1 to point 2, notify your teacher.


Once you have finished coding the arm to move from point 1 and point 2 using linear movement, stop the project and check in with your teacher.

![]() Teacher Toolbox
-
Check in
Teacher Toolbox
-
Check in
Review the following with the group during their check in:
- Ensure groups detached the [Joint move] blocks from the stack before adding in [Linear move] blocks.

- Ensure their project contains the correct values for points 1 and 2. These values entered into the [Linear move] blocks should be the same values that were entered into the [Joint move] blocks.
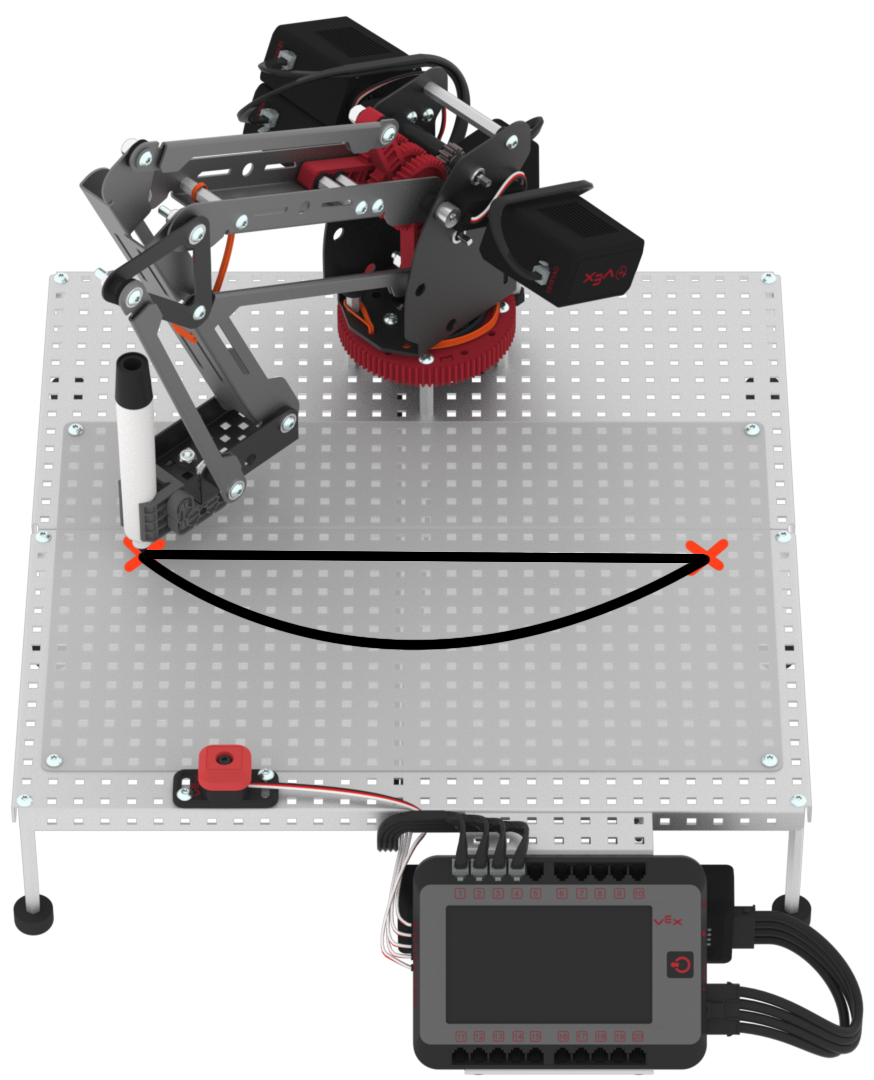
- Groups should have two lines on their whiteboard:
- One line from joint movement that drew an arc.
- One line from linear movement that drew a straight line.
- Ensure groups did not erase any of the lines that the arm drew.
![]() Extend Your Learning
Extend Your Learning
If groups finish early, have them add on to their project by doing one or more of the following:
- Have groups combine the blocks from the joint and linear movement together in one stack.
- Have groups use a [Joint move] block to go to Point 1 and a [Linear move] block to go to Point 2 and describe the path. Then, use a [Linear move] block to go to Point 1 and a [Joint move] to go to Point 2 and describe the path. Ask students to describe any differences in the paths of the two different types of movements.
![]() Teacher Toolbox
-
Discussion
Teacher Toolbox
-
Discussion
After groups have coded the arm of the Workcell to move using both joint and linear movements, engage the class in a discussion about their observations.
- Begin by asking groups to share with the rest of the class the points they chose, and what their lines look like on their whiteboard. If time allows, ask students to run their project to show their arm moving for the rest of the class.
- Then, ask groups to share their observations of the two different types of movements. As students are sharing their observations, ask questions such as:
- Did the lines drawn from each type of movement look the same? Explain. Students should note that joint movement draws an arc, while linear movement draws a straight line.
- Did one movement seem faster than another? If so, which one? Students should note that joint movement is slightly faster. This is because joint movement, also known as Point-to-Point motion, only uses start and stop locations. In the context of the activity, point 1 is the start location and point 2 is the stop location. The path that the arm will take to get from point 1 to point 2 predictable, however it will not be in a straight line because it does not need to be precise.

