
Lesson 3: Using Reported Sensor Feedback to Pick Up Disks
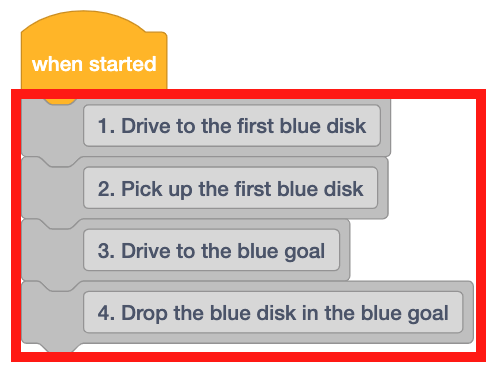
This Lesson will use reported sensor feedback to solve the same challenge as Lesson 2. The VR Robot will pick up and move the first blue disk into the blue goal.
-
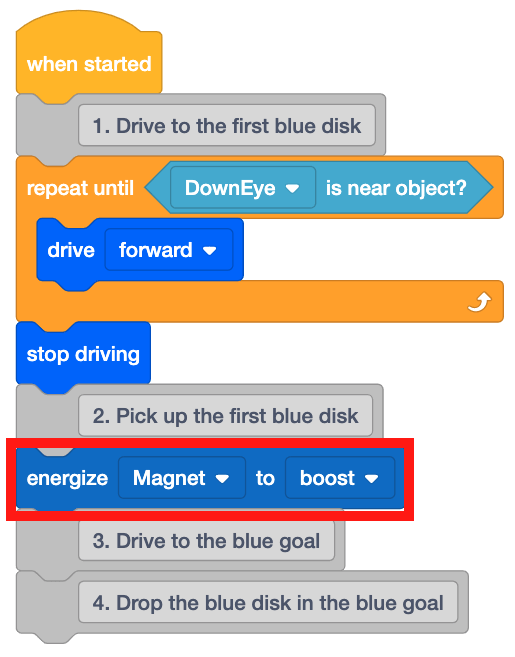
Start a new project in VEXcode VR and name the project Unit8Lesson3.

-
Drag four Comment blocks into the workspace. Add comments for each of the steps necessary for the VR Robot to drive to the first disk, pick it up, and return it to the blue goal.
-
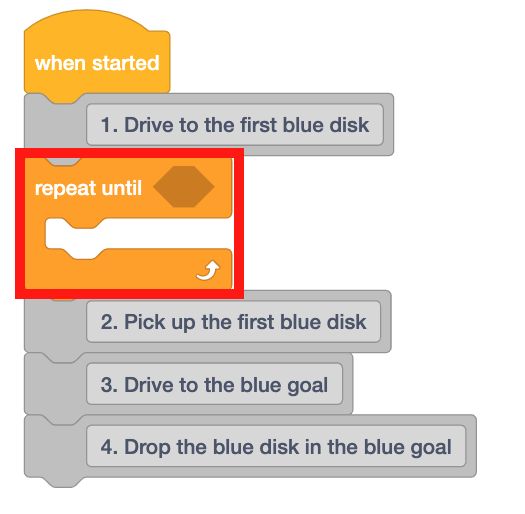
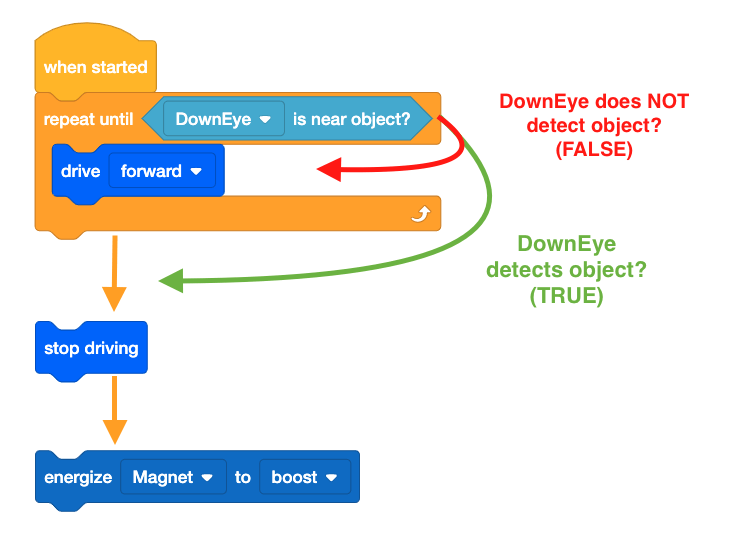
Drag a [Repeat until] block into the workspace beneath the first comment.
For Your Information
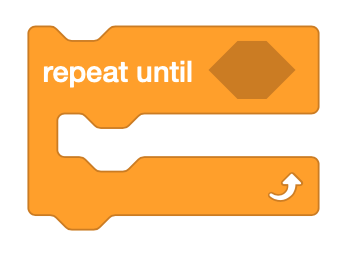
The [Repeat until] block is a C block that accepts Boolean reporter blocks. The [Repeat until] block will only check the Boolean condition at the beginning of each loop. If the Boolean condition is reported as FALSE, the blocks inside will run. If the Boolean condition is reported as TRUE, the blocks inside will be skipped.
-
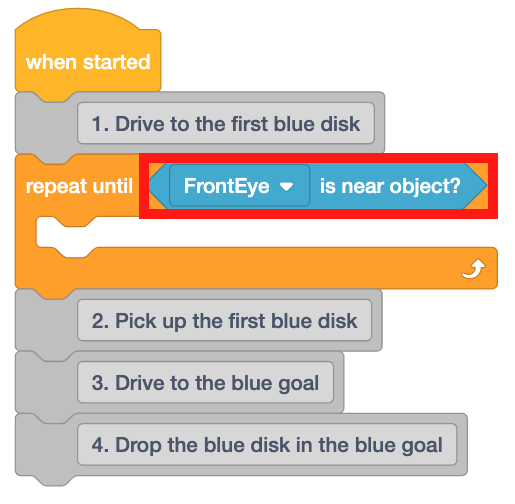
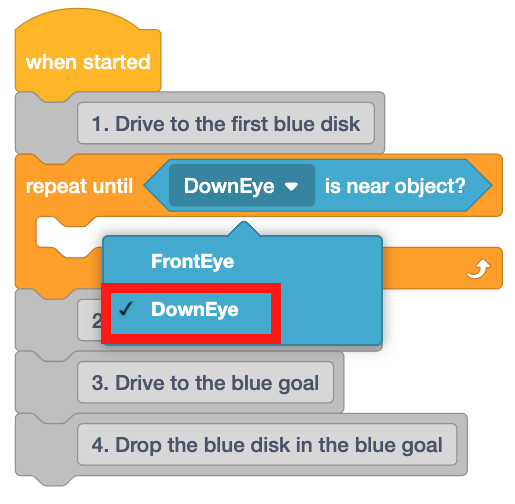
The <Eye Sensor near object> block reports TRUE when the VR Robot detects a colored disk on the Disk Mover Playground. Drag this block into the project.
-
The disks on the Disk Mover Playground are on the floor of the Playground and cannot be detected by the Front Eye Sensor. For this reason, set the <Eye Sensor near object> block to ‘DownEye.’
-
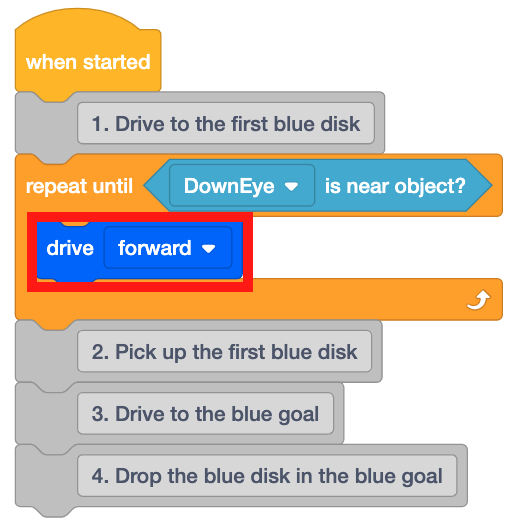
The blocks on the inside of the [Repeat until] block will run when the VR Robot does NOT detect an object. To reach one of the disks, the VR Robot will need to drive forward until the disk is detected.
-
Drag a [Drive] block into the [Repeat until] block.
-
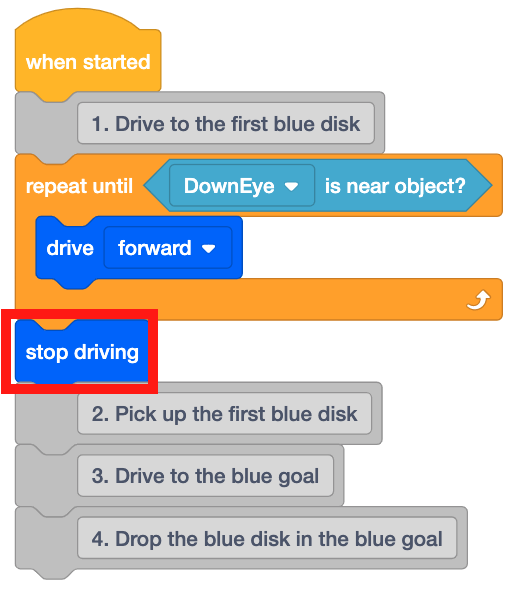
When a disk is detected, the VR Robot will need to stop driving in order to pick it up. Drag a [Stop driving] block and place it beneath the [Repeat until] block.
-
Now, instruct the VR Robot to pick up the disk with the Electromagnet by placing an [Energize Electromagnet] block below the second comment.
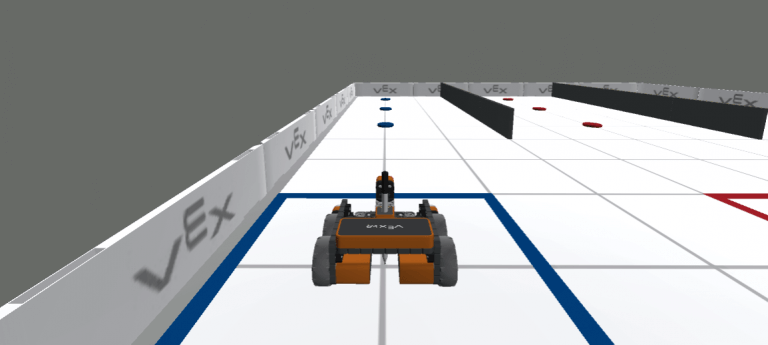
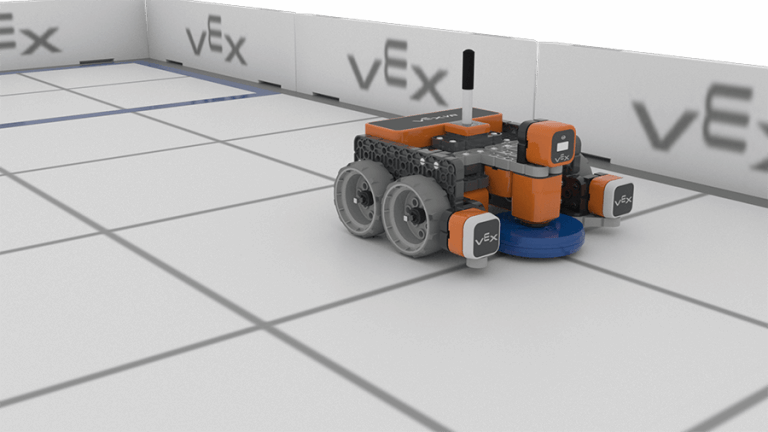
- Open the Disk Mover Playground if it is not already open and run the project.
-
The VR Robot drives forward until the first blue disk is detected by the Down Eye Sensor, stops driving, and energizes the Electromagnet to pick up the disk.
- Notice how the [Repeat until] block works in this project.
- Once the Down Eye Sensor on the VR Robot detects an object, the project moves to the next block in the stack below the [Repeat until] block.
- In this project, that meant the VR Robot stopped driving and energized the Electromagnet.
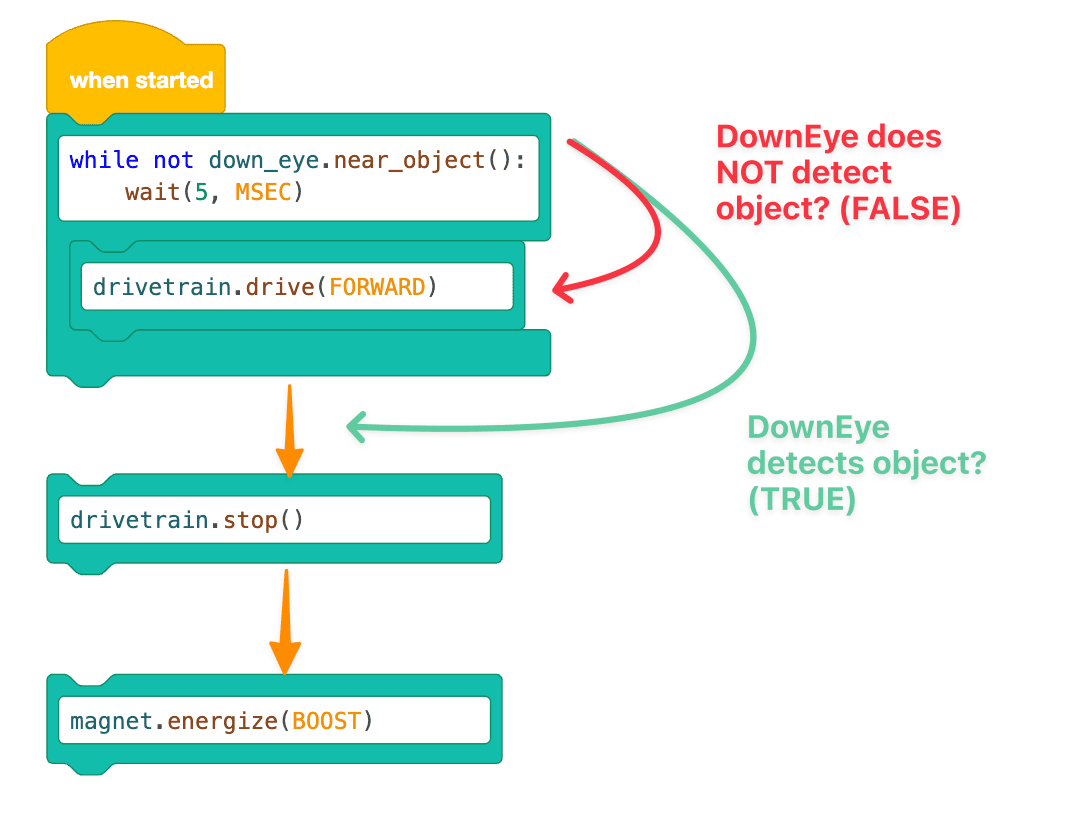
Using Switch Blocks
The image below displays this Lesson's workflow graphic using Switch blocks. Comparing this graphic to the graphic above can help you better understand the workflow of the new Switch Python commands you are learning.
Select the Next button to continue with the rest of this Lesson.