
Lesson 4: Using Nested Loops
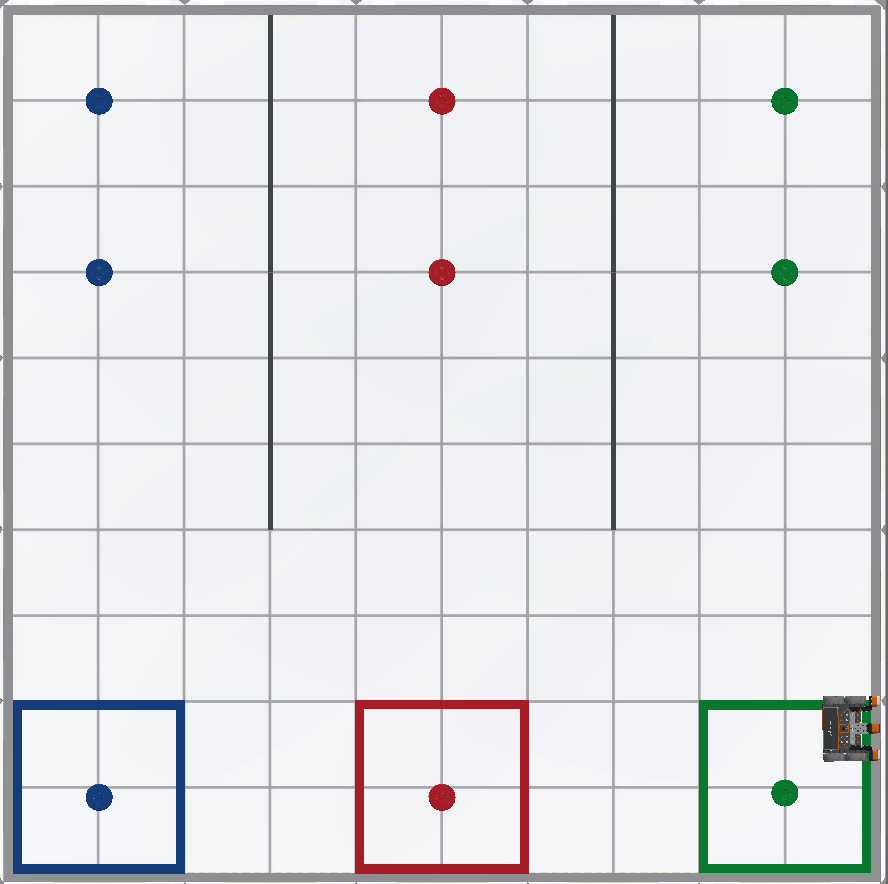
In the previous Lesson, you created a project to instruct the VR Robot to drive to, pick up, and move all three blue disks in the Disk Mover Playground into the blue goal. In this Lesson, you will create a project to pick up and move one disk of each color into its corresponding colored goal in the Disk Mover Playground using nested loops!
Learning Outcomes
- Identify how to nest loops.
- Describe the flow of a project through nested loops.
- Explain why nested loops would be used in a VEXcode VR project.
What are Loops?
Blocks from the Control category such as the [Repeat], [Repeat until], and [Forever] blocks repeat behaviors on a loop.
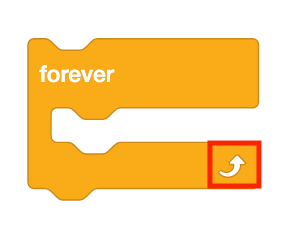
A [Forever] block, for example, repeats the blocks inside of it on a forever loop. The arrow at the bottom of the block indicates that the behaviors inside will be repeated on a loop.
Using Switch Blocks
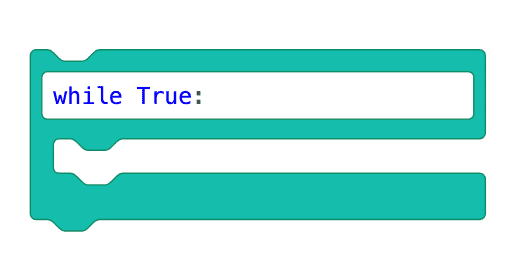
This is the Switch [Forever] block. The Python command, while True: means that any behaviors nested inside of this conditional block will repeat forever, because the condition is set to be True.
Select the Next button to continue with the rest of this Lesson.