Drive Forward and Reverse Exploration - Part 1
Autopilot is ready to move!
This exploration will give you the tools to be able to start creating some cool projects for your Autopilot to follow.
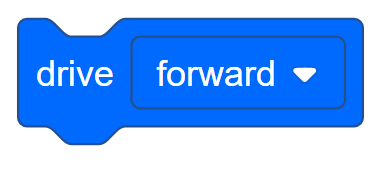
- VEXcode IQ that will be used in this exploration:

- To find out more information about the block, open the Help and then select the [Drive] block.

- The Builder in each group should get the hardware required. The Recorder should get the group’s engineering notebook. The Programmer should open VEXcode IQ.
| Quantity | Materials Needed |
|---|---|
| 1 |
Autopilot Robot |
| 1 |
Charged Robot Battery |
| 1 |
VEXcode IQ |
| 1 |
Engineering Notebook |
| 1 |
USB Cable (if using a computer) |
Step 1: Preparing for the Exploration
Before you begin the activity, do you have each of these items ready? The Builder should check each of the following:
- Are all the motors and sensors plugged into the correct port?
- Are the smart cables fully inserted into all of the motors and sensors?
- Is the Brain turned on?
- Is the battery charged?
Check out the troubleshooting tutorial if Autopilot does not pass any of these steps.

Step 2: Start a New Project
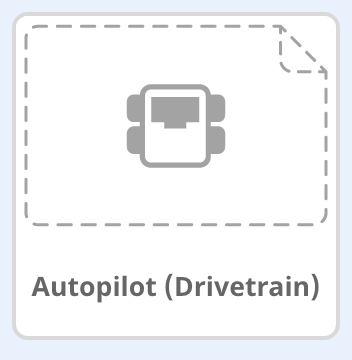
Before you begin your project, the Programmer needs to select the correct template project. The Autopilot (Drivetrain) template contains the Autopilot motors and sensors configuration. If the template is not used, your robot will not run the project correctly.

The Programmer should complete the following steps:
- Open the File menu.
- Select Open Examples.
-
Use the filter bar at the top of the application and select "Templates."

-
Select and open the Autopilot (Drivetrain) Template.

- Since we will be using the [Drive] block, rename your project Drive.
- Save your project.
- Check to make sure the project name Drive is now in the window in the center of the toolbar.