Competition Connection: Turning Point - Blocks-based

Robot Capabilities
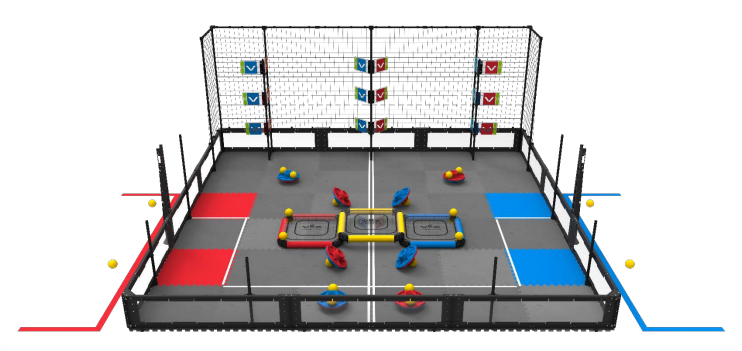
The 2018 - 2019 VEX Robotics Competition game Turning Point required players to toggle flags among other game elements. There were nine flags total: three bottom flags that could be toggled by the robot, and the six high flags that could only be toggled by hitting them with competition ball game pieces. Competition teams needed to come up with a way to hit the higher flags using a ball launcher. If you can imagine, programming the robot to hit the flags using ball game pieces by measuring may not always be accurate. If the robot makes one wrong turn during the autonomous period, there is a possibility that none of the flags would be hit because the calculations would be off. Similarly, for the Driving Skills challenge, it may be hard for teams to manually line up the robot enough to launch the ball properly.
VEX Robotics Competition games often use different colored game elements and so, a great advantage would be to design a robot with a Vision Sensor. In the Turning Point game, for example, a Vision Sensor could have been used to detect flags and then align the robot properly in order to make accurate shots. It is important to note that Vision Sensors are sensitive to the lighting in different environments. In competition settings, there is time to tune the Vision Sensor and tuning the Vision Sensor is an important practice that teams should adopt.
![]() Extend Your Learning
Extend Your Learning
To expand this activity, ask your students to design and outline a project that will have the robot move toward detected yellow objects that they could potentially use for this competition game!
Ask your students to do the following:
-
Open the Clawbot (Drivetrain, No Gyro) example project.

-
Use the Detecting Objects (Vision) example project as reference when programming the Vision Sensor.

-
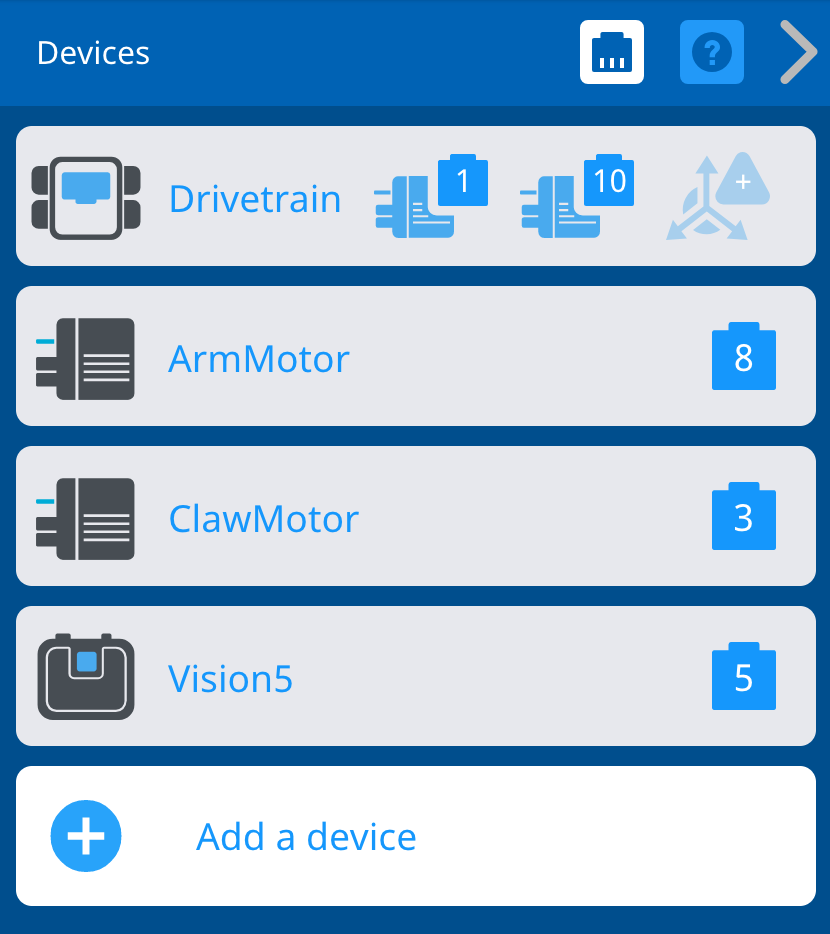
Add the Vision Sensor to the Clawbot (Drivetrain, No Gyro) configuration and then configure the Vision Sensor to detect red and blue objects. Refer to the Configuring the Vision Sensor tutorial or click here for more information.

- Program the Clawbot to move toward the detected object. The Clawbot can even be programmed to raise its arm as if it were to toggle a flag!
- Download and Run the project to observe if the Vision Sensor can detect yellow objects like the yellow balls in the VRC Turning Point game. If the Vision Sensor can detect objects, does the robot moved based on those detected objects? For help, view the Download and Run a Project tutorial video.
- If time allows, set-up a game field similar to the Turning Point field. Practice using the Vision Sensor to allow the robot to move to score points!