Build the Mastering Project
![]() Teacher Toolbox
-
Facilitating the Play Section
Teacher Toolbox
-
Facilitating the Play Section
- As a whole class, tell students that they will be building and testing the 'Mastering' project.
- Break students off to work within their groups to complete the steps in this section. Tell groups to check in with you once they have completed all steps.
- Circle the room as students are working. Answer students questions as they arise.
- If any of the students report that their Workcell failed mastering, they will need to remaster the arm. This troubleshooting process will take some time, as it requires the arm to be disassembled. This article covers how to remaster the arm if any joints are failing.
- Once all groups have recorded their mastering values, bring groups back together for a whole-class discussion. Guidance for the discussion is provided in a Teacher Toolbox at the bottom of the next page.
For additional information on how to facilitate the Play section, go to the V5 Workcell Educator Certification.
The mastering values are precise, and over time and use, they may change slightly. This could occur if the Workcell is picked up and moved, or if the arm on the Workcell moves too quickly or with too much force. This change may not necessarily cause the potentiometer values to fall out of range, but having the most precise mastering values is important when coding the Workcell, especially when coding the arm to move to known locations in order to pick up or place objects. For example, if the mastering values shift slightly, the 'home location' will also shift slightly, and coding the Workcell to move to a known location, will also be slightly off. Because of this, the 'Arm Mastering' project will need to be used at the beginning of most subsequent Labs to ensure the mastering values are still the same, and if not, record new ones. The Play section of this Lab will cover how to use this project, as it will be needed and referenced in future Labs.
Arm Mastering example project:
- Used to display the potentiometer values on the V5 Brain for each of the four joints on the Workcell, and indicate if those values are within the predetermined range (PASS) or not within the acceptable range of values (FAIL).
- These mastering values will be displayed on the V5 Brain's screen and are intended to be recorded and used when coding the Workcell in VEXcode V5.
This is different from the 'Arm Install' example project.
Arm Install example project:
- Moves the motors connected to the potentiometers at each joint on the Workcell to their target location during the building of the Workcell, to ensure that each potentiometer is within passing range.
- The target location, is the approximate center value in the acceptable range for the potentiometer at each specific joint.
The potentiometer values on the 'Arm Install' and the 'Arm Mastering' example projects are the digital values of the potentiometers on the Workcell. Seeing 'FAIL' displayed on the 'Arm Mastering' example does not mean that the potentiometer is faulty, or there is necessarily a problem with the electronics. Seeing 'FAIL' means that one of the joints are not within its acceptable mastering range.
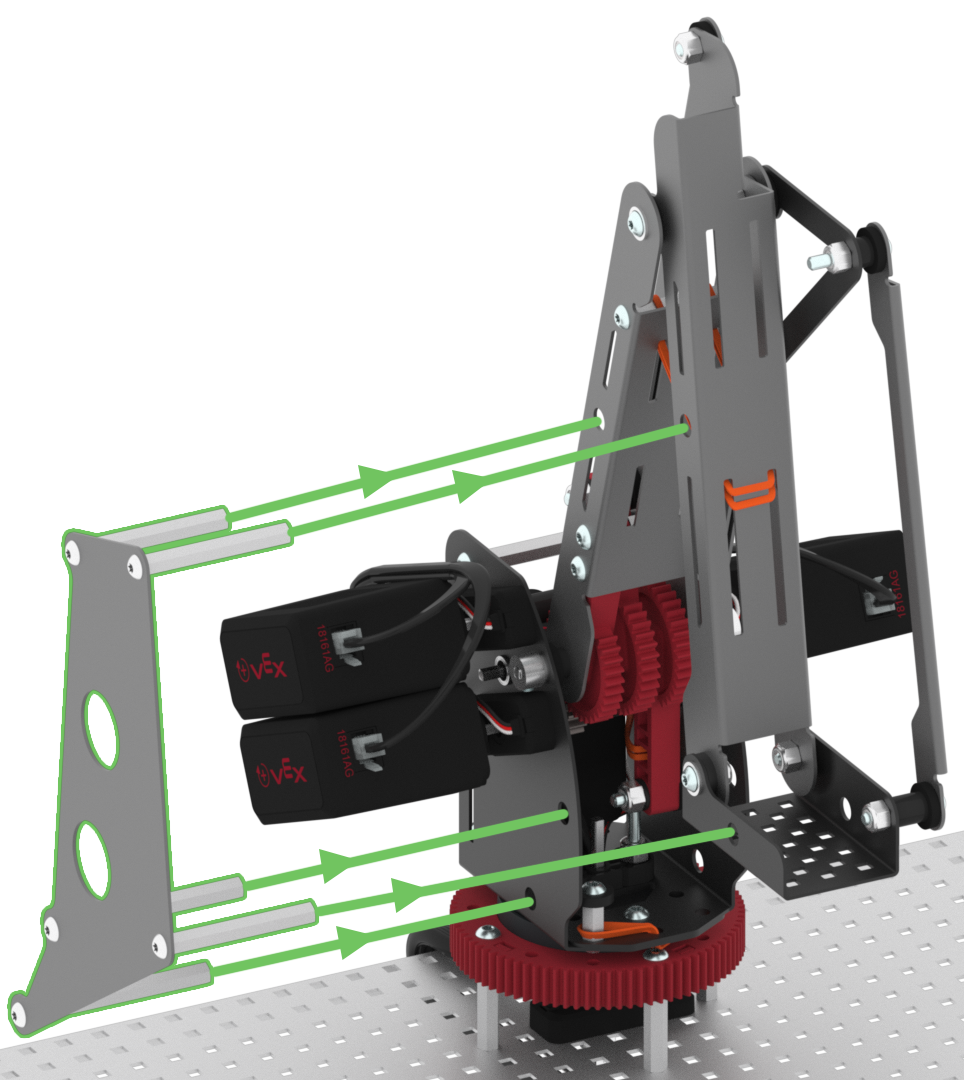
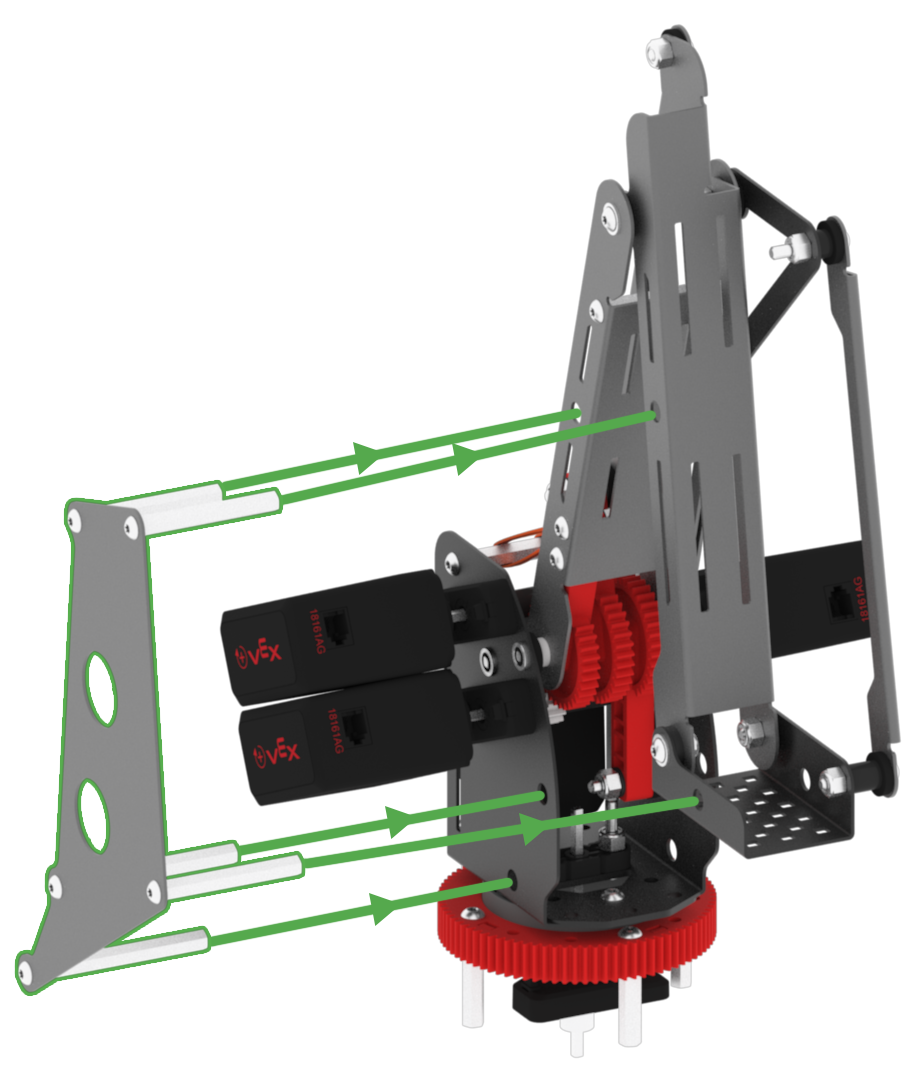
First, ensure that the Mastering Jig is inserted correctly into the arm mounted on the VEX V5 Workcell.

Launch VEXcode V5 if you do not already have it opened and ensure your V5 Brain is connected to the device running VEXcode V5.

Open the ‘Arm Mastering’ example project by following the steps in this video. If you are using a Custom Config, you may need to update the 'Arm Mastering' example project to ensure the port assignments match the ports used in the project.
For more information on opening example projects, view this article from the Knowledge Base.
Name the project ‘Lab 1- Mastering.’
For steps on how to name and save a project, view the Save a Blocks Project (iPad, Chromebook, Windows, macOS) articles.
Any subsequent changes to the project will be automatically saved.


