Create the Workcell Project
-
Launch VEXcode V5.

-
From the Toolbar in VEXcode V5, select ‘File’ and then ‘Open Examples.’

-
Select the ‘Arm’ category.

-
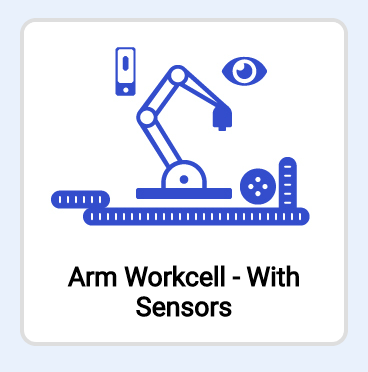
Select the ‘Arm Workcell - With Sensors’ example project.
-
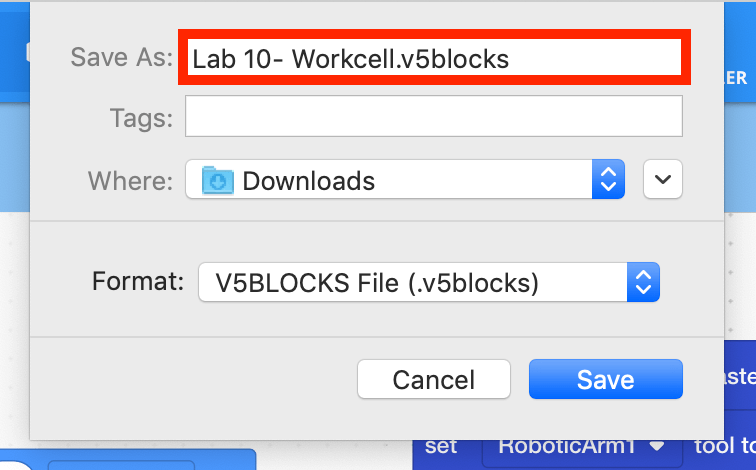
Select the Project Name Box to name and save the project.

-
Name the project ‘Lab 10- Workcell.’
Note: for more information about saving, view the Save a Blocks Project (Chromebook, Windows, macOS) articles.
-
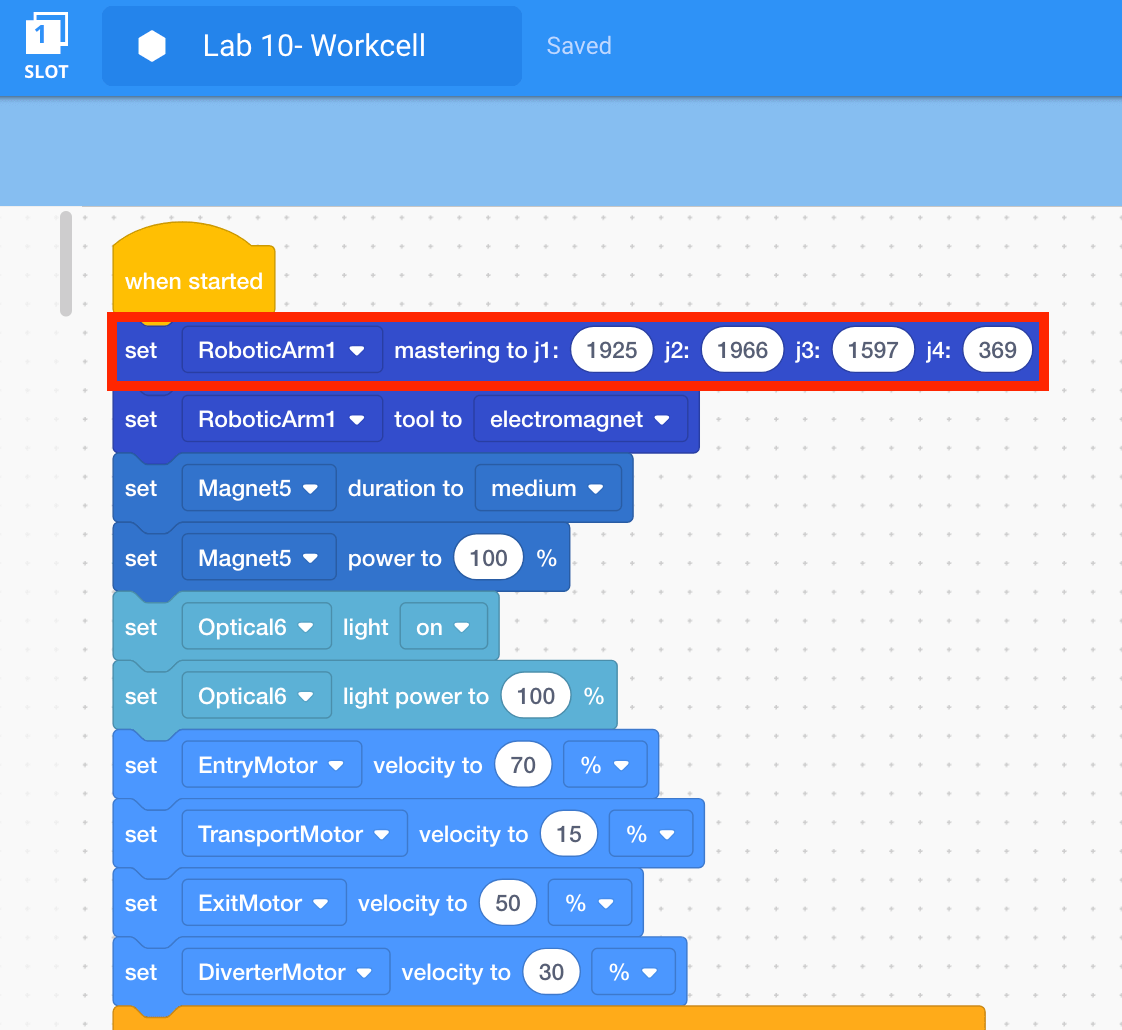
The Toolbar will now display the project as ‘Saved.’ Any subsequent changes to the project will be automatically saved.

-
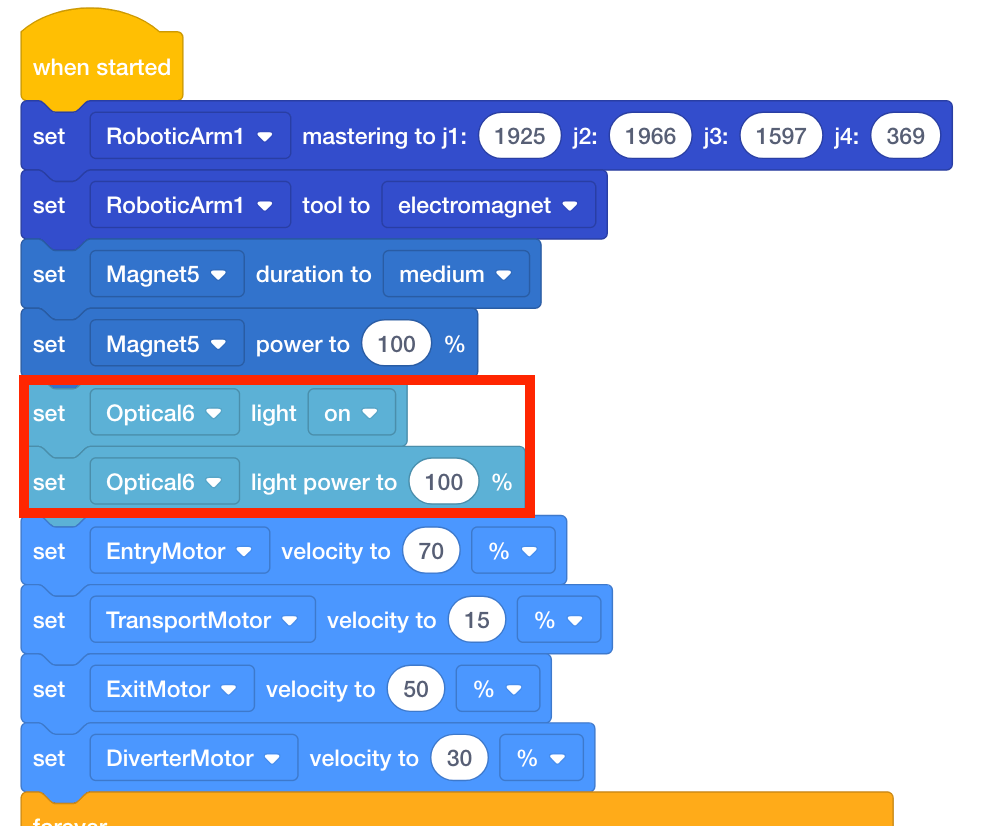
Input the mastering values into the [Set mastering] block.
-
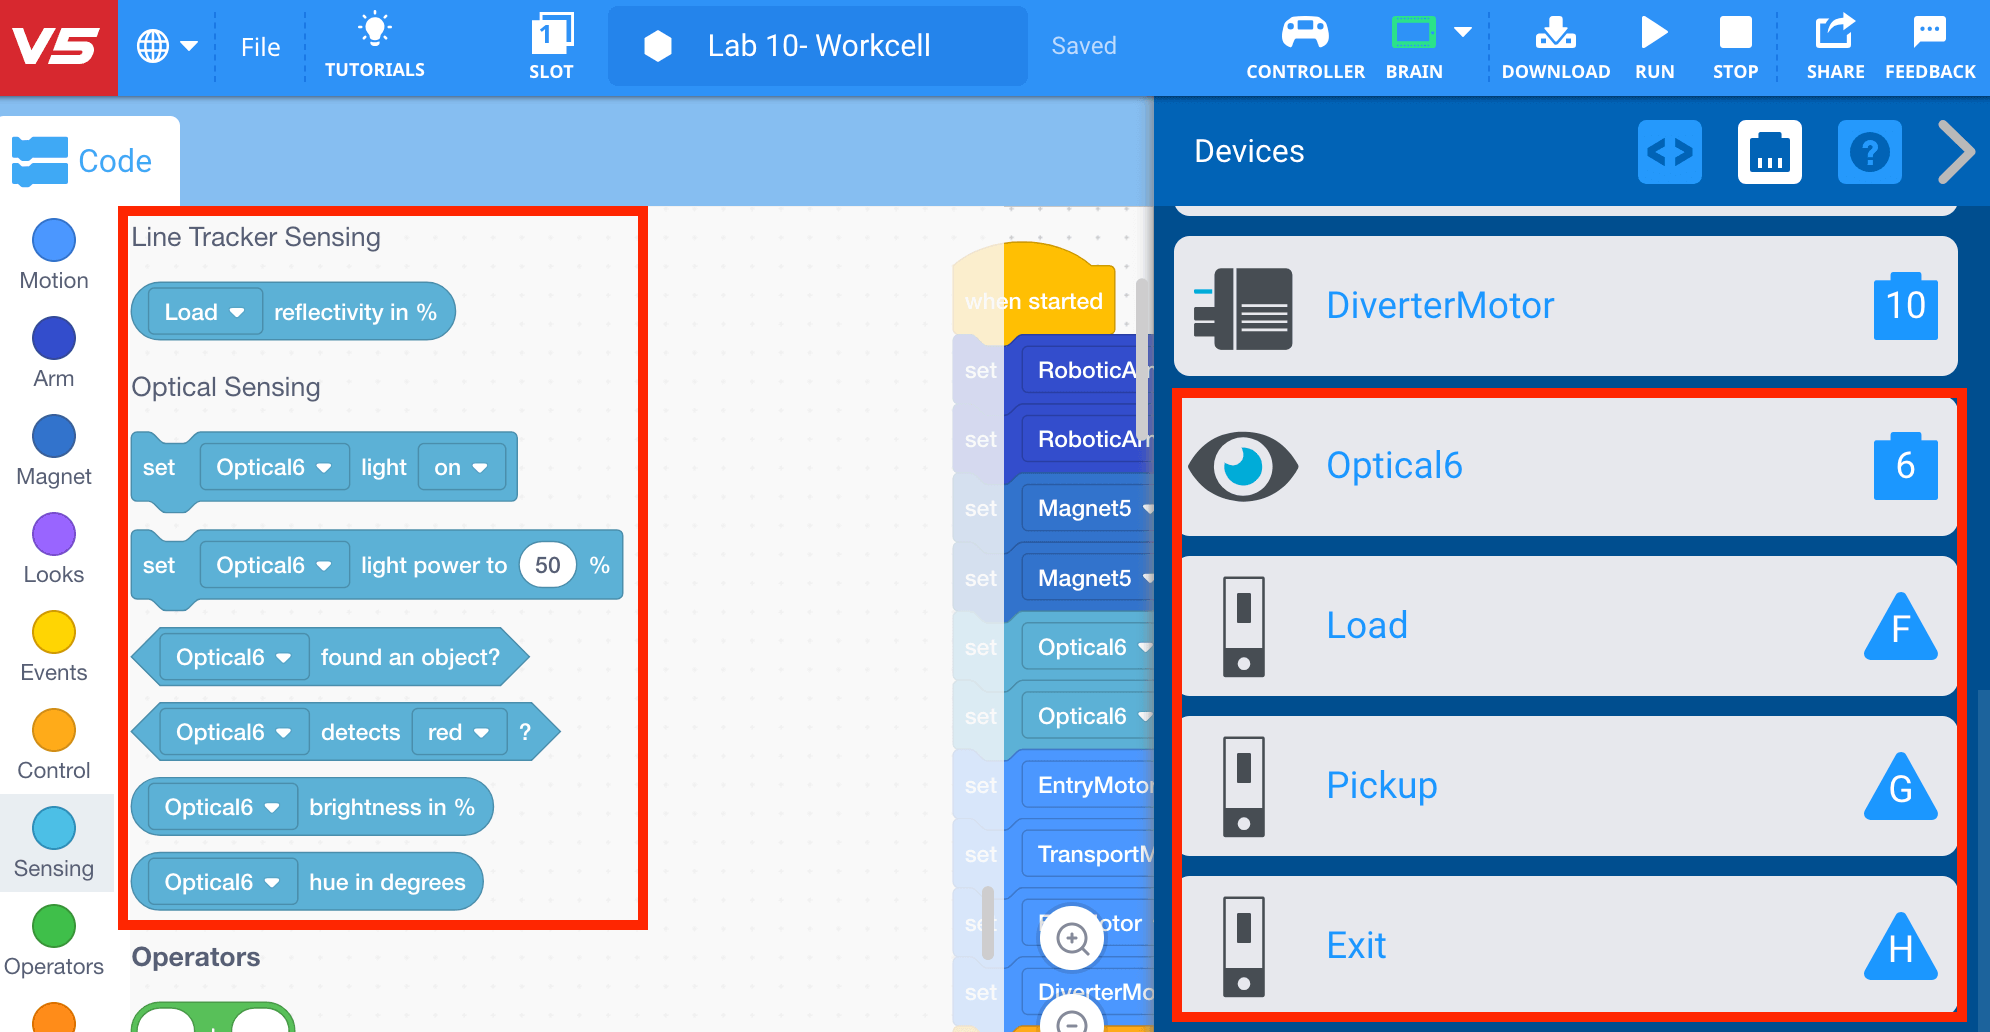
Select the Robot Configuration button to open the Devices window.

-
Notice that the motors for the three Line Trackers and the Optical Sensor have been added to the robot configuration. The ‘Line Tracker Sensing’ and ‘Optical Sensing’ categories of blocks now appear in the Tool Box.
-
Notice that the project includes the addition of the [Set optical light] and [Set optical light power] blocks. These blocks can be used to improve the consistency of the color detection by providing a consistent light source.