
Lesson 2: Opening an Example and Running Your First Project
Now it is time to get started with VEXcode VR and a VR Robot. With VEXcode VR, you can program a VR Robot to do many things. This lesson will use tutorial videos to show you how to get started programming with VEXcode VR.
Learning Outcomes
- Identify how to open an example project.
- Identify how to load, rename, and save a project.
- Identify how to move, remove, and delete blocks.
Begin by watching the Getting Started Tutorial video below:
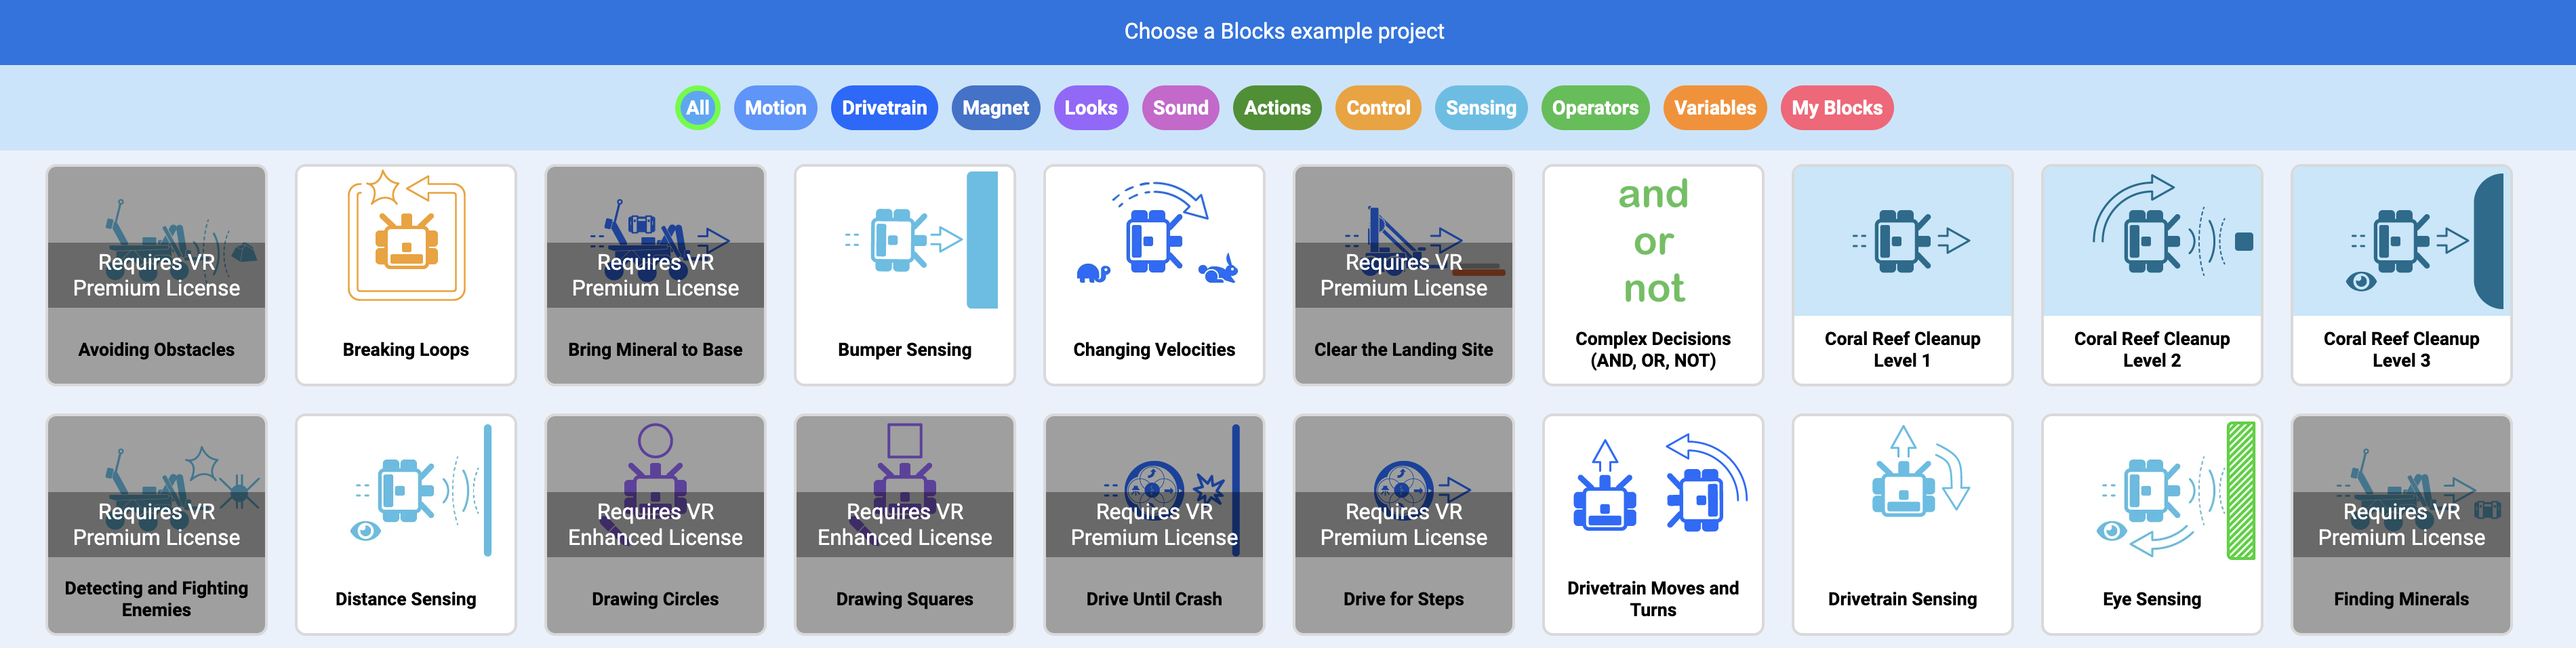
The Getting Started tutorial video will show you how to add blocks, how to open an example project, and how to save a project. To learn more about moving and removing VEXcode VR blocks, watch the following tutorial video below:
In VEXcode VR, all projects begin with a default name of “VEXcode Project”. Watch the tutorial video below or read view this VEX Library article to see how to rename and save a project: