
Programming with Conditionals in VEXcode IQ
| Quantity | Materials Needed |
|---|---|
| 1 |
VEX IQ Super Kit |
| 1 |
VEXcode IQ |
| 1 |
Engineering Notebook |
| 1 |
Clawbot (Drivetrain) Template |
The Clawbot is ready to make decisions!
This activity will give you the tools to program your robot with conditional behaviors.
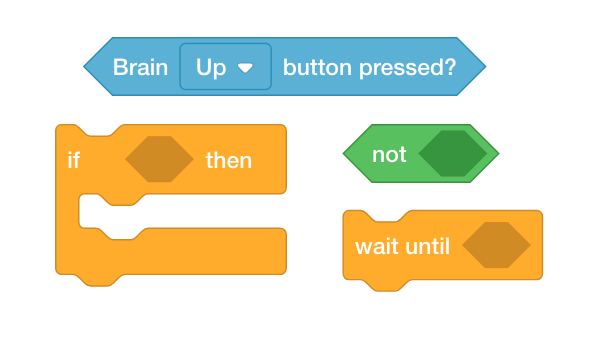
The [If then] block is the main focus within the activity but other Sensing, Control, and Operator blocks are also used.
You can use the Help information inside of VEXcode IQ to learn about the blocks. For guidance in using the Help feature, see the Using Help tutorial.

Step 1: Let's start with an understanding of loops and conditional statements.
Before you begin programming with conditionals, first watch the Using Loops and If-Then-Else tutorial videos in VEXcode IQ.
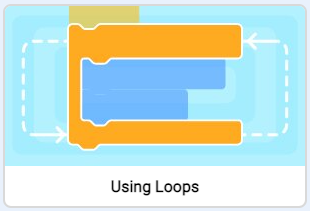
Start by watching the Using Loops Tutorial video in VEXcode IQ.
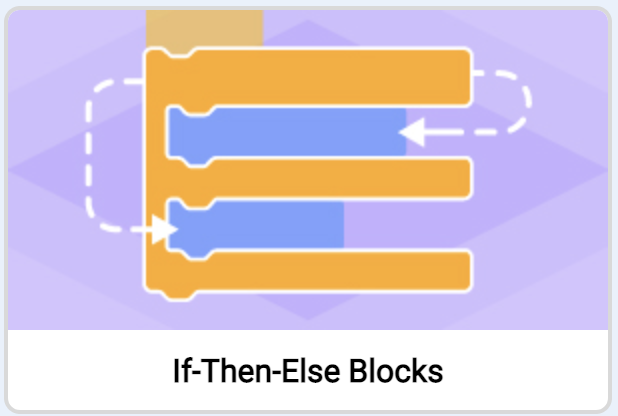
Then watch the If-Then-Else Tutorial video in VEXcode IQ.
Step 2: Programming with conditionals.
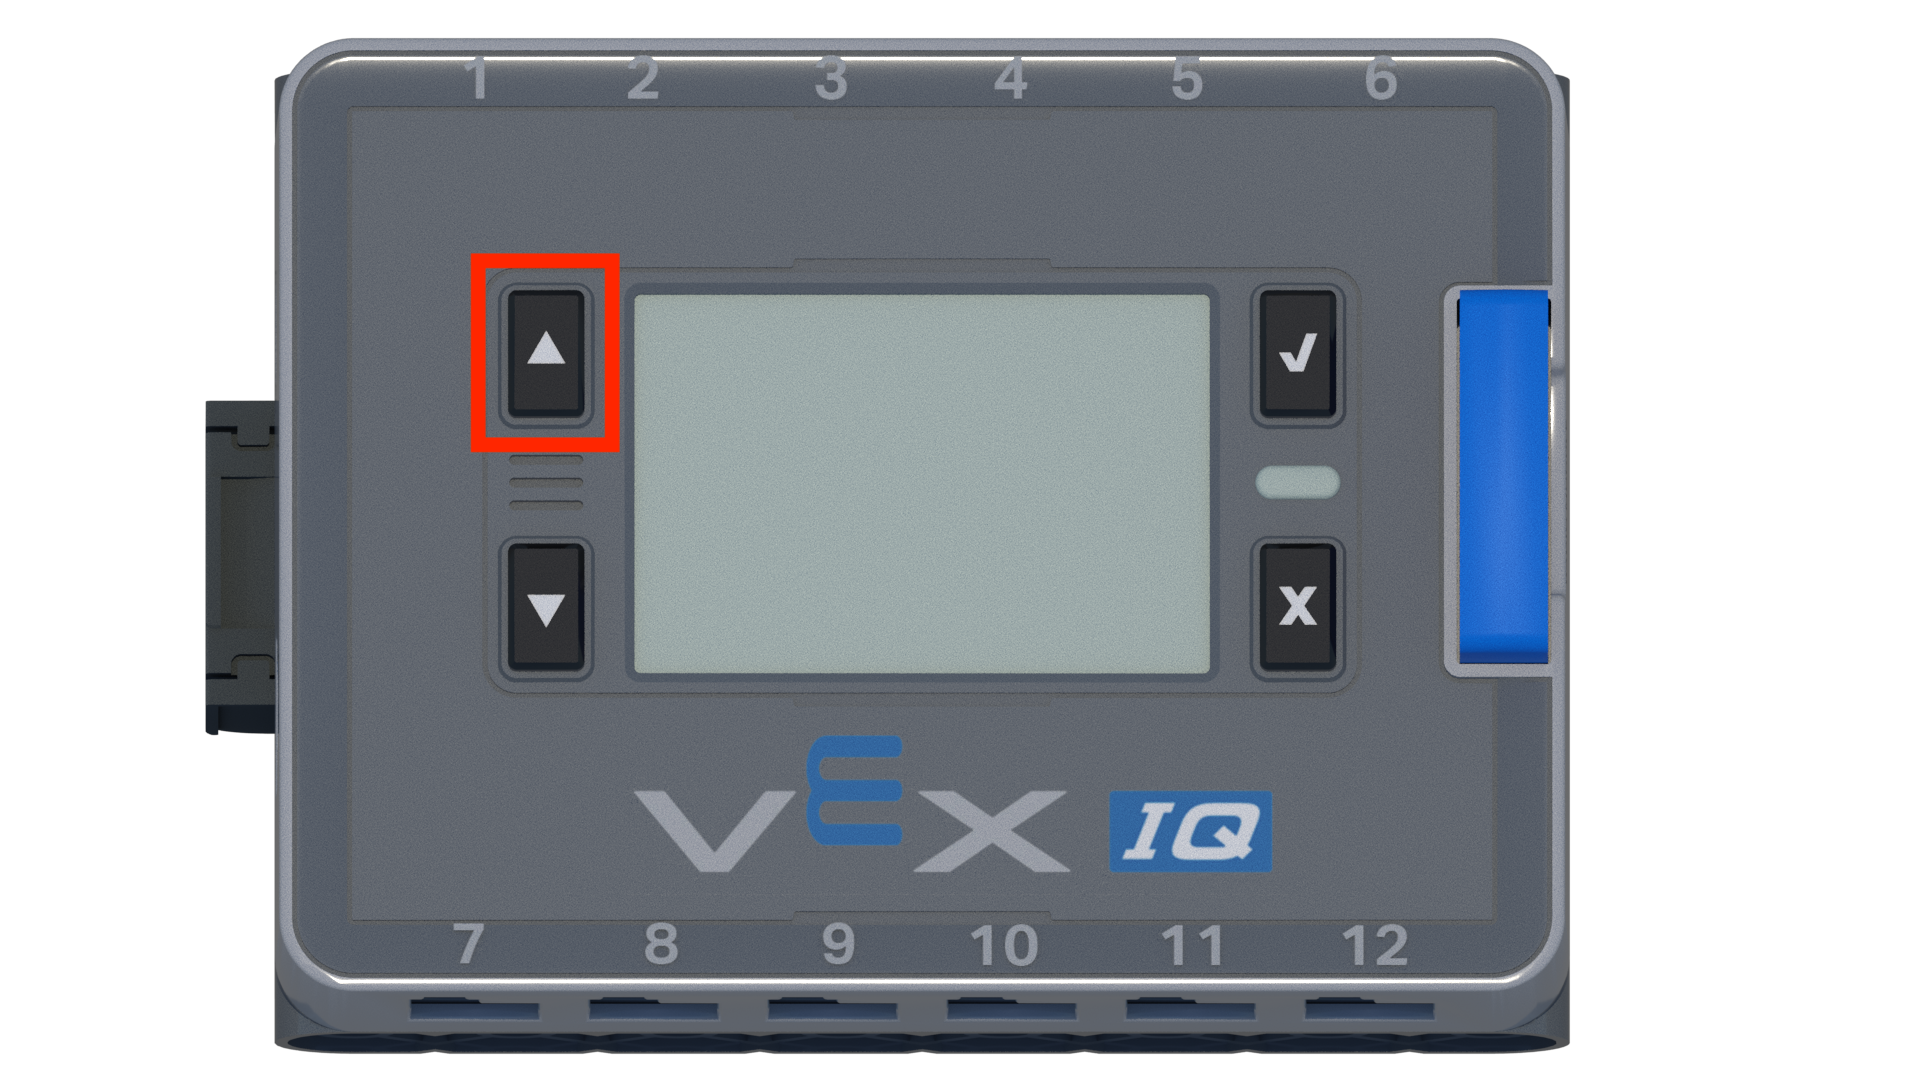
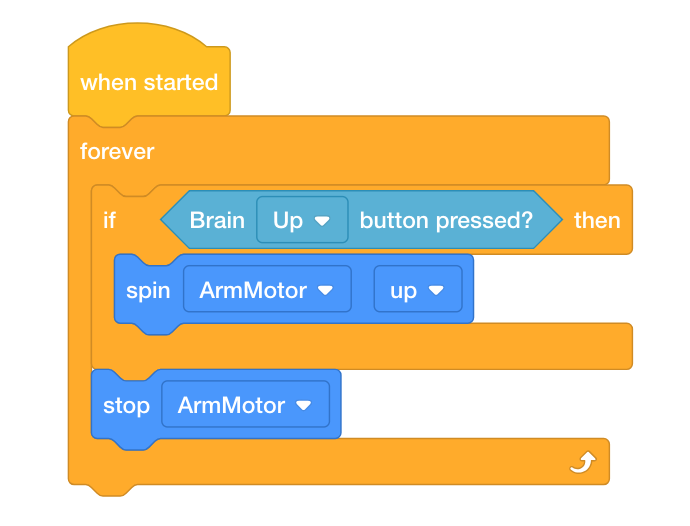
We want to build a project that will raise the arm if the condition of the Brain Up button being pressed is true.
If the condition is false, the Arm Motor will stop. Let's explore building a project that uses a [Forever] block and the [If then] conditional block to program the arm.
- Open the Clawbot (Drivetrain) Template. For help, view the Using Example Projects and Templates tutorial video.
- Build the project below.
- Save the project as ArmUp. If students need help saving the project, refer to the Naming and Saving tutorial video in VEXcode IQ.

- Check to make sure the project name ArmUp is now in the window in the center of the toolbar.
- Predict what the project will have the Clawbot do in your engineering notebook. Explain both the user's and the Clawbot's behaviors.
- Test to see if your prediction of what the project has the Clawbot do is correct.
- Download the project to Slot 1 on the Clawbot, and then run it.
- For help downloading and running a project, see the tutorial in VEXcode IQ that explains how to Download and Run a Project.
- Check your explanations of the project and add notes to correct them as needed.
Step 3: Understanding the [Wait until] block.
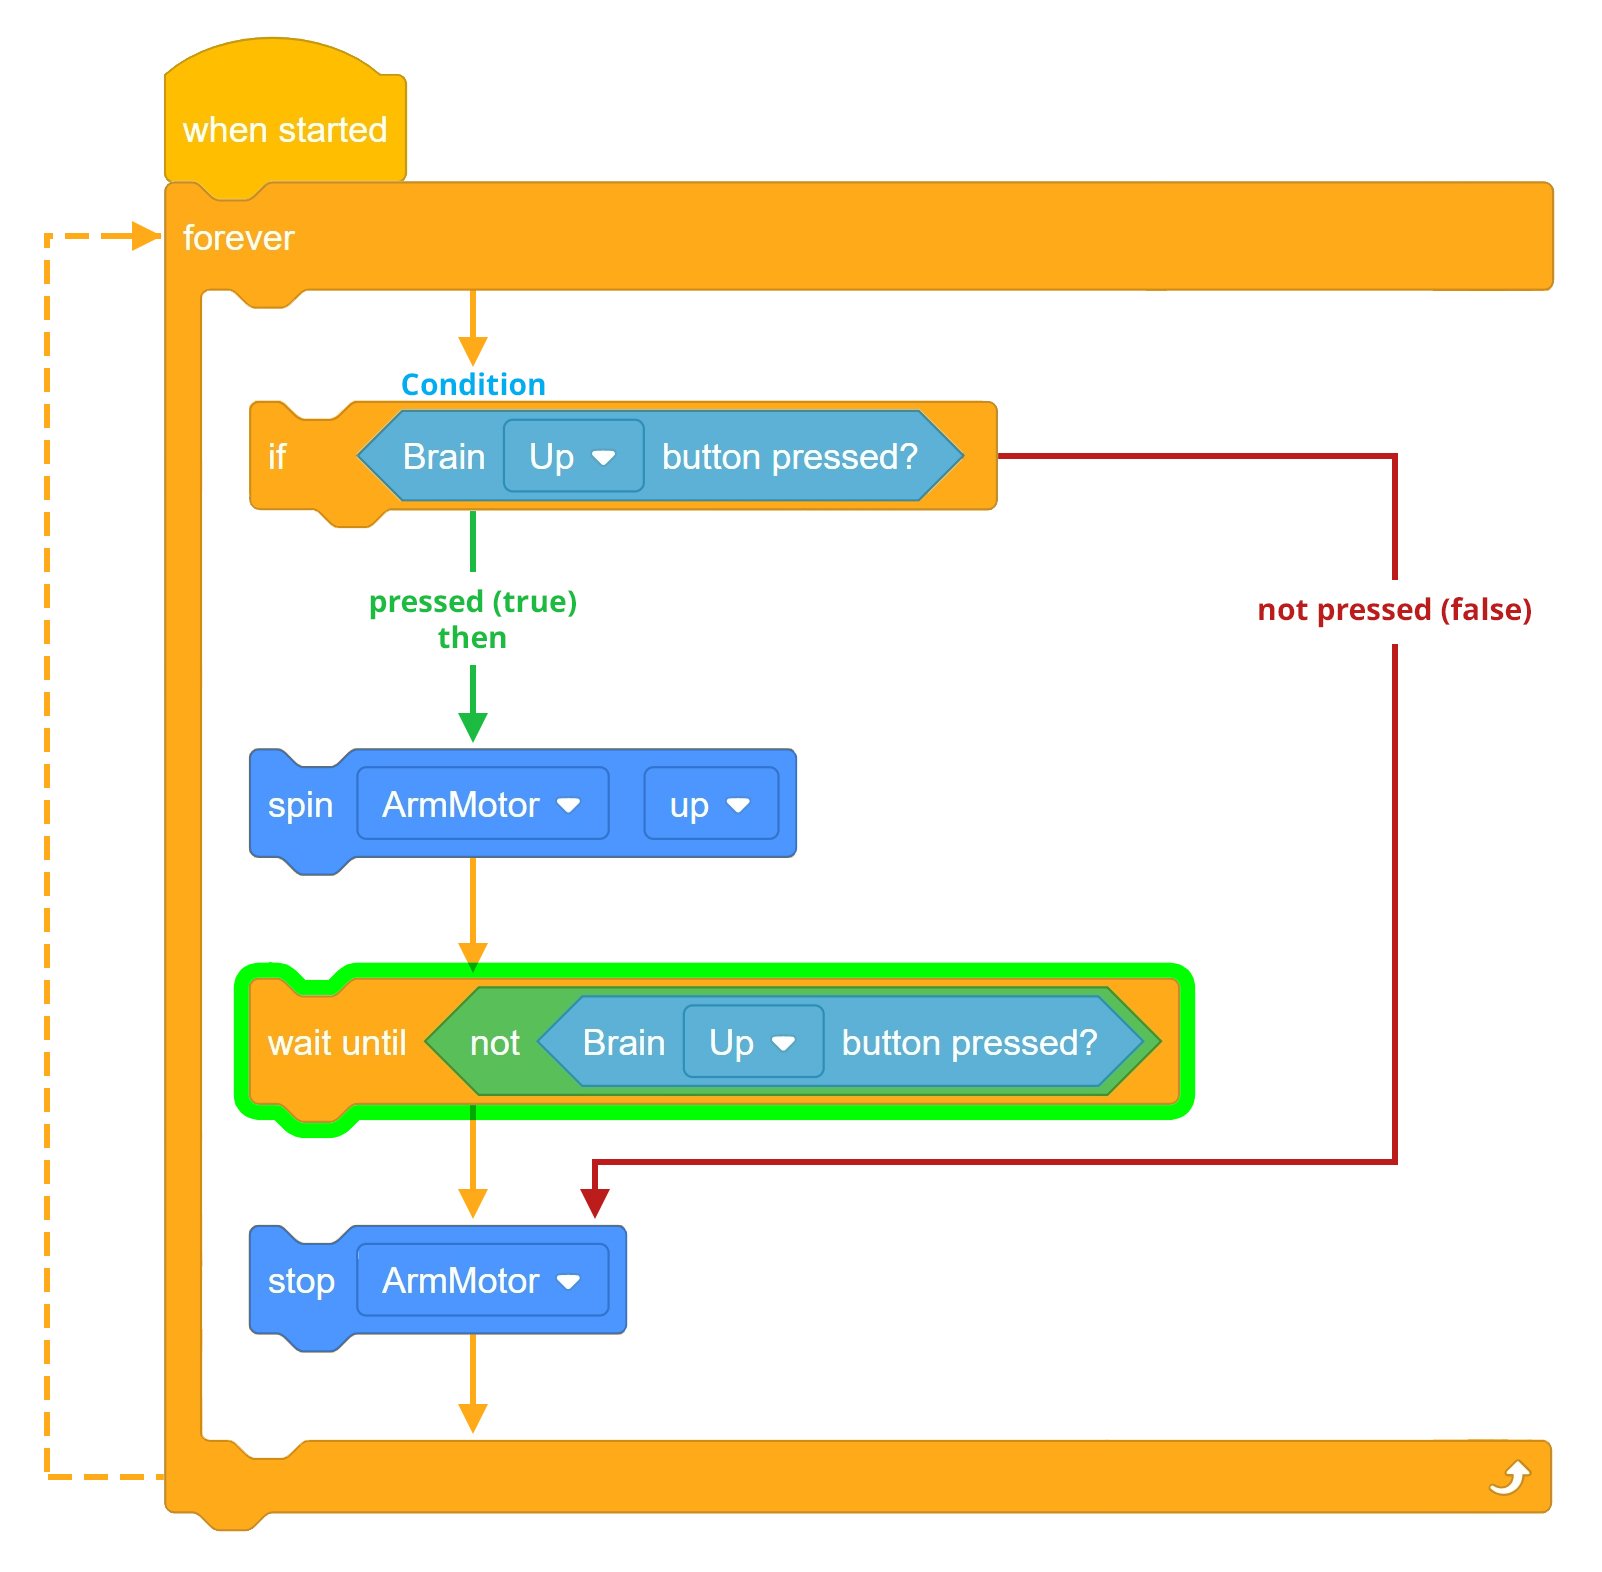
In the previous step, the project did not raise the arm successfully. View the following flowchart that explains the project flow. Notice that if the Brain Up button is pressed, the flow of the project moves so quickly that the project will move to the next block, which is the [Stop motor] block.
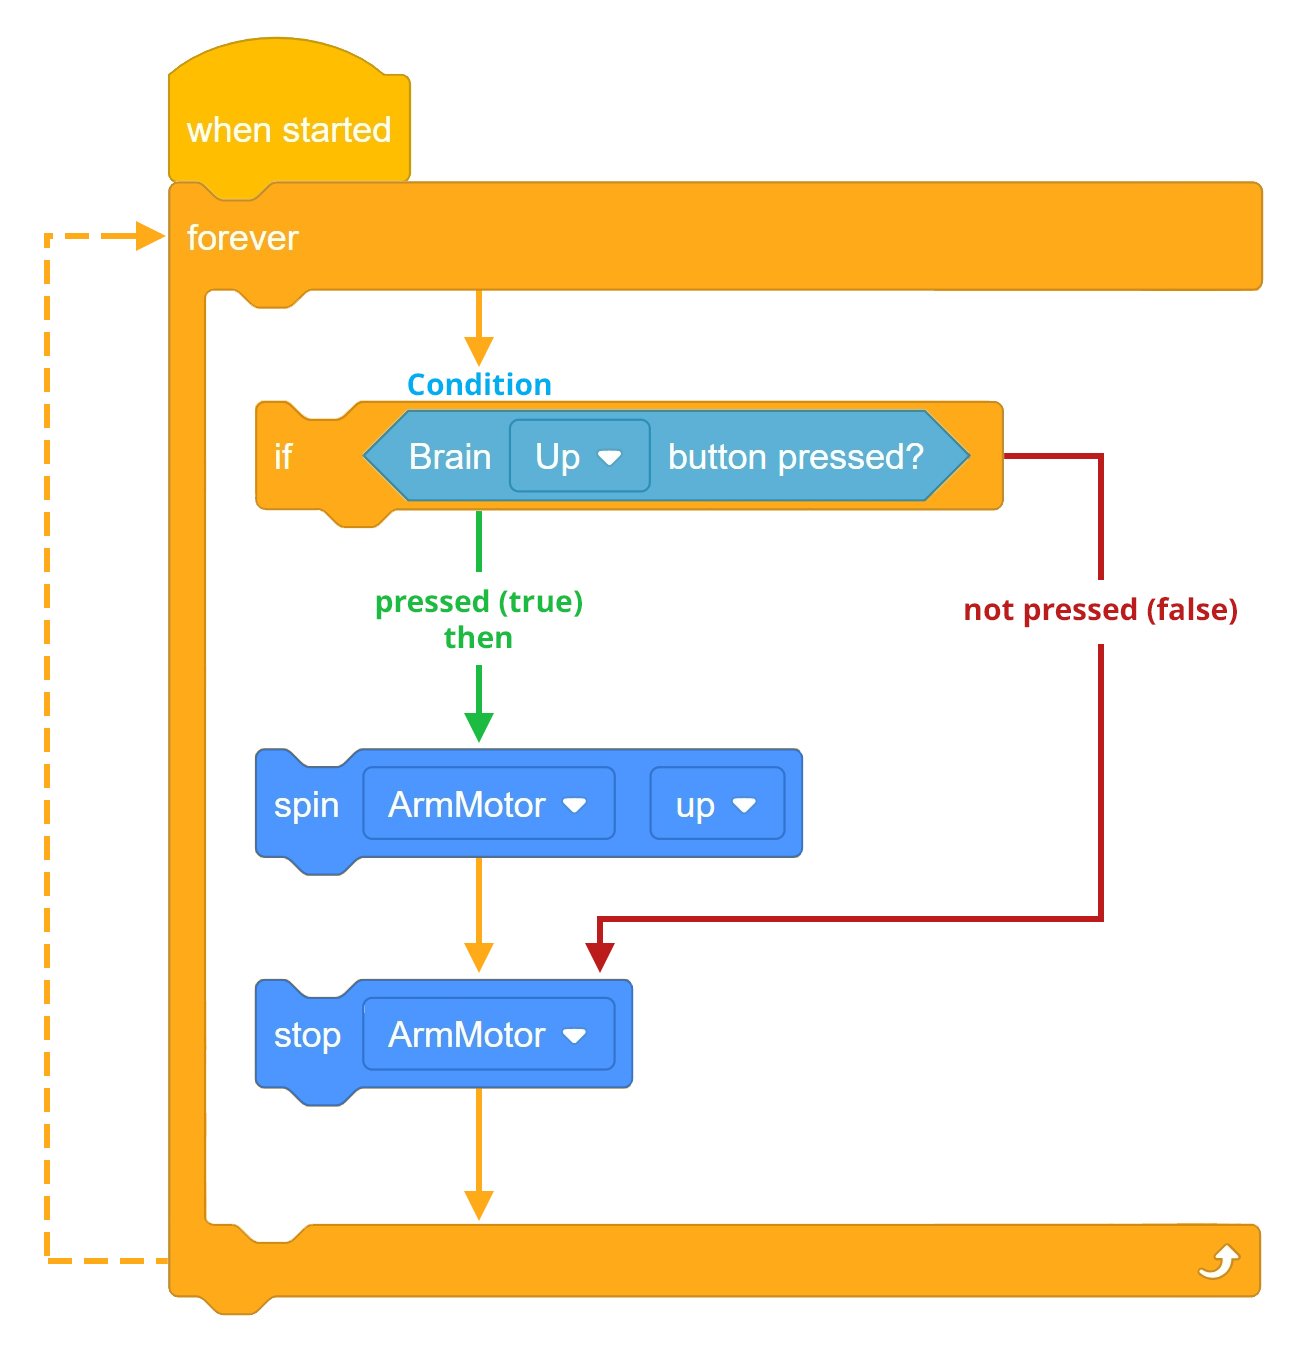
Thus, the project needs a [Wait until] block that tells the Arm Motor to keep spinning until the Brain Up button is released.
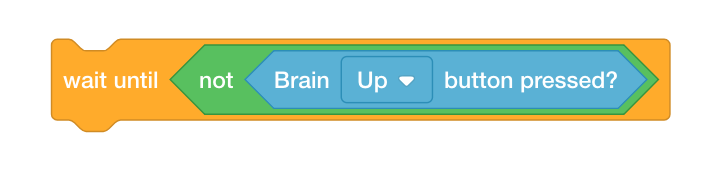
The [Wait until] block is necessary because of the speed of the project's flow. If it was not there, the project would move to the next block before the Arm Motor ever had time to respond. Thus, the blocks would flow down to the [Stop motor] block and then start back at the top of the stack because of the [Forever] block that repeats all blocks contained inside of it.
Let's explore changing the project by adding a [Wait until] block. The Arm Motor will now continue to spin until the Brain Up button is released. Once the Brain Up button is released, the project will continue to the next block, which is the [Stop motor] block.
The project will now first check the condition if the Brain Up button is being pressed. If the Brain Up button is being pressed (TRUE), then the arm will spin up until the Brain Up button is released. Once the Brain Up button is released, the project will move to the [Stop motor] block before returning to the top of the stack to begin again because of the [Forever] block.
If the Brain Up button is not pressed (FALSE), then the project will move to the [stop motor] block before returning to the top of the stack to begin again because of the [Forever] block and the arm will never spin.
Step 4: Adding the [Wait until] block.
Let's add the [Wait until] block:
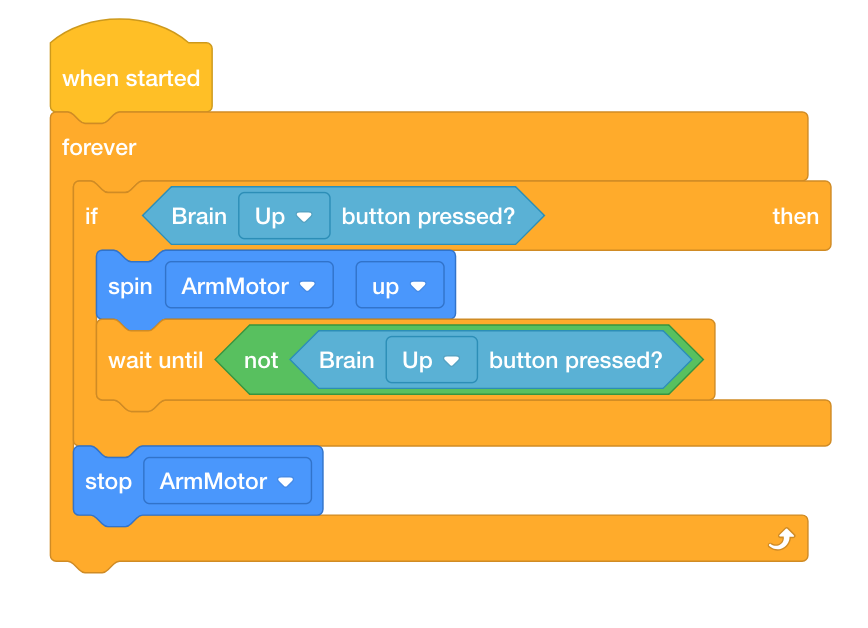
-
Add the [Wait until] block to your ArmUp project so that your project looks like the following:
- Save the project as ArmUp2. If students need help saving the project, refer to the Naming and Saving tutorial.

- Download the project to Slot 2 on the Clawbot, and then run it.
- For help downloading and running a project, see the tutorial in VEXcode IQ that explains how to Download and Run a Project.

- Test to see if the arm will now spin up when the Brain Up button is pressed.
- Verify that when the Brain Up button is not pressed (released) that the Arm Motor stops.
- Write your observations of how the Clawbot behaved before and after adding the [Wait until] block to your project in your engineering notebook.