Mastering Values
![]() Teacher Toolbox
-
Importance of Mastering Values
Teacher Toolbox
-
Importance of Mastering Values
The purpose of this page is to record the mastering values using the 'Arm Mastering' example project. This was done for the first time in Lab 1 and needs to be done at the beginning of each Lab.
This is important, because the mastering values could change if the Workcell is moved a certain way, or from periods of extended use. Recording the mastering values at the beginning of each Lab ensures that the arm on the Workcell will move in an accurate and repeatable manner.
![]() Teacher Toolbox
-
Facilitating the Mastering Values page
Teacher Toolbox
-
Facilitating the Mastering Values page
What the Teacher Will Do:
- Bring groups together for whole-class instruction.
- Tell students that they will be following the steps on this page and recording their mastering values on the Seek Checklist.
- A joint could fail during step 4. Let students know to alert you immediately if any of their values show up as 'FAIL.'

- Instruct students to break into their groups and start the steps. Make sure they know to check in with you when they have finished recording their mastering values.
- Circle the room as students are working. Answer students questions as they arise.
- If any of the students report that their Workcell failed mastering, distribute the students in that group to other Workcell groups, and have them remaster their Workcell at another time. This ensures those students do not miss the activity and are on-pace with the rest of the class.
- Students can adjust these values at another time. This article covers how to remaster the arm if any joints are failing.
For more tips or suggestions if a group's Workcell fails mastering, go to the V5 Workcell Educator Certification.
The following steps will guide you through recording mastering values. You will open, name, save, and download the 'Arm Mastering' example project to your Brain. Then, you will run the project to record the current mastering values. Even though recording the mastering values was already done in Lab 1, this needs to be done at the beginning of each Lab. This is important, because the mastering values could change if the Workcell is moved a certain way, or from periods of extended use. Recording the mastering values at the beginning of each Lab ensures that the arm on the Workcell will move in an accurate and repeatable manner.
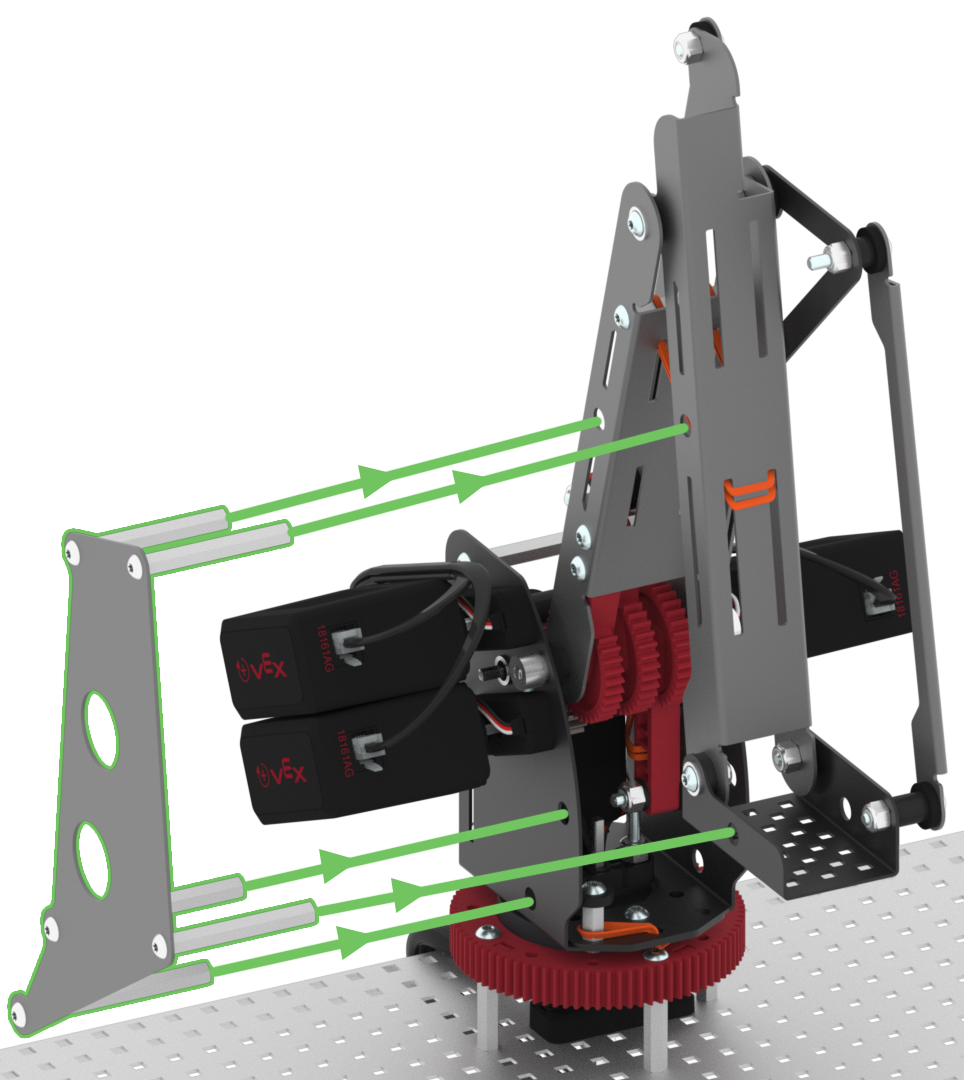
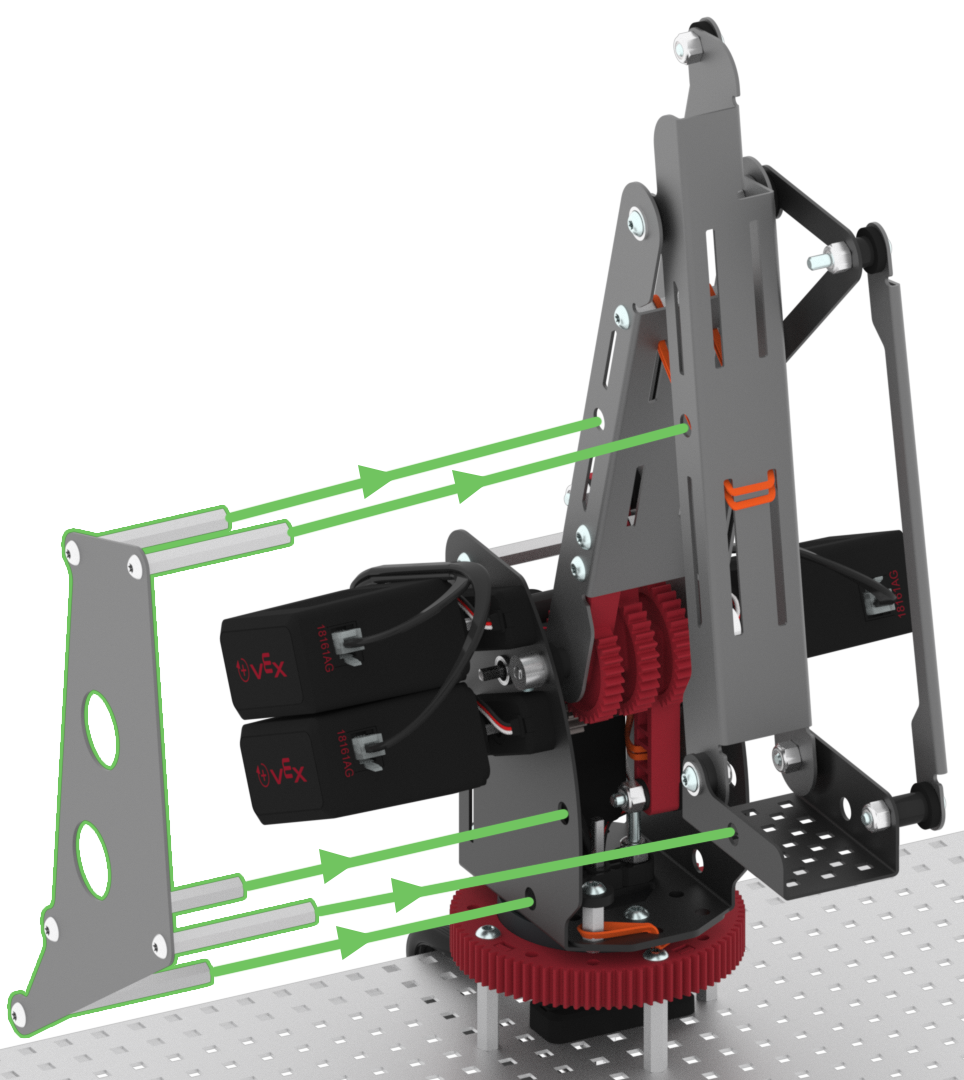
First, ensure that the mastering jig is inserted correctly into the arm mounted on the V5 Workcell.
In VEXcode V5, follow the steps in this video to open, name, save, and then change the download slot for the 'Arm Mastering' example project.
If you are using a Custom Config, you may need to update the 'Arm Mastering' example project to ensure the port assignments match the ports used in the project.
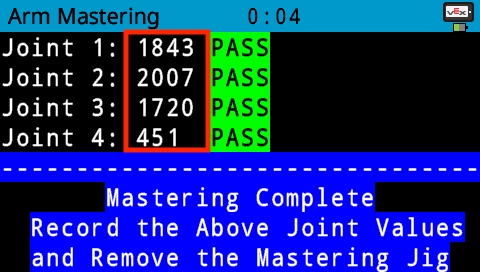
Download and run the project. The mastering values will be displayed on the V5 Brain's screen.

For Your Information
A joint may fail during the mastering process. An example of a joint failing is shown in this image.
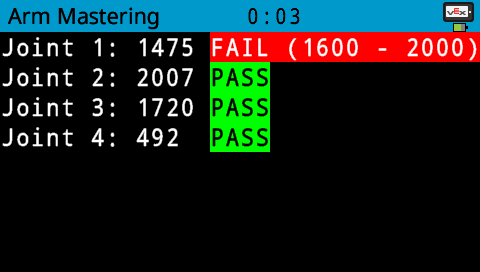
Record each of the four joint values.
Record your values, not the ones shown in this image.
If any joint is reported to be failing, alert your teacher.
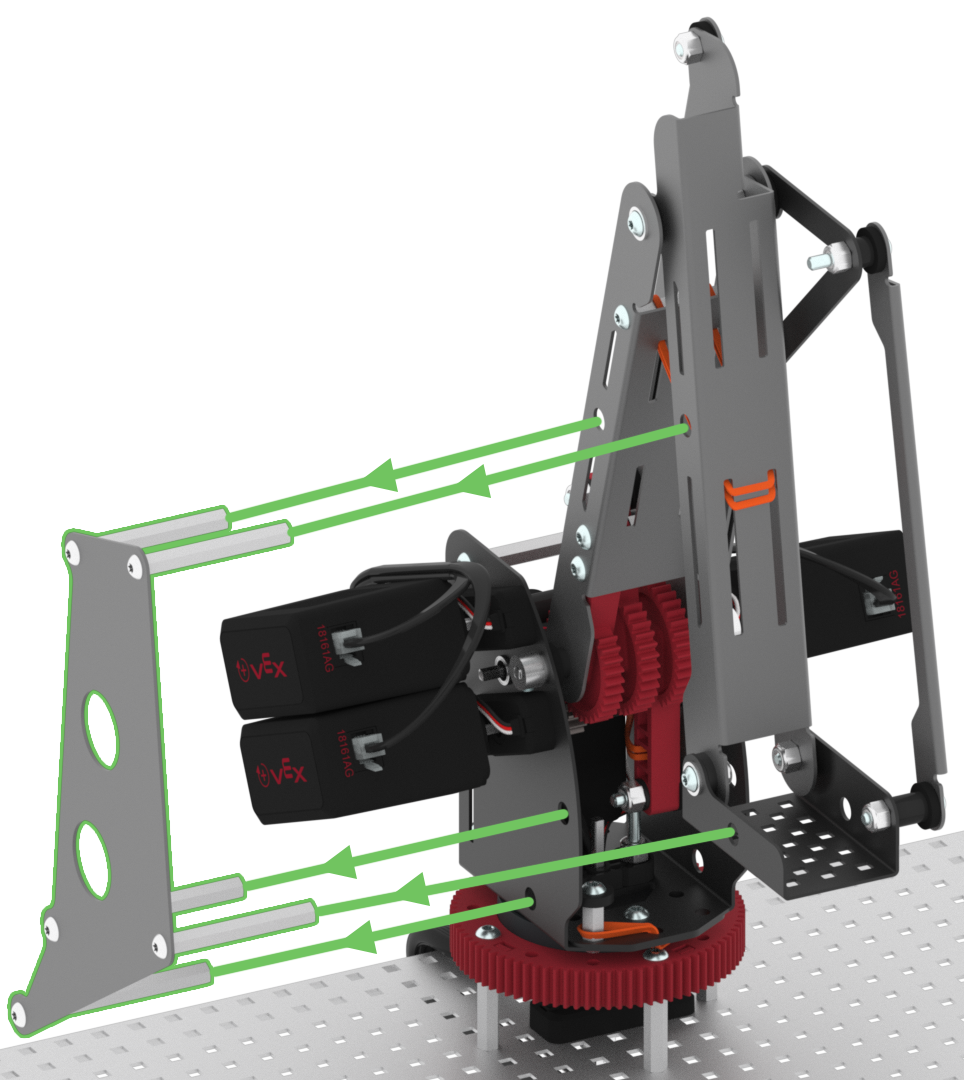
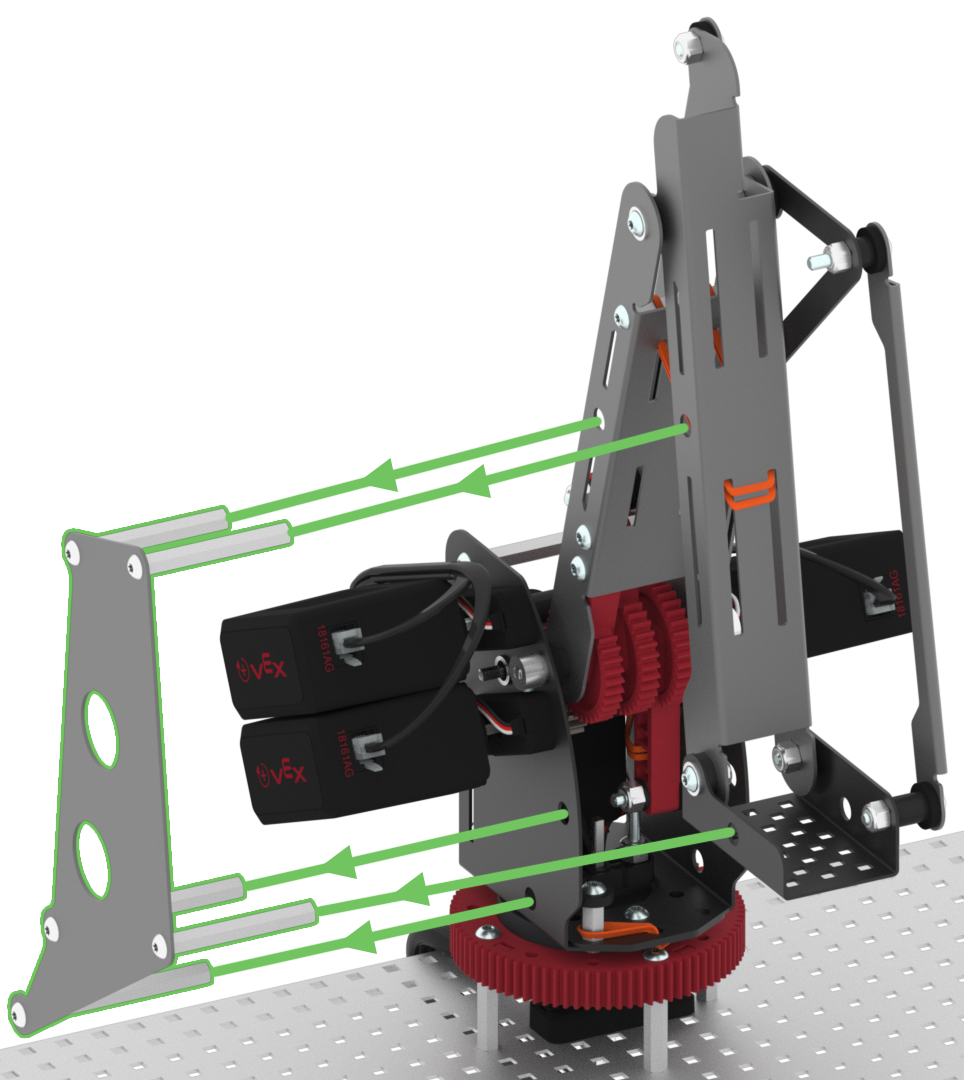
Remove the mastering jig.
![]() Teacher Tips
Teacher Tips
- Saving a VEXcode V5 project may look different depending on the device that your students are using. For more information on how to save on a specific devices, view the Save a Blocks Project (iPad, Chromebook, Windows, macOS) articles from the Knowledge Base.
- For more information on opening example projects, view this article from the Knowledge Base.
- Remind students that their mastering values will be different than the one shown in the image. Students should be recording their values, and not the values from the image.
- For additional tips, go to the V5 Workcell Educator Certification.
