Engage
Launch the Engage Section
ACTS is what the teacher will do and ASKS is how the teacher will facilitate.
| ACTS | ASKS |
|---|---|
|
|
Getting the Students Ready to Build
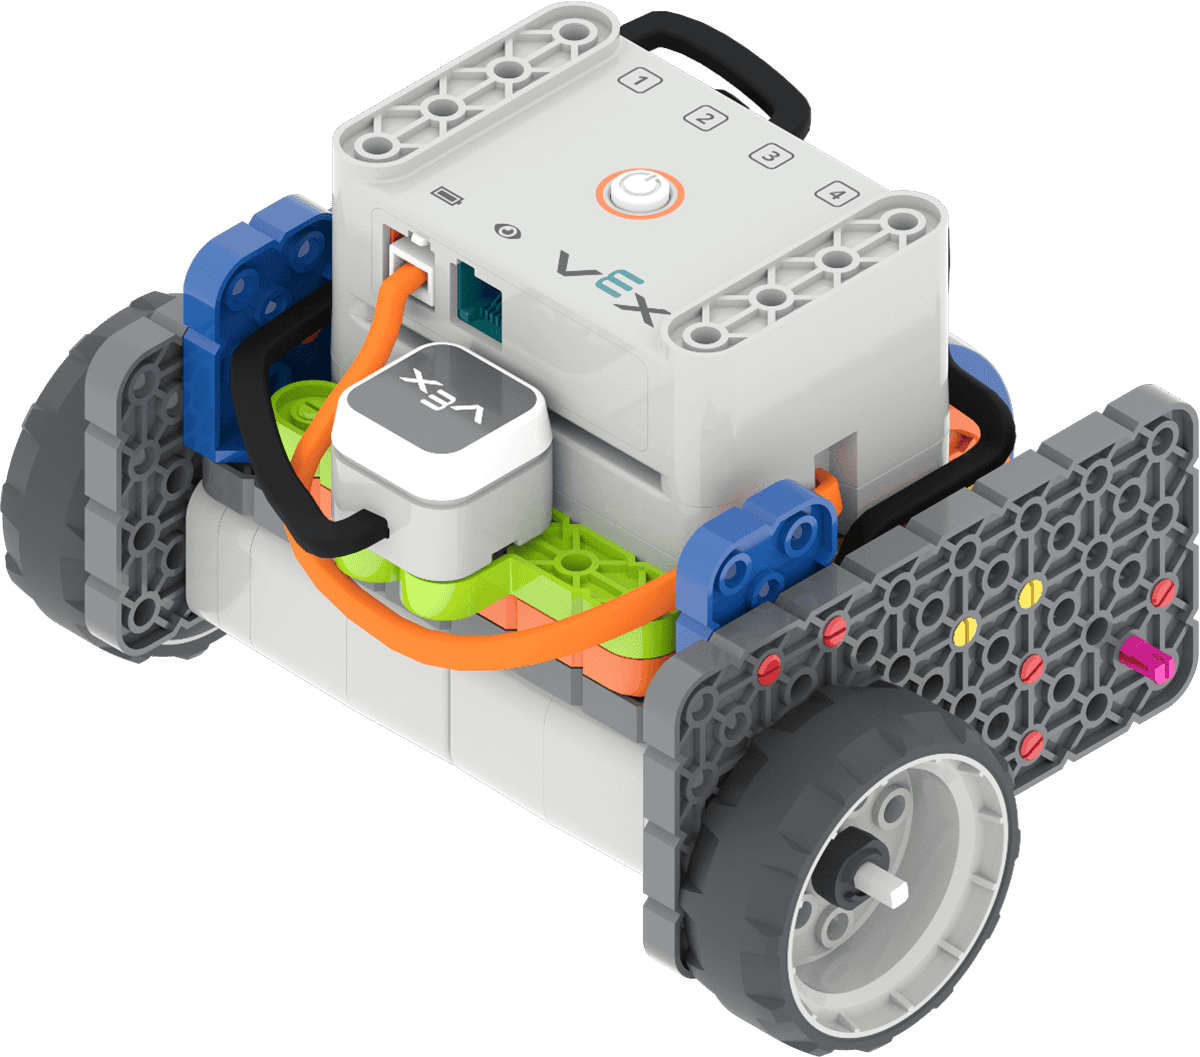
Let’s add the LED Bumper to the Code Base 2.0 to learn more about how it works.
Facilitate the Build
- InstructInstruct students to join their group, and have them complete the Robotics Roles & Routines sheet. Use the Suggested Role Responsibilities slide in the Lab Image Slideshow as a guide for students to complete this sheet.
-
DistributeDistribute
build instructions to each group.

Code Base 2.0 - LED Bumper Top -
FacilitateFacilitate
the building process and a 'Start Up' routine for working with the Code Base.
- Builders and Journalists should begin building based on their responsibilities in the Lab 3 Image Slideshow.
- Circulate around the room to help students with building or reading instructions where needed. Ask questions about how the build is being constructed to keep all students engaged in the buildings process, and remind students to follow their Role Responsibilities if they need help taking turns.
- If working with a pre-built Code Base, have students collect their Code Bases and Kits and walk them through a whole class check to make sure they are ready for the Lab activities, by asking questions like:
- Is your Battery connected to the Orange Battery Port on the Brain?
- Is the Right Motor plugged into Port 1 and the Left Motor plugged into Port 4?
- Is the LED Bumper attached and plugged into Port 2?
- Is the Code Base built properly and not missing any pieces? Check your build against the last step of the Build Instructions to ensure your Code Base is built correctly.
- OfferOffer support to groups that need assistance with the build and the 'Start Up' routine.

Teacher Troubleshooting
- Think about where your students' test space is going to be before class begins. You can use a flat, smooth surface like a table or desk, or your Tiles.
- Review the Using the VEX GO Sensors and the Coding with the VEX GO LED Bumper article for additional information on the LED Bumper.
Facilitation Strategies
- You will notice that the LED Bumper Top build instructions start with a pre-built Code Base and illustrate the steps to add the LED Bumper. If you do not have pre-built Code Bases for this Lab, your student will also need to build the Code Base (also see link in Materials Needed). Allow for an extra 10 minutes for student to build the Code Base.
- Use the Get Ready...Get VEX...GO! PDF Book and Teacher’s Guide - If students are new to VEX GO, read the PDF book and use the prompts in the Teacher’s Guide (Google / .pptx / .pdf) to facilitate an introduction to building and using VEX GO before beginning the Lab activities. Students can join their groups and gather their VEX GO Kits, and follow along with the building activity within the book as you read.
- Use the Teacher’s Guide to facilitate student engagement. To focus on VEX GO connections in a more concrete or tangible way, use the Share, Show, or Find prompts on each page to give students an opportunity to get to know their kits in more depth.
- To focus on the habits of mind that support building and learning with VEX GO, like persistence, patience, and teamwork, use the Think prompts on each page to engage students in conversations about mindset and strategies to support successful group work and creative thinking.
- To learn more about using the PDF book and accompanying Teacher’s Guide as a teaching tool any time you are using VEX GO in your classroom, see this VEX Library article.