
Play
Part 1 - Step by Step
- InstructInstruct each group that they will be opening and starting the 'Using the LED Bumper' example project in VEXcode GO to see the color-changing function of the LED Bumper.
Using the LED Bumper on the Code Base - ModelModel for students the steps to launch VEXcode GO.
- Model the steps to connect a Brain to your device.
Note: When you first connect your Code Base to your device, the Gyro built into the Brain may calibrate, causing the Code Base to move on its own for a moment. This is an expected behavior, do not touch the Code Base while it's calibrating.
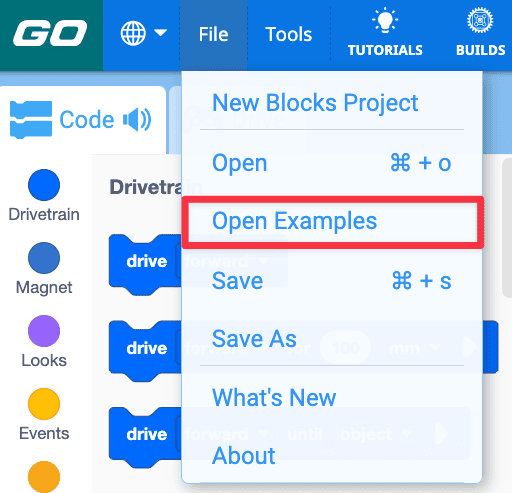
- Students will be using an example project to help them learn about commands related to the LED Bumper in VEXcode GO. Model for students how to open the File menu and select 'Open Examples.'

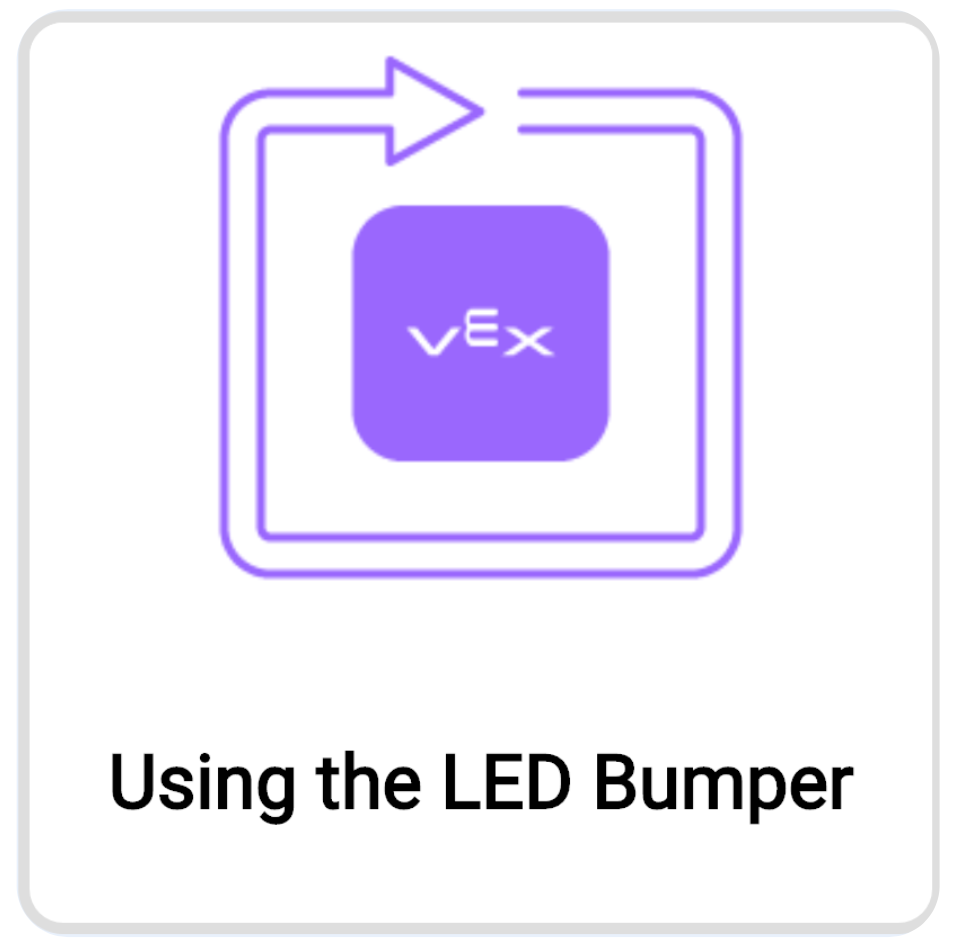
- Open the 'Using the LED Bumper' example project.
Open "Using the LED Bumper" Example Project - Model for students how to save the example project, and name it Using the LED Bumper, then start the project and observe the changing color pattern on the LED Bumper.

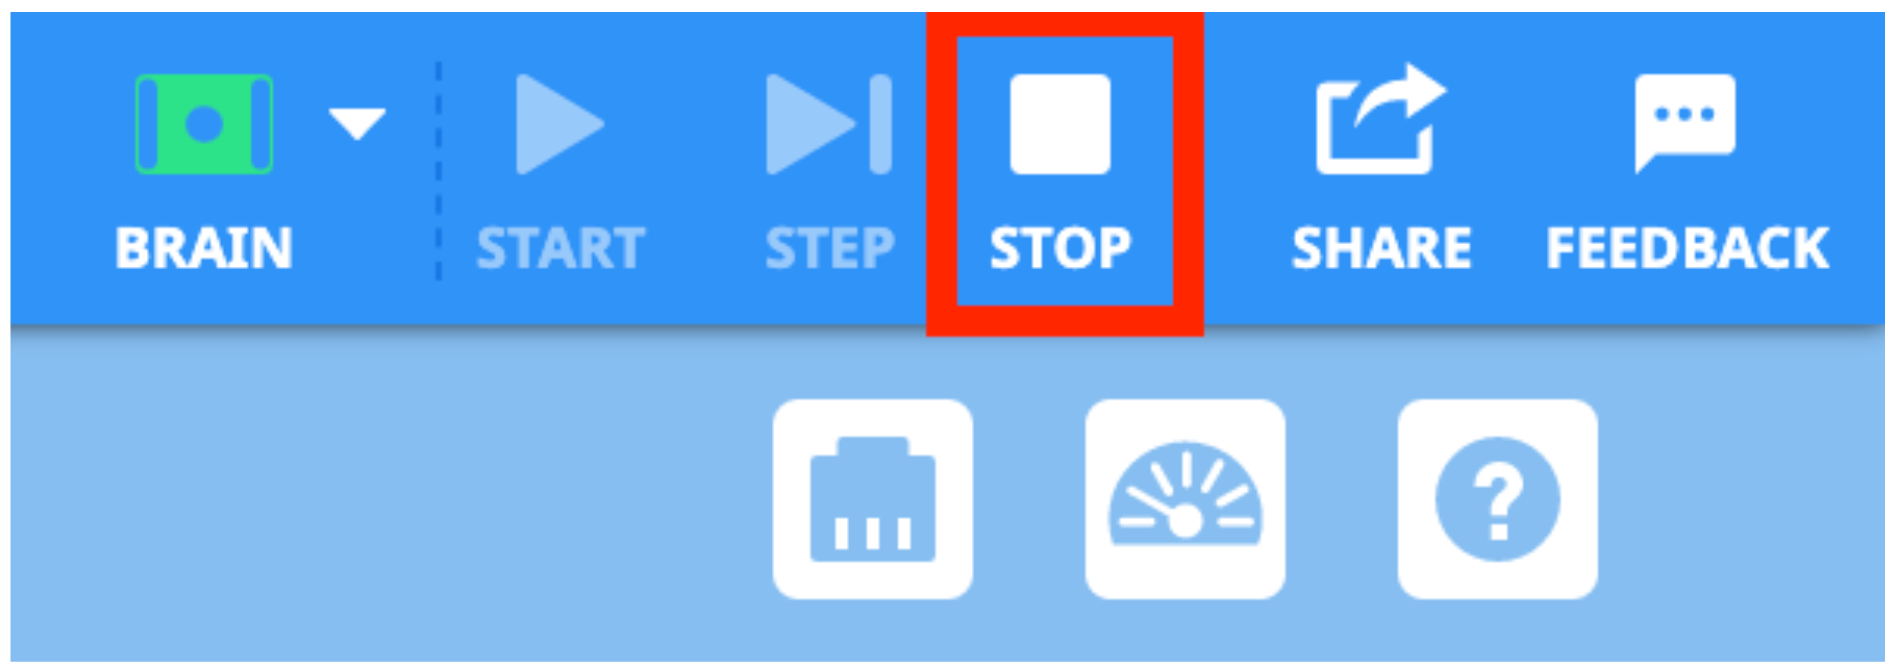
Rename and Save Project - After the project is complete, students should be sure to select 'Stop' in the Toolbar.
Stop the Project - Model for students how they can change the parameter of a block by selecting a dropdown or changing the number in the [Set bumper color] and [Wait] blocks.
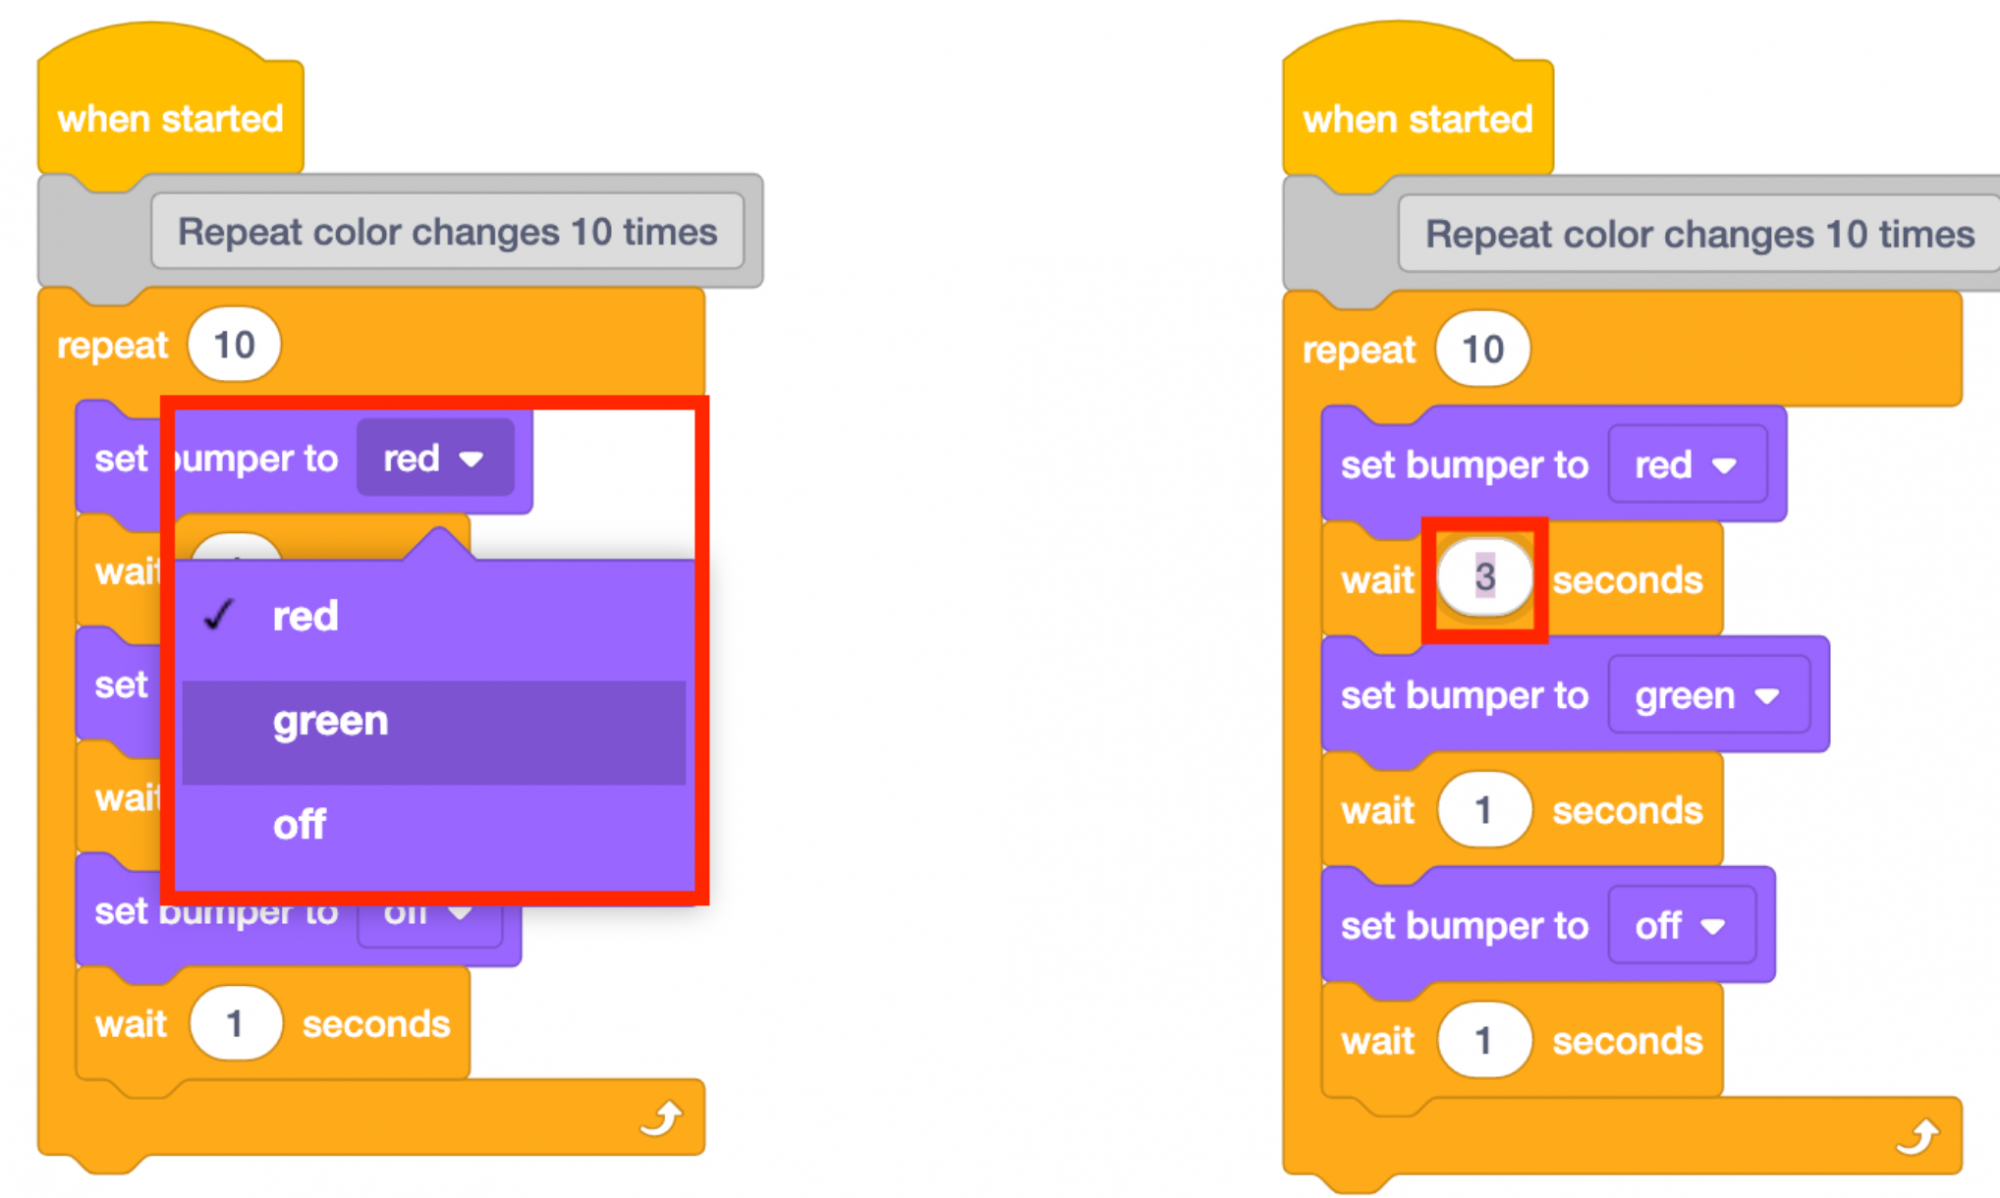
Change the Parameters - Model how to add or remove blocks from the example project to create a new pattern. Students should change only 1 or 2 parameters or blocks at a time, then start their project to see what changed.
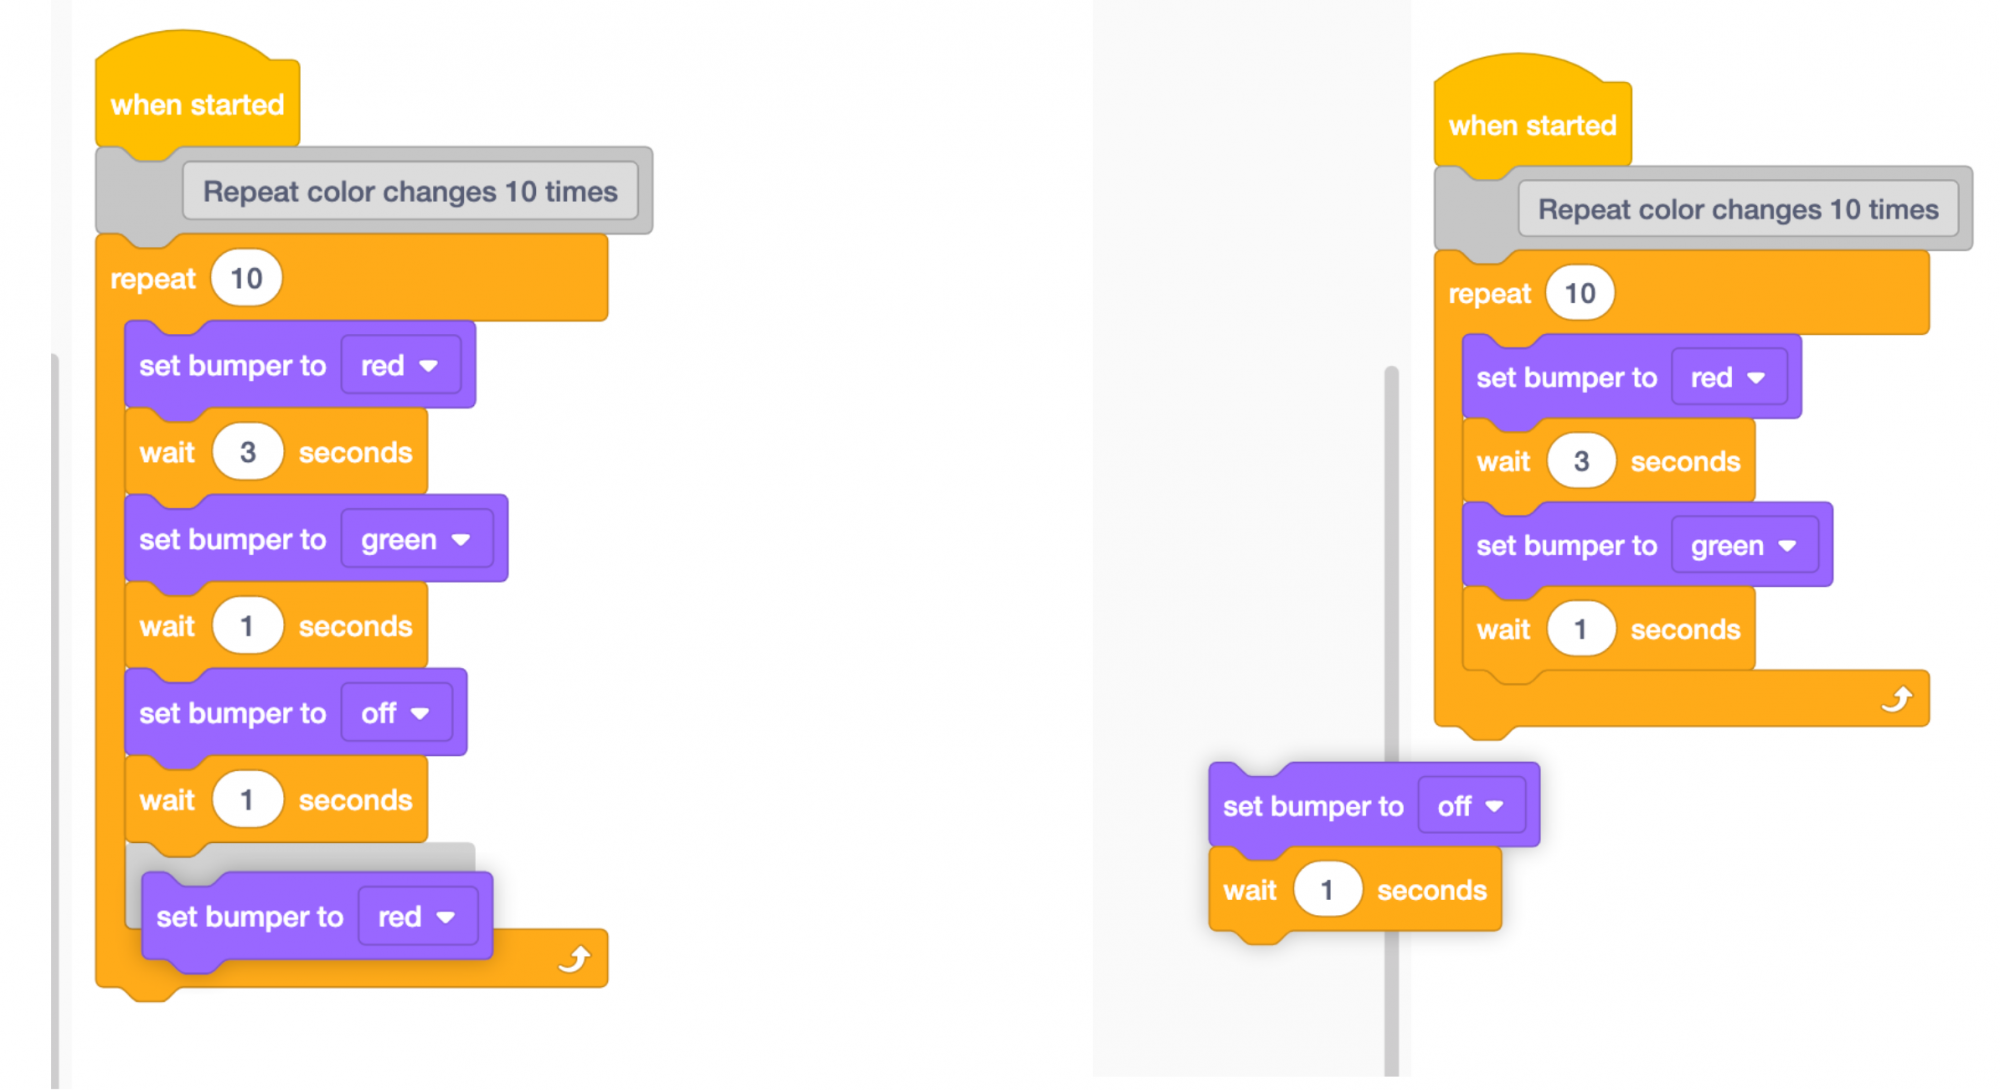
Add or Remove Blocks - Students should continue testing their projects to create a new pattern of LED Bumper color displays.
- FacilitateFacilitate a discussion with students as they create a new pattern.
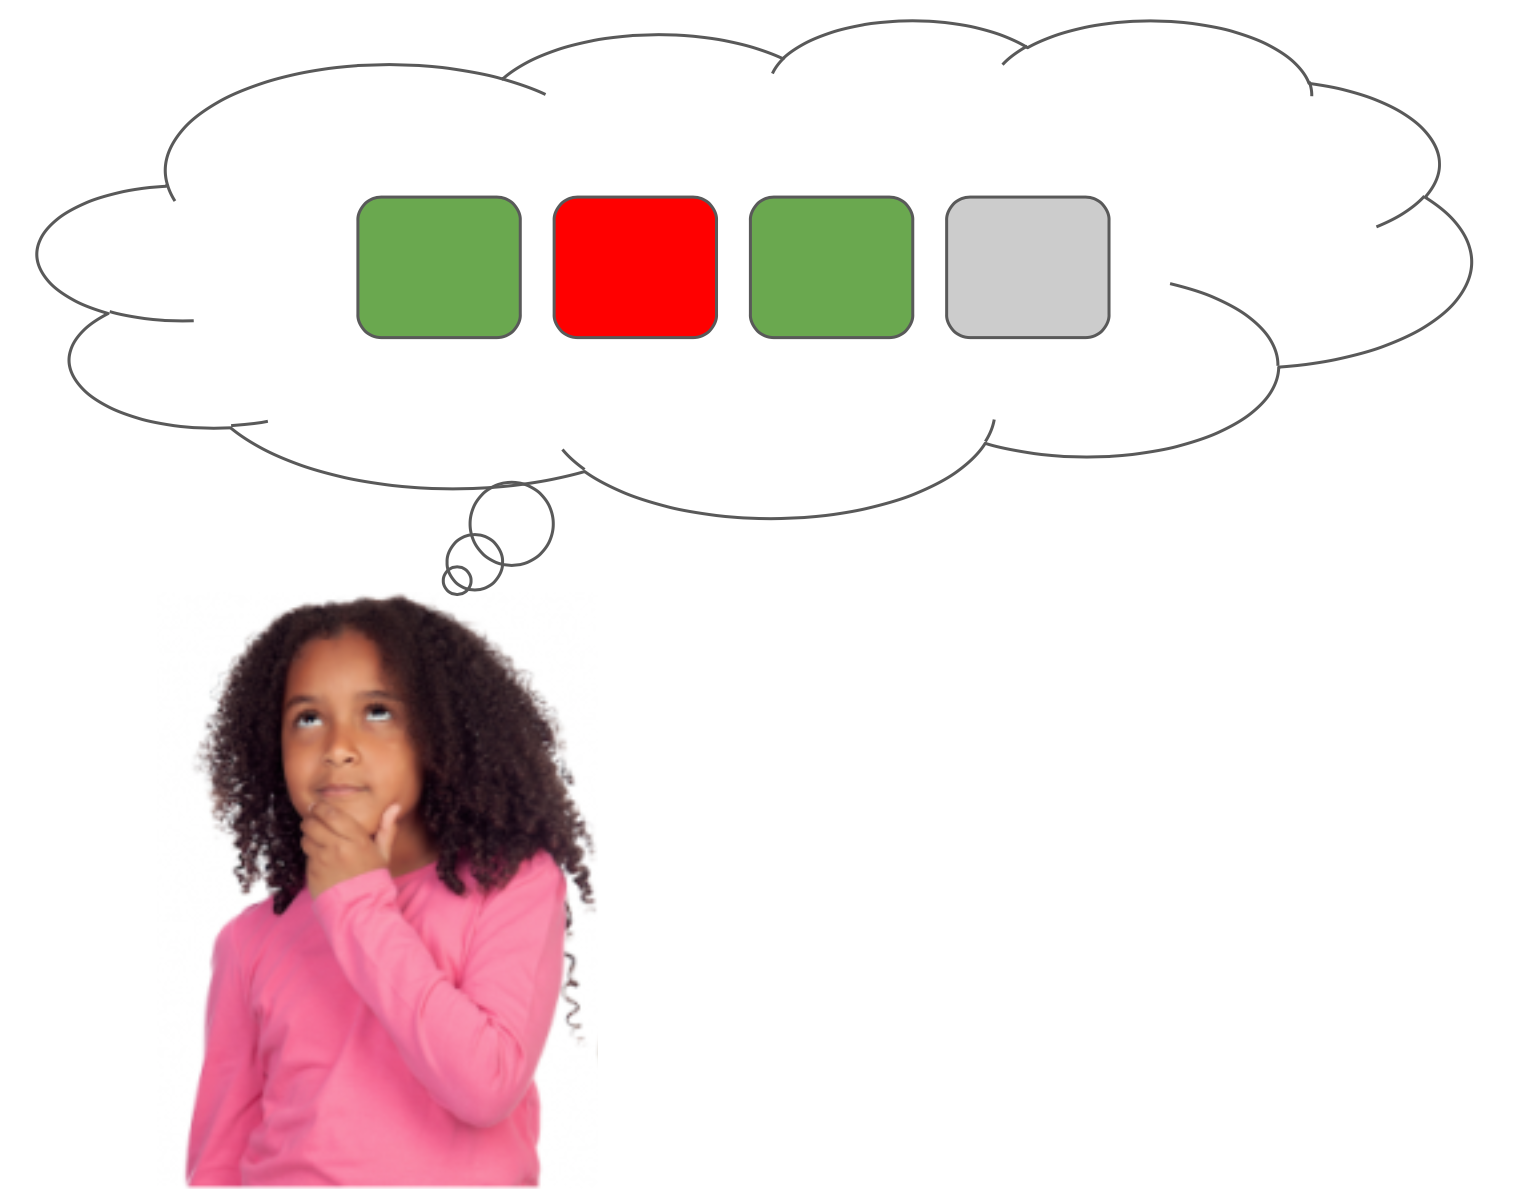
Create a New Pattern - What pattern are you trying to create?
- What has your group changed in the project so far? Why?
- How could displaying color be useful in a project?
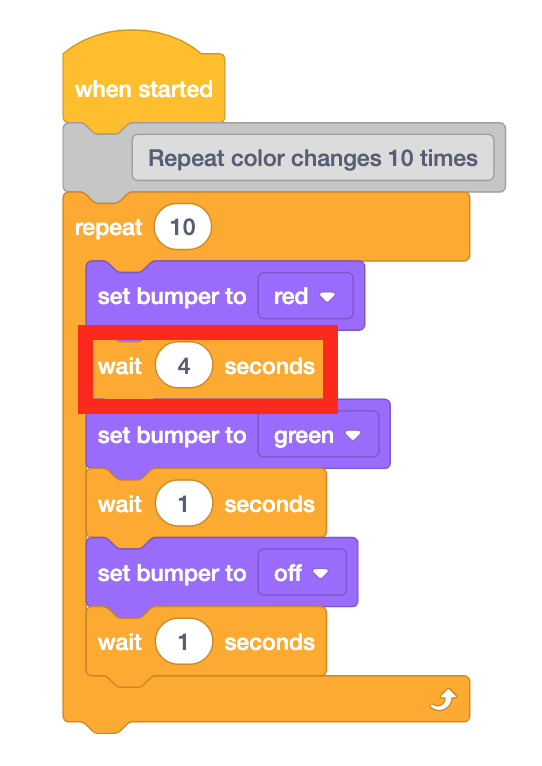
- RemindRemind groups that they can change the color displayed on the LED Bumper and the time between each color change to make a new pattern.
- To change the time between each color change, students should change the parameter in the [Wait] block.
Change time between colors - AskAsk students what other things they have seen that display a color pattern, or display colors to indicate something. How does that make the object more useful? For example, a traffic light uses a color pattern to tell drivers to stop and go. The indicator light on the VEX GO Battery shows a user when it needs to be charged.
Mid-Play Break & Group Discussion
As soon as every group has created a new pattern with the LED Bumper, come together for a brief conversation.
- What new pattern did your group create? What did you change in order to do that?
- What action was the LED Bumper performing in the example project? How else can the LED Bumper be used? Let’s think about the Bumper part.
- The LED Bumper can sense when it is pressed, and it can use that information to cause something to happen. Why do you think that could be useful?
Part 2 - Step by Step
- InstructInstruct students that they are going to use a different example project to explore how the LED Bumper can be used to cause a behavior when it is pressed.
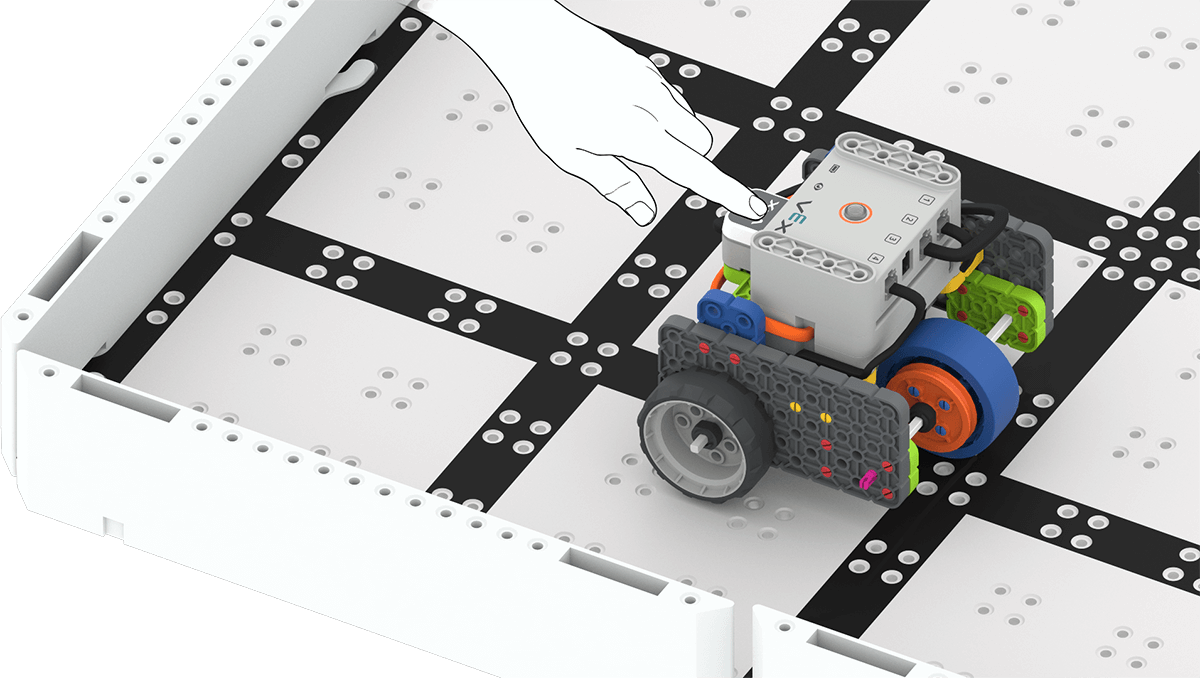
Pressing the LED Bumper - ModelModel using a group’s setup, how to open the 'Wait Until Push' example project and test it. Place the Code Base in the field to begin.
- Model for students how to open the File menu and select ‘Open Examples’.
- Select the ‘Wait Until Push’ example project.
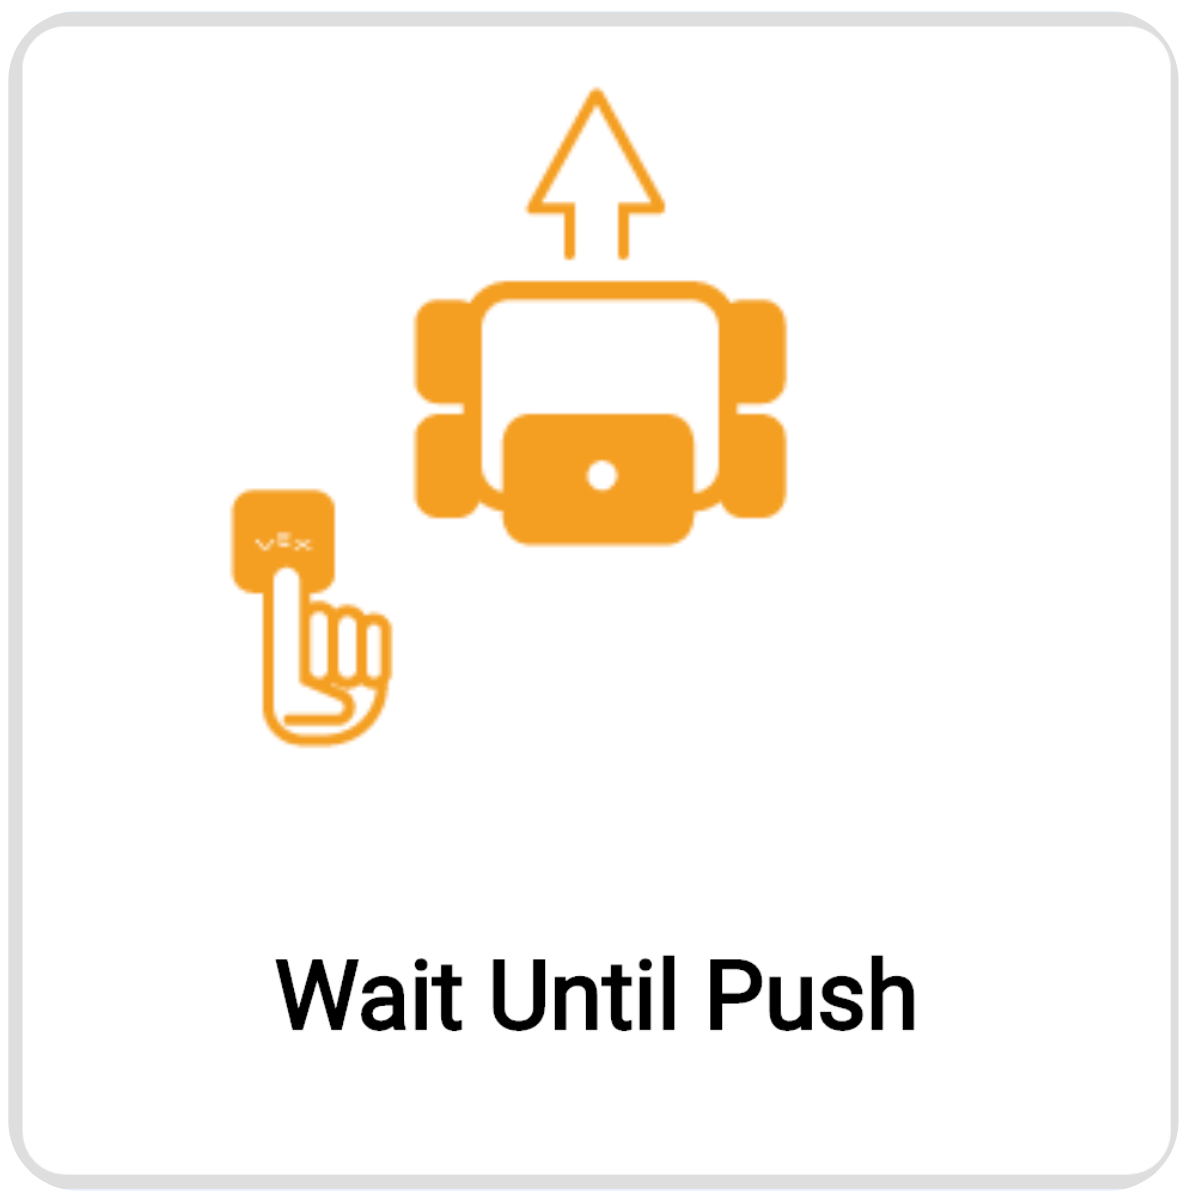
Wait Unit Push Example Project - Students should name and save the project as Wait Until Push.

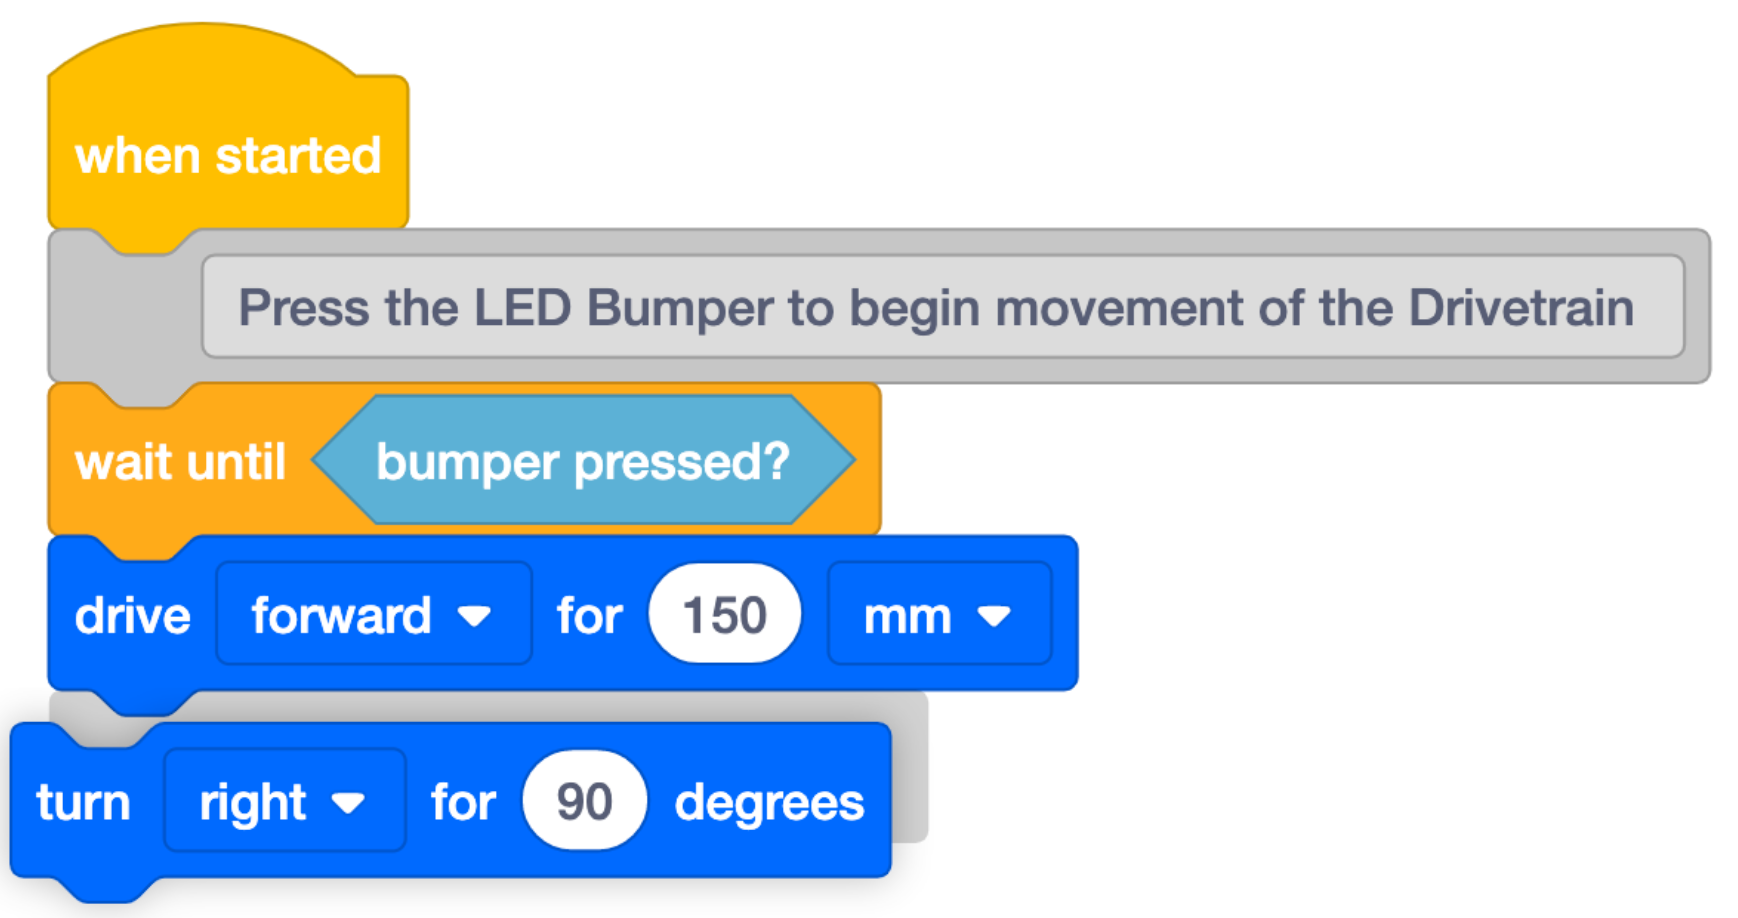
Rename Project Wait Until Pushed - Model for students how to start the project and observe the behavior of the Code Base. Be sure to select Stop in the Toolbar when the project is complete.
- Students should test this project themselves. After the initial testing, students should add additional blocks to expand the behavior of the Code Base when the LED Bumper is pressed. Students can use a [Drive for] or [Turn for] block to add motion or add the [Set bumper color] block to add the color display they used in Play Part 1.
- FacilitateFacilitate students understanding of the cause and effect nature of the LED Bumper in this project, as they are testing their projects.
Add Blocks to the Project - What is the effect of pressing the LED Bumper in the original project?
- What more do you want your Code Base to do when you press the LED Bumper? What blocks do you need to add to do that?
- RemindRemind students that they should think about the intended behaviors prior to adding the blocks to their projects.
- If their changes to the project don’t work as intended, remind students that trial and error is a part of learning, and of coding.
- Remind students that talking through problems with their group can help them explain their thinking, and set them up to problem solve together.
- AskAsk students to think about what other cause and effect relationships they can think of. For instance, when you hear the bell ring (cause), you line up for recess (effect). What other examples can you think of?