Getting Ready to Code
There are built in resources in VEXcode IQ available to help you get started coding. You can access Tutorial Videos and Help to learn more about things like saving, downloading, and running your project, how to use a specific block, or getting started with a project.
Tutorial Videos
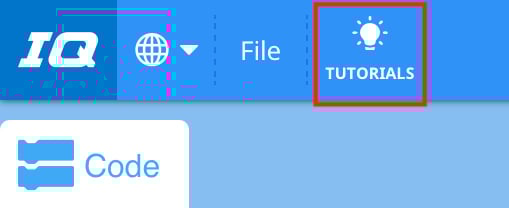
To access tutorials, select the 'Tutorials' icon in the VEXcode IQ Toolbar, as shown here.
The following tutorial videos may be helpful to get started with this Unit:
- Getting Started
- Device Setup - Drivetrain
- Naming and Saving Your Project
- Download and Run a Project

Built-in Help
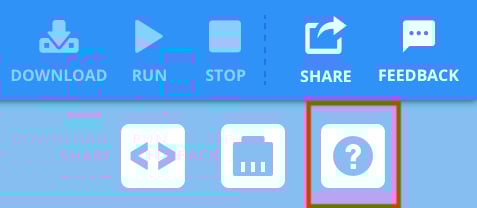
To access Help, select the 'Help' icon in VEXcode IQ, as shown here.
Then, select a block or command to learn more about it.
The Help feature offers block or command-specific information, including things like how they can be used in a project.

Example Projects
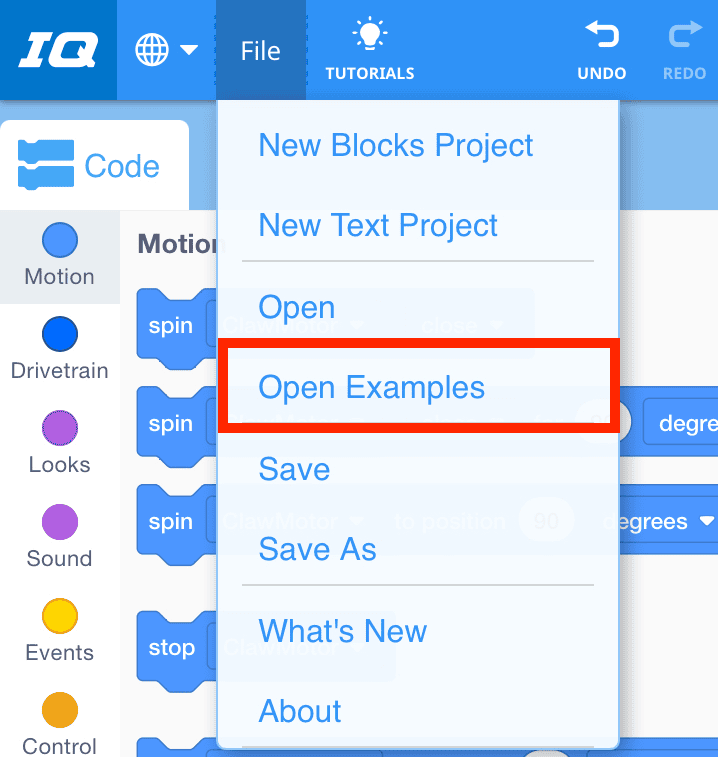
To access Example Projects, select 'File', then 'Open Examples', as shown here.
For a beginning project to help you get started coding, you can use an Example Project. Example Projects include Templates for different VEX IQ builds, as well as sample projects for a variety of features and functions.
In this Unit, the following Template example project can be used:
- Clawbot (Drivetrain 2-motor)

What is Next?
In this Lesson, you built the Clawbot and charged your Battery and paired your Controller.
In the next Lesson, you will:
- Learn about what a claw is, and how to design an effective claw to accomplish a particular task.
- You will learn about the concept of scouting.
- Compete in the Grab and Go Challenge!

Select < Return to Lessons to go back to the Lesson Overview.
Select Next Lesson > to continue to Lesson 2, and learn about how to design a claw for a specific task.