Design, Develop, and Iterate on your Project - Python
Answer the following questions in your engineering notebook as you design your project.
-
What type of robot dance will you create? Explain with details.
-
What types of loops will you use and why?
-
What steps will you follow to test the dance? Explain with details.
In order to help you plan, click one of the following links for a few example dance moves that you might include in the Clawbot's dance (Google Doc / .docx / .pdf).
![]() Teacher Toolbox
Teacher Toolbox
One way to make this dance competition more exciting is to have students compare their plans for feedback and inspiration. If time allows, encourage students to share their plans.
-
Answers will vary, but students may note that they want their robot to spin or raise the robot arm in the air.
-
for and/or while loops can be used to repeat specific instruction or dance moves. Loops are used to simplify projects and make them more efficient.
-
The students can first write their ideas for the dance using pseudocode. They can then begin using instructions to program how they want the robot to move. Once they have completed the project, they can run it and record their observations in their engineering notebook before making improvements. All improvements should also be recorded in the engineering notebook.
Follow the steps below as you create your project:
- Plan out the dance using drawings and pseudocode (Google Doc / .docx / .pdf).
- Use the pseudocode you created to develop your project using VEXcode V5.
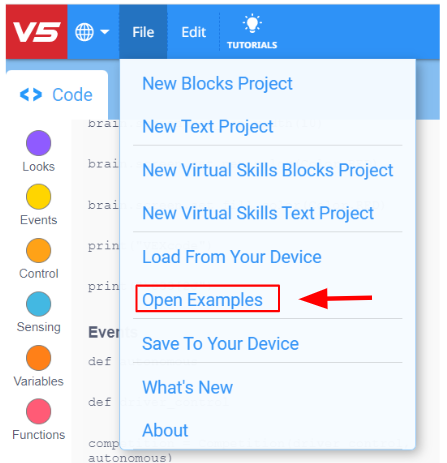
- Open the Clawbot Template (Drivetrain 2-motor, No Gyro) example project.

- Name the project GrooveMachine and select Save.

- Run your project to test it often and iterate on it using what you learned from your testing.
- Share your final project with your teacher.
![]() Teacher Toolbox
-
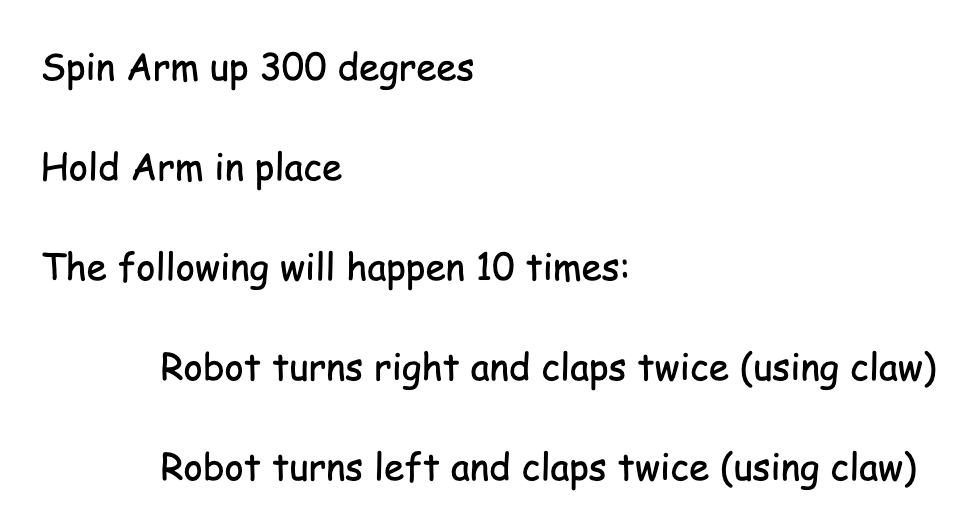
Example Pseudocode Solution
Teacher Toolbox
-
Example Pseudocode Solution
The following is an example of what students' pseudocode might look like. Keep in mind, you can suggest that students provide more detailed pseudocode. An example could be, "open and close the claw" instead of just "claps."

If you want to score their pseudocode, here is a rubric for doing so (Google Doc / .docx / .pdf). If you plan to use this or any rubric, it is recommended that you show the rubric to students or give them a copy of it before starting to work.
If you're having trouble getting started, review the following in VEXcode V5:
- Example projects

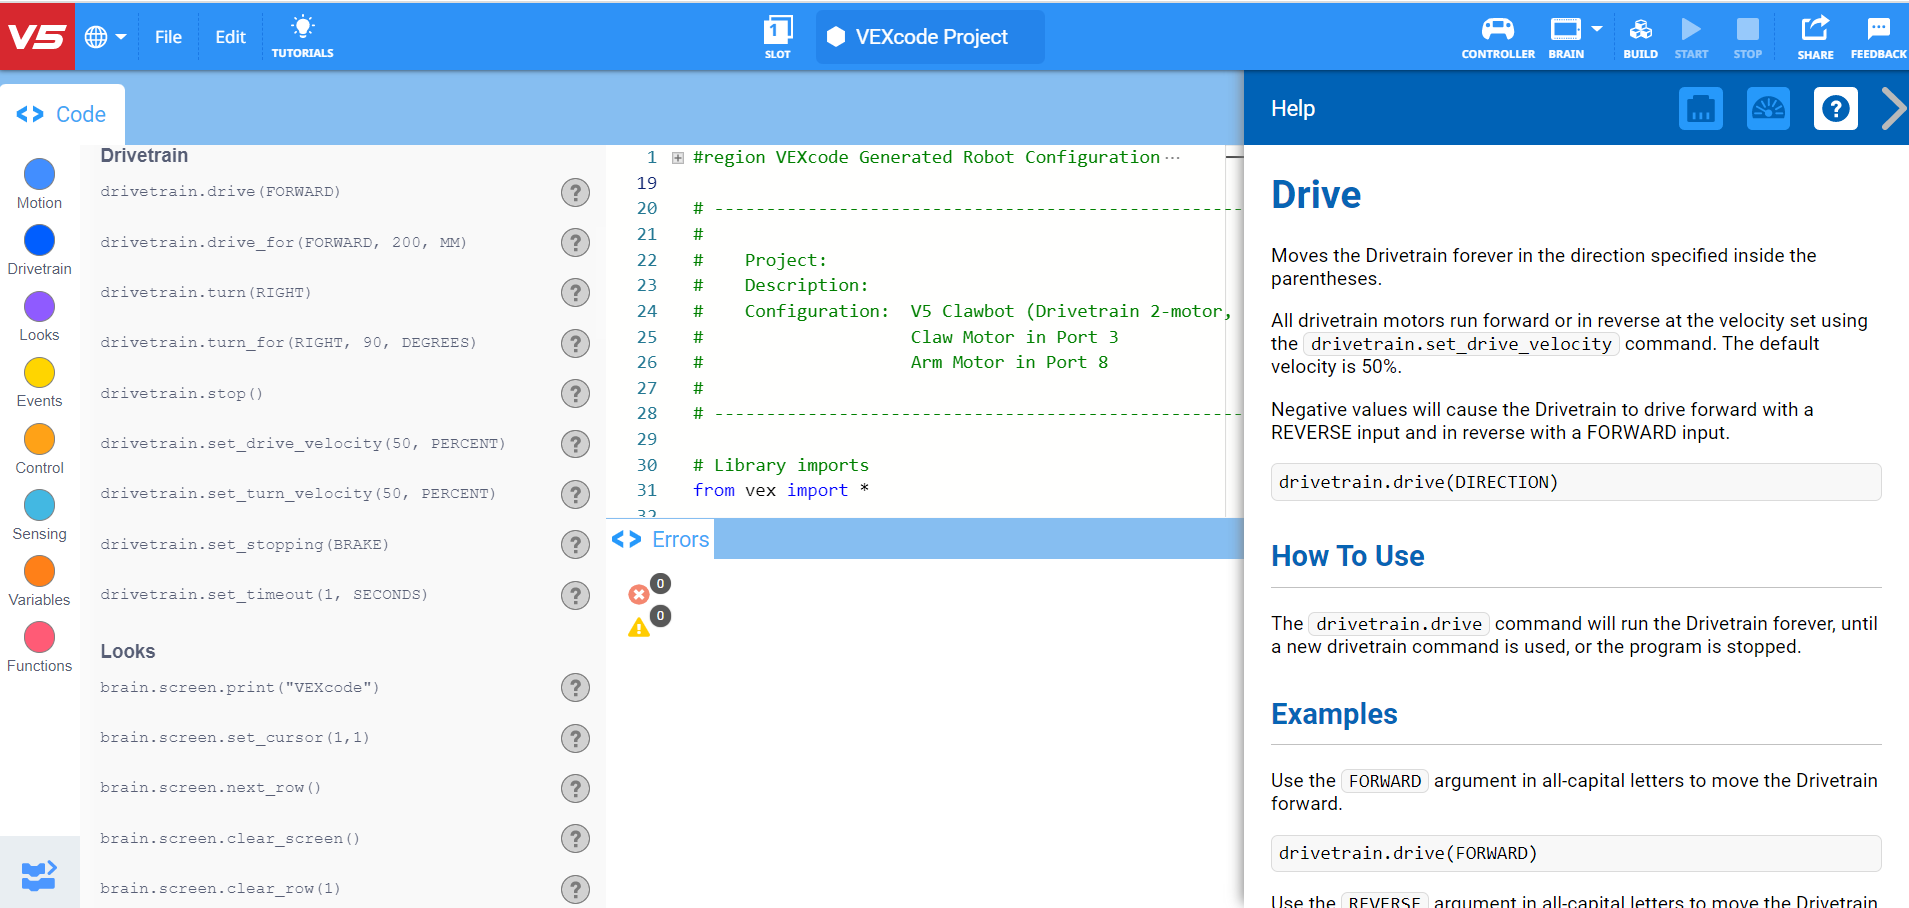
- To access additional information while creating a program, right click on the question mark next to the instruction in your work space to see additional information about it.

- Review previous versions of your RepeatingActions project to assist with creating your new project.