Programming the Claw - Python
The V5 Clawbot is ready to grasp!
This exploration will let you start creating some cool projects that use the V5 Clawbot's claw to grasp objects.
- VEXcode V5 Python commands that will be used in this exploration include:
- claw_motor.set_position(0, DEGREES)
- claw_motor.spin_for(FORWARD, 90, DEGREES)
- claw_motor.set_timeout(2, SECONDS)
-
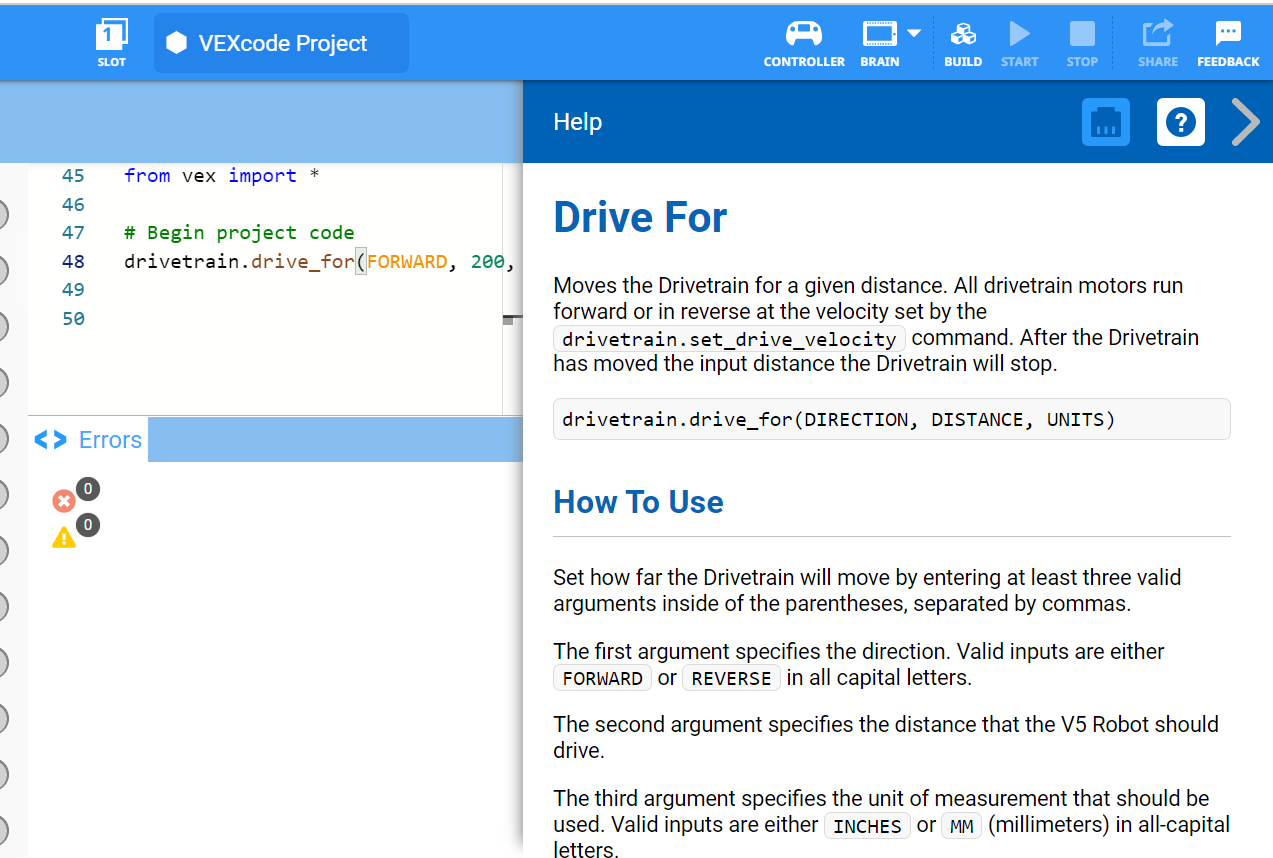
To find out more information about the command, select the question mark icon next to a command to see more information..
- Make sure you have the hardware required, your engineering notebook, and VEXcode V5 downloaded and ready.
| Quantity | Materials Needed |
|---|---|
| 1 |
VEX V5 Classroom Starter Kit (with up-to-date firmware) |
| 1 |
VEXcode V5 |
| 1 |
Engineering Notebook |
| 1 |
Clawbot and Advanced TrainingBot (Drivetrain 2-motor, No Gyro) example project |
| 1 |
Aluminum can |
Step 1: Preparing for the Exploration
Before you begin the activity, do you have each of these items ready? Check each of the following:
-
Are the motors plugged into the correct ports?
-
Are the smart cables fully inserted into all of the motors?
-
Is the Brain turned on?
-
Is the battery charged?
Step 2: Start a New Project
Before you begin your project, select the correct template project. The Clawbot and Advanced TrainingBot (Drivetrain 2-motor, No Gyro) example project contains the Clawbot's motor configuration. If the template is not used, your robot will not run the project correctly.
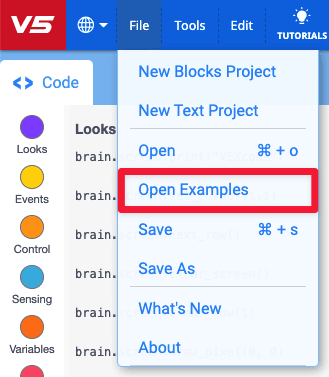
Complete the following steps:
- Open the File menu.
- Select Open Examples.
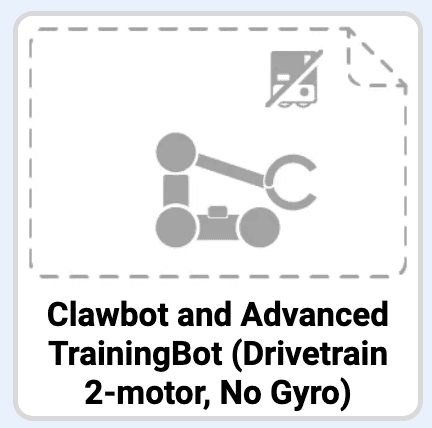
- Select and open the Clawbot and Advanced TrainingBot (Drivetrain 2-motor, No Gyro) example project.
- Since we will be programming to control the claw, rename your project ClawControl.
- Save your project.
- Check to make sure the project name ClawControl is now in the window in the center of the toolbar.
Step 3: Program the V5 Claw to Open
We are now going to begin by programming the claw to open!
# Library imports
from vex import *

# Begin project code
claw_motor.set_position(0, DEGREES)- Write the claw_motor.set_position() command as shown above in the programming area to set the starting position for the claw.
claw_motor.set_position(0, DEGREES)
claw_motor.set_timeout(2, SECONDS)- Add the claw_motor.set_timeout() command as shown above.
- Notice that this instruction appears before the claw_motor.spin_for() command. Its purpose is to set how long the Claw motor can run and stops it after that time. So even if the motor doesn't move a full 60 degrees, the project stops the Claw motor after two seconds have passed.
claw_motor.set_position(0, DEGREES)
claw_motor.set_timeout(2, SECONDS)
claw_motor.spin_for(REVERSE, 60, DEGREES)- Write the claw_motor.spin_for() command as shown above to open the claw 60 degrees.
- Select the slot that the project will be downloaded to on the V5 Robot Brain by selecting the boxed 1 icon to open up all available project slots and select the desired slot.
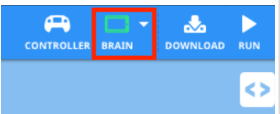
- Connect the robot to your computer or tablet. The Brain icon in the toolbar turns green after a successful connection has been made.

- Click on the Download icon next to the Device Info icon to download the project to the V5 Robot Brain.

- Check that the ClawControl project has downloaded to the brain in the slot you chose.
- Run the project on the Clawbot by making sure the project is selected and then press the Run button. Congratulations on creating your first project for moving the Claw!
Step 4: Try This: Close the V5 Claw
Now that you have programmed the claw to open, you will now program it to close.
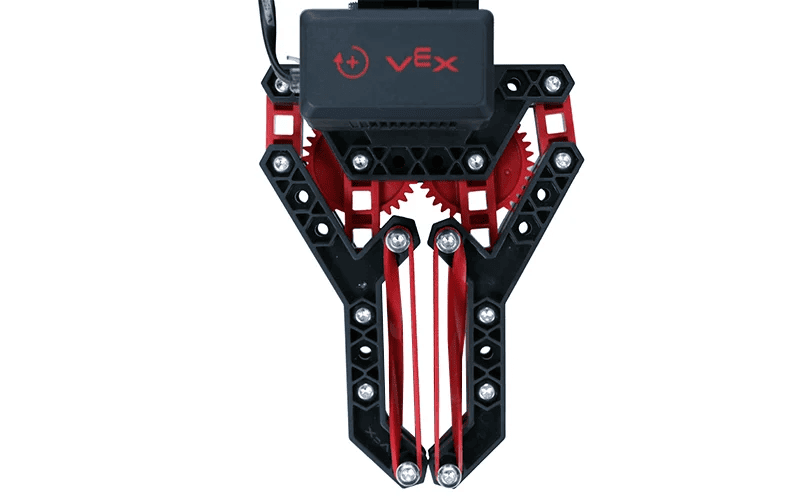
Now that you can open the claw, you will want to close it as well.
- Return to your ClawControl project and add an additional claw_motor.spin_for() command to have the Claw Motor spin closed for 30 degrees. The claw should close half of the way because it originally spun open for 60 degrees.
- Test that your revised project has the claw open for 60 degrees and then close for 30 degrees by downloading and running your ClawControl project.
Step 5: Try This: Sequencing Multiple Movements
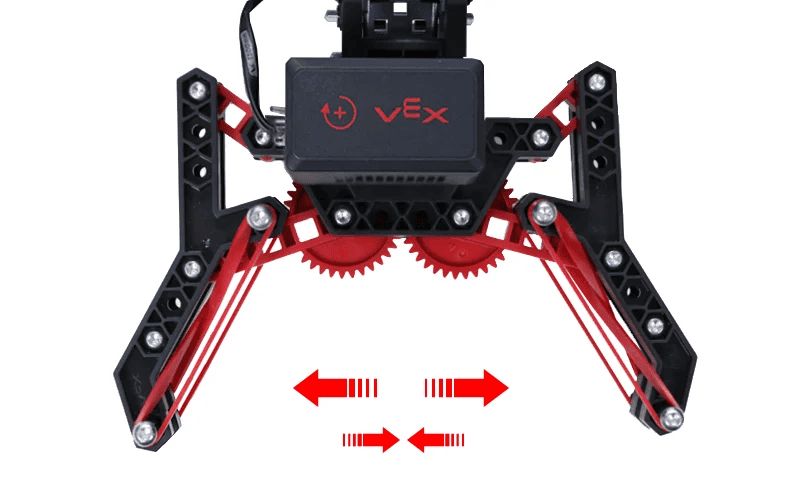
Not everything that you pick up with the claw will be the same size. Try opening the claw to different positions along the range of motion.
- Spin the motor in order to:
- Open for 70 degrees
- Close for 20 degrees
- Open for 10 degrees
- Close for 30 degrees
- Close for 25 degrees
- If the Claw Motor starts at 0 degrees, how many degrees is the Claw Motor open at the end of the project?
- Begin with the Claw Motor closed.
Step 6: Completing the Lock Tight Challenge

The Lock Tight Challenge
- Program the Clawbot to securely close the claw on an empty 12-ounce aluminum can without crushing the sides.
- Have the Clawbot hold onto the can while it raises and lowers its arm for 45 degrees.
- The Clawbot should then release the can and back away from it.
- Start the challenge with an opened claw and an empty can within it.