
Programming the Robot Arm - Python
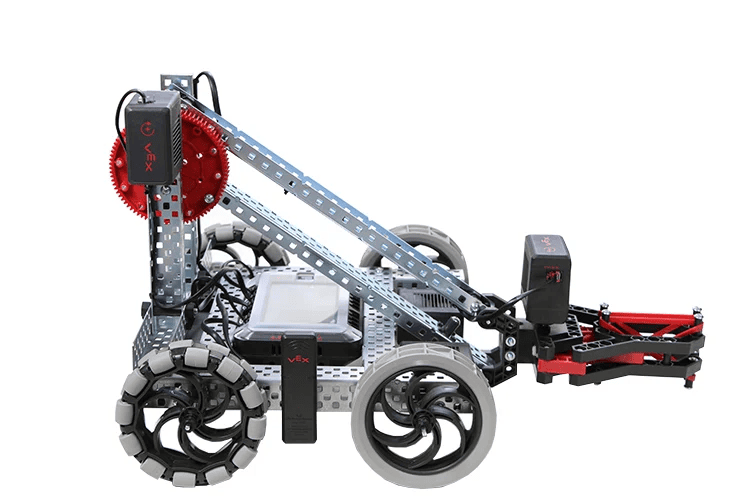
The V5 Clawbot is ready to reach!
This exploration will give you the tools to be able to start creating some cool projects that use the V5 Clawbot's arm.
- VEXcode V5 Python instructions that will be used in this exploration:
- arm_motor.spin_for(FORWARD, 90, DEGREES)
- arm_motor.set_position(0, DEGREES)
- wait(2, SECONDS)
-
To find out more information about the instruction, select the question mark icon next to a command to see more information.

- Make sure you have the hardware required, your engineering notebook, and VEXcode V5 downloaded and ready.
| Quantity | Materials Needed |
|---|---|
| 1 |
VEX V5 Classroom Starter Kit (with up-to-date firmware) |
| 1 |
VEXcode V5 |
| 1 |
Engineering Notebook |
| 1 |
Clawbot and Advanced TrainingBot (Drivetrain 2-motor, No Gyro) example project |
Step 1: Preparing for the Exploration
Before you begin the activity, do you have each of these items ready? Check each of the following:
-
Are the motors plugged into the correct ports?
-
Are the smart cables fully inserted into all of the motors?
-
Is the Brain turned on?
-
Is the battery charged?
Step 2: Start a New Project
Before you begin your project, select the correct template project. The Clawbot and Advanced TrainingBot (Drivetrain 2-motor, No Gyro) example project contains the Clawbot's motors configuration. If the template is not used, your robot will not run the project correctly.

Complete the following steps:
- Open the File menu.
- Select Open Examples.
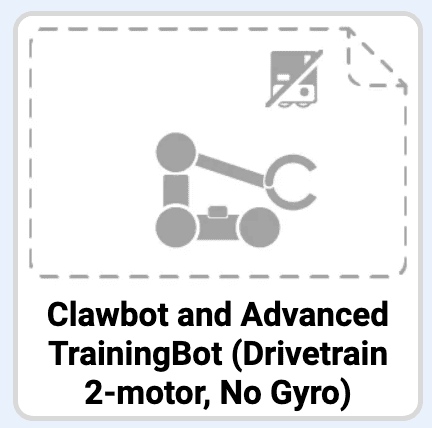
- Select and open the Clawbot and Advanced TrainingBot (Drivetrain 2-motor, No Gyro) example project.
- Since we will be programming to control the arm, rename your project ArmControl.
- Save your project.
- Check to make sure the project name ArmControl is now in the window in the center of the toolbar.

Step 3: Move the Arm Up
We are now going to begin by programming the arm to raise!
# Library imports
from vex import *

# Begin project code
arm_motor.set_position(0, DEGREES)- Write the arm_motor.set_position() command as shown above in the programming area to set the starting position for the arm.
arm_motor.set_position(0, DEGREES)
arm_motor.spin_for(FORWARD, 90, DEGREES)- Add the arm_motor.spin_for() command below the arm_motor.set_position() command as shown above to move the arm up.

- Select the Slot icon. You can download your project to one of the available slots in the Robot Brain. Select Slot 1.
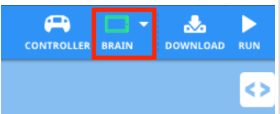
- Connect the robot to your computer or tablet. The Brain icon in the toolbar turns green after a successful connection has been made.

- Click the Download button on the toolbar to download the ArmControl project to the Robot Brain.

- Check that the ArmControl project has downloaded to the brain in the slot you chose.
- Run the project on the Clawbot by making sure the project is selected and then press the Run button. Congratulations on creating your first Claw Arm project!
Step 4: Try This: Program the Arm Down
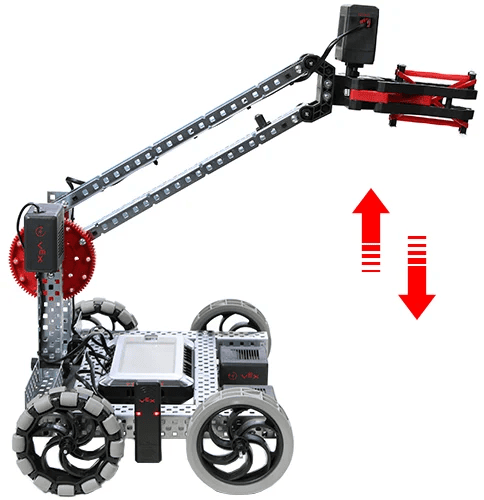
Now that you have programmed the arm to move up, you will now program the arm to lower or move down.
![]()
- Add a second arm_motor.spin_for() command to your ArmControl project so that the arm raises to 90 degrees, waits 2 seconds, and then back down.
- Hint: You will need to change the direction within the command.
- Notice that the arm holds its position while the wait command is running. The motor draws power from the battery to hold the arm up against the force of gravity. That's because the default setting for having the motor stop is the hold setting. There are two other settings for stopping - brake and coast. You will learn about those in another lab.
Step 5: Complete the Flight Traffic Controller Challenge
![]() In the Flight Traffic Controller Challenge, the Clawbot must move its arm up and down once for 90 degrees, wait 3 seconds, move the arm up and down two times for 45 degrees, wait 5 seconds, and then move the arm up and down three times for 90 degrees.
In the Flight Traffic Controller Challenge, the Clawbot must move its arm up and down once for 90 degrees, wait 3 seconds, move the arm up and down two times for 45 degrees, wait 5 seconds, and then move the arm up and down three times for 90 degrees.
Here is a list of the Clawbot's behaviors:
- Move arm up and then down for 90 degrees.
- Wait 3 seconds.
- Move arm up and then down for 45 degrees.
- Move arm up and then down for 45 degrees.
- Wait 5 seconds.
- Move arm up and then down for 90 degrees.
- Move arm up and then down for 90 degrees.
- Move arm up and then down for 90 degrees.