Play
Part 1 - Step by Step
- InstructInstruct each group that they are going to use their Motorize Robot Arm to pick up and move a disk to another part of the tile. Explain that each group is going to write detailed, step-by-step instructions for how to do this.

How do you use the Motorized Robot Arm? Ensure that students understand that the goal of the activity is to have as specific directions as possible, to do 3 things - pick up a disk, move it, and put down the disk.
- ModelModel using a group’s setup, how to pick up and move a disk using the switches.
Then, practice breaking down the steps needed to lift the disk with the class, moving from simple to specific language like:
- Simple: Touch the disk and flip the switch to lift it up.
- More Specific: Place the disk under the magnet. Touch the disk with the magnet. Flip the left switch to on, etc.
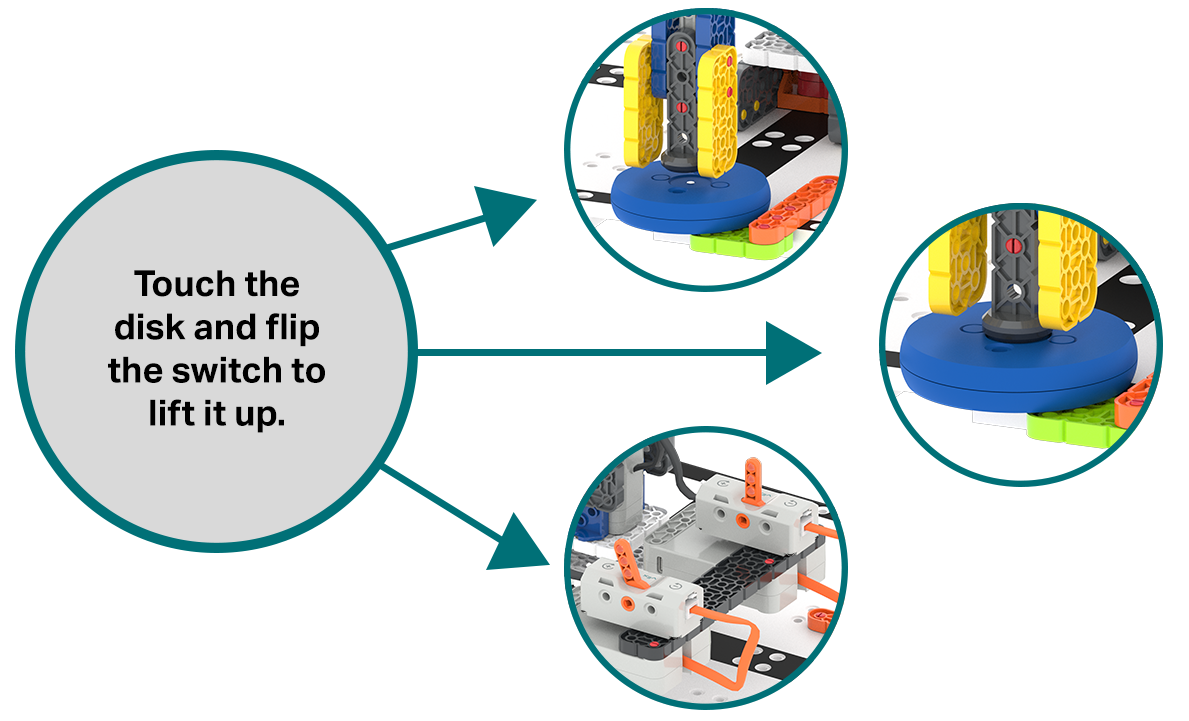
Move a Disk - Break Down the Steps - FacilitateFacilitate students’ decomposition by asking questions such as:
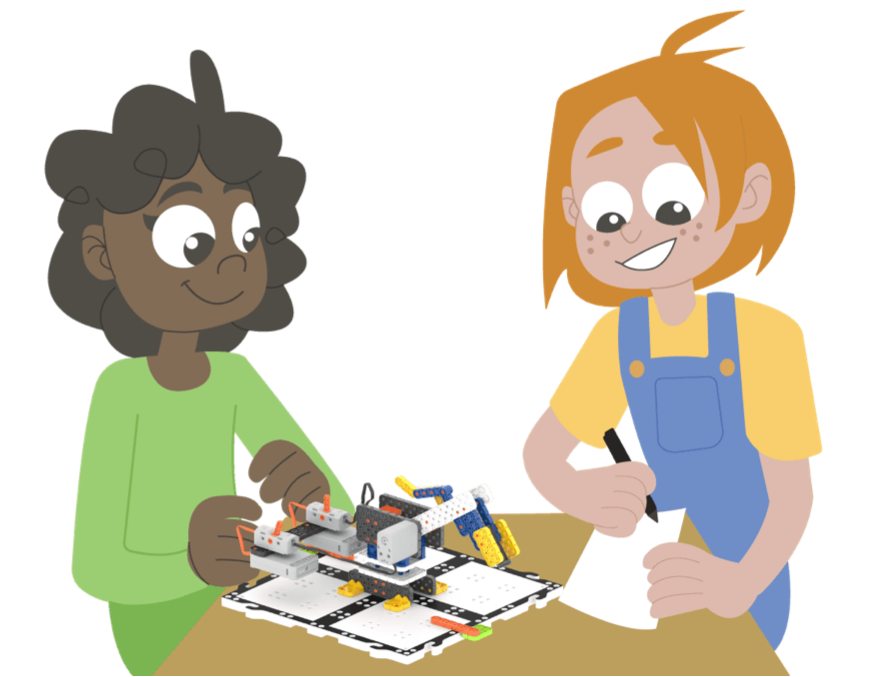
How detailed are your directions? - If I had never used a Motorized Robot Arm, would I be able to move the magnet from your directions?
- How will the reader know which switch controls which motion?
- Can you explain how the switch moves the motor?
- Which direction are you moving the Motorized Robot Arm? How does the direction correspond to the switch?
- RemindRemind groups that it should take them multiple iterations to get to a set of concrete steps. Encourage them to revisit the steps repeatedly, and have different members of the group test them out to see to help clarify them further.
- AskAsk students to think about what was challenging about moving the disk using the motors. How can they incorporate their experience to make the directions better?
Mid-Play Break & Group Discussion
As soon as every group has written a complete set of directions, come together for a brief conversation.
- Was it easy or difficult for your group to write your directions? Why?
- How many people think that if we gave your group’s directions to another group, they would be able to follow them and move the disk easily, and with no problems? Take a poll of the class, and keep track of the number of students who respond yes or no on the board.
Part 2 - Step by Step
- InstructInstruct each group that they are now going to swap directions with another group, and see if their steps are easy to follow, and if they can be used to move the disk successfully.

Can someone else follow your directions? The teacher should collect all of the directions, shuffle them up, and redistribute them to the groups.
- ModelModel using a group’s new instructions and Motorized Robot Arm, how to first, follow the directions exactly as written.
Then, go back, and identify where the problems are, and edit the directions to try again.
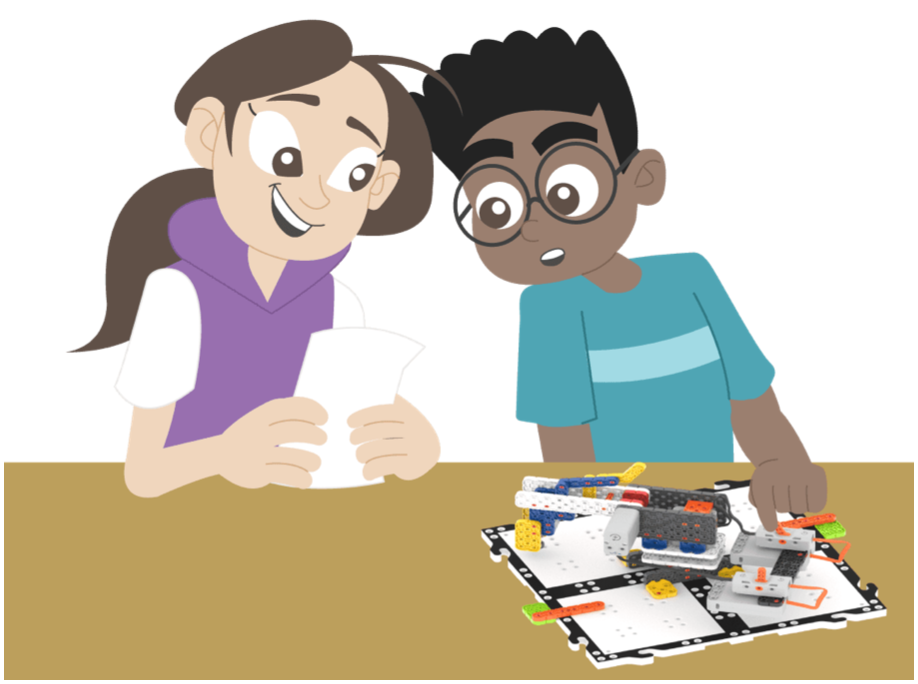
Follow directions, then revise them Have a student read the first step (or two), then the teacher does exactly what the student said. Talk about why it worked or didn’t, and what could be changed, to ensure students know what is expected.
- FacilitateFacilitate students’ group work and thinking about specificity and why it is important in robotics, by asking questions such as:
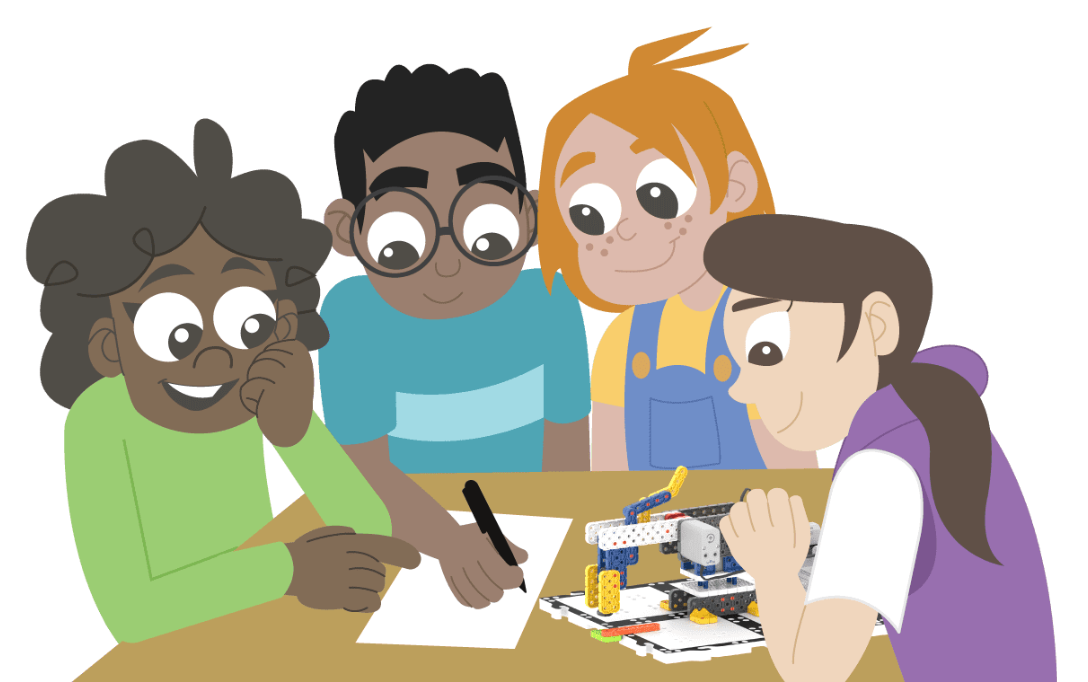
What works, and what can you improve? - If you couldn’t see the tile, would you still be able to put the disk in the right place?
- Would these directions be specific enough for a robot to follow?
- Think about your build instructions in these Labs. How do they break down the build into many tiny steps,? How is this helpful to you? How could you apply this idea to your directions?
- RemindRemind groups that the goal of this activity is to improve the specificity and accuracy of directions.
They are all going to have changes made, so this is not about a group being “right” or “wrong”, but about everyone learning together.
- What were some problems that you saw in the directions you were given? How did you fix them?
- Are you adding directional language like “left” and “right” repeatedly?
- What do you notice about how the written directions are changing as you test them?
- AskAsk students about the iteration process. Remind students that our work is rarely perfect the first time. Making mistakes and improving based on those mistakes is part of the process. Ask questions such as:
- Did something go wrong in the directions? Great! How did you fix it?