
Background
What is a Programming Language?
Programming language is the communication between a computer and a programmer. These programming languages follow step-by-step instructions that a computer understands in order for its programs to work. Children experience programming languages in early coding by creating simple commands using directional language. Creating these commands requires students to combine communication, thinking, and problem solving skills. The 123 Robot uses Coder cards as commands for the programming language. The Coder communicates the Coder card commands to the 123 Robot.
How is sequencing used in this Unit?
Sequence is the order in which Coder cards are executed in a project. The Coder cards run beginning with the card inserted at the top of the Coder, then moving down one at a time. In Lab 2, students will sequence Coder cards to create a project that has the 123 Robot move to the treasure on a map. If the students do not have their cards in the proper sequence, then the 123 Robot will be unable to reach the treasure.
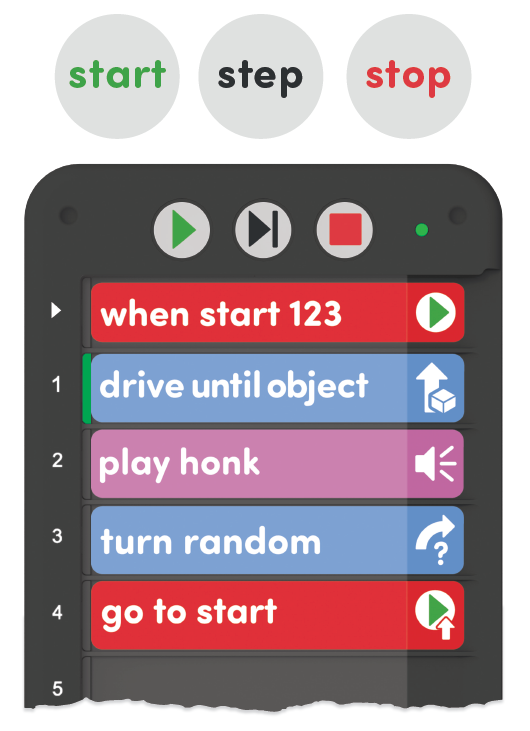
In the animation below, you can see how the project starts with the "When start 123" card at the top of the Coder, Then, each Coder card is executed in order from top to bottom. The green Highlight Feature on the left of the Coder indicates which individual coder card is running at the moment. This can provide students with immediate feedback to connect the behaviors of the 123 Robot with specific Coder cards. Students will code the 123 Robot to drive to the treasure on a map in Lab 2. If the students do not have their cards in the proper sequence, then the 123 Robot will be unable to reach the treasure.
Steps for planning and sequencing Coder cards in a project
Project planning requires students to identify the the goal for their project, then break down the steps necessary to achieve that goal into discrete steps that can be executed by the 123 Robot. Once they have broken down the steps into Coder card behaviors, they will sequence the cards to build their project, and insert them into the Coder. Then, they can then test the project on the 123 Field to ensure that it reaches the goal.
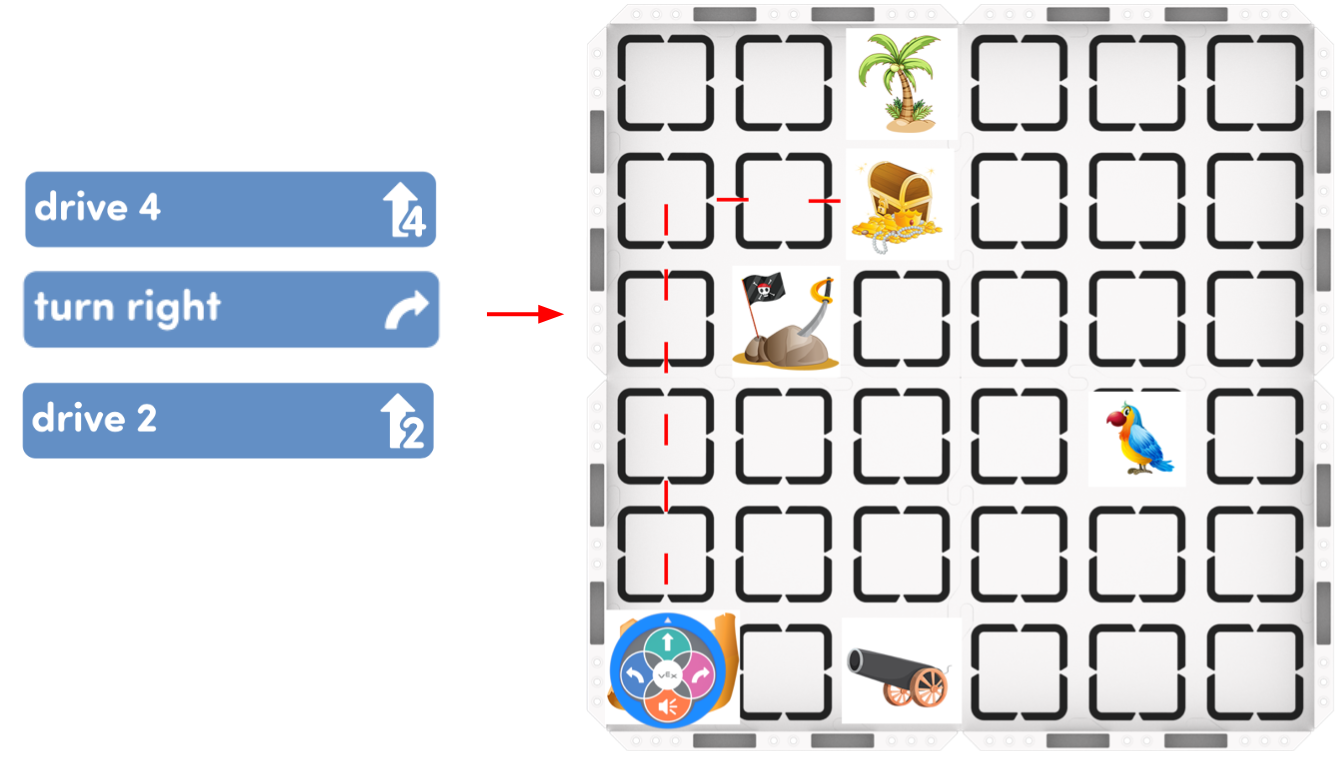
- First, identify the goal —what needs to be done? For example, drive from the start to the treasure on the map.

- Then, break down the steps needed to accomplish the goal, and identify the Coder cards needed to accomplish these steps. Here you will need to drive forward for four steps, turn right, then drive forward two more steps. This can be accomplished with a 'Drive 4," a "Turn right," and a "Drive 2" card.
- Note: there is more than one way to achieve the goal of reaching the treasure, For example, students can use four, "Drive 1" cards instead of "Drive 4", or they may choose a different path to the treasure. The important thing is that you break down the steps for your solution, and match those steps to Coder card behaviors.
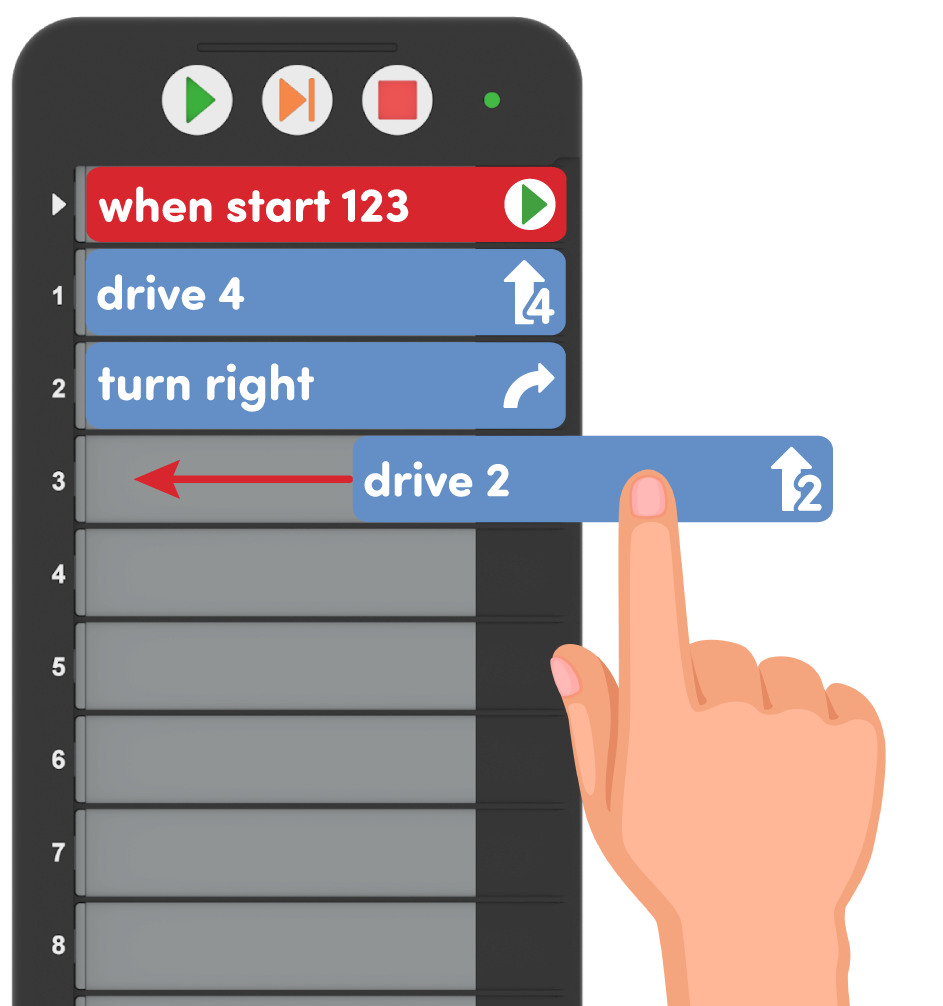
- Next, plan the sequence of the project by laying out the Coder cards on the table. Once you are satisfied with the project plan, insert the Coder cards into the Coder beginning from the top and working down.
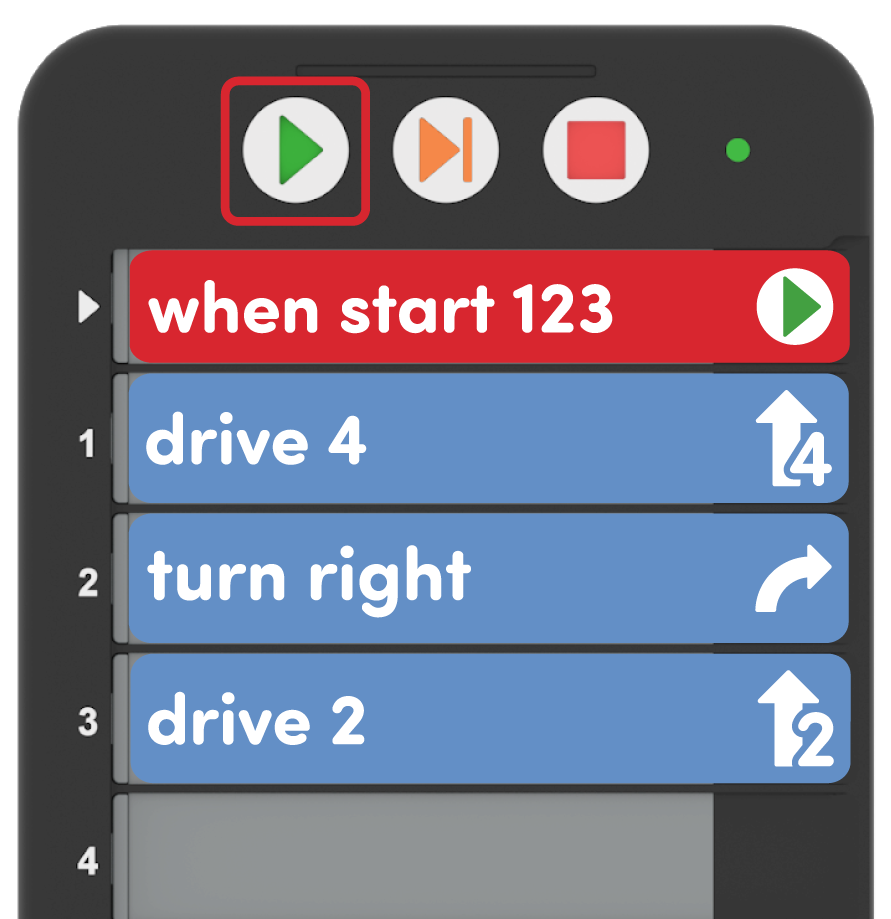
- Select “Start” to test the project and see if the 123 Robot accomplishes the goal identified in the first step.
If you want to change your project, simply remove the Coder cards from the Coder, rearrange the cards, and insert them back into the Coder to update your project.
Strategies for Teaching with the Coder in this Unit
The Coder offers an opportunity for students and teachers to engage with and share code easily, and tangibly, throughout a Lab’s activities.
Supporting pre or early readers — Coder cards are designed to support pre-readers, or early readers, using icons to represent the words of the card itself, so students can essentially read the images, if they cannot yet read the words. Encourage students to use these icon images to help them as they work to build their projects. Reinforce this by referring to the images on the Coder cards when you are naming them with students, like “The When start 123 Coder card, the one with the green arrow, always goes first.”

Check and Share code easily — Once Coder cards are loaded into the Coder, students can hold up their Coder to show their code, just as they would hold up a whiteboard with a math solution on it. Use this strategy during group instruction as a means for checking students’ accuracy before they start their projects. You can quickly and easily see if the correct Coder cards are used, if they are inserted in the correct order, and make sure that they aren’t upside down or backwards. When checking in with groups to facilitate independent activity, look to the Coders and Coder cards to check progress.
To learn more about Using the Coder as a Teaching Tool, see this article in the STEM Library.
What Coder Cards Do You Need?
Coder cards represent 123 Robot commands that are inserted into the Coder and used to code the 123 Robot. Below is a list of the main Coder cards used during this Unit. See the Environment Setup section of the Summary in each Lab for more detailed information about organizing and distributing Coder cards to your students.
| Card | Behavior | Example |
|---|---|---|
 |
Starts the project when the ‘Start’ button on the Coder is pressed. | |
 |
123 Robot will drive forward for 1 robot length, or 1 square on the 123 Field. |  |
 |
123 Robot will drive forward for 2 robot lengths, or 2 squares on the 123 Field. | 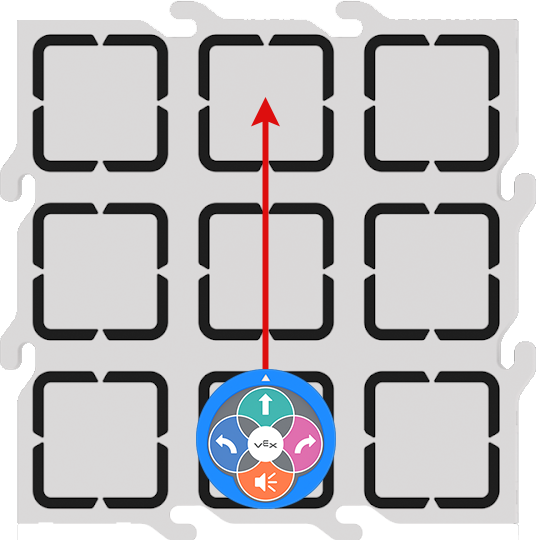 |
 |
123 Robot will drive forward for 4 robot lengths, or 4 squares on the 123 Field. | 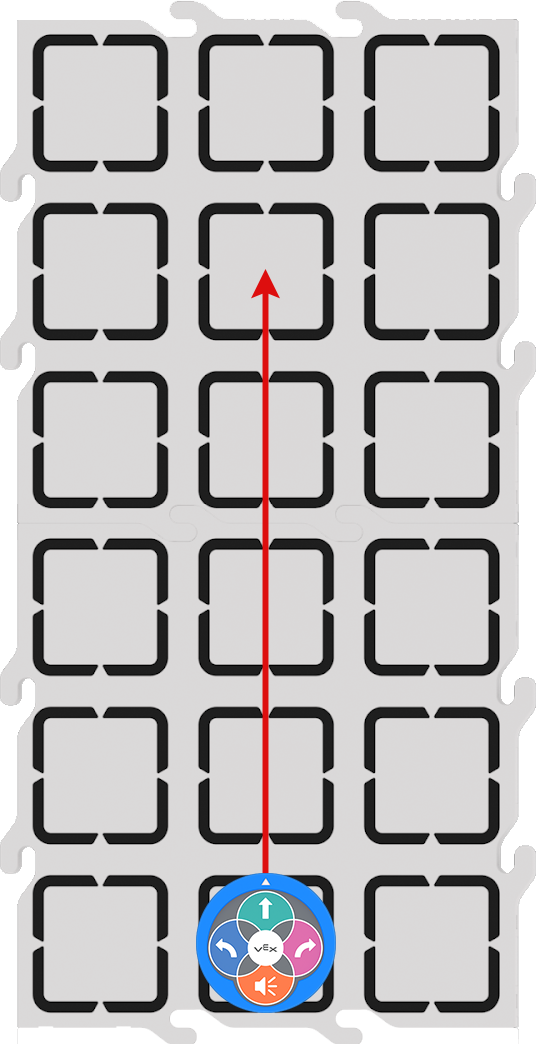 |
 |
123 Robot will turn in place 90 degrees to the left. | 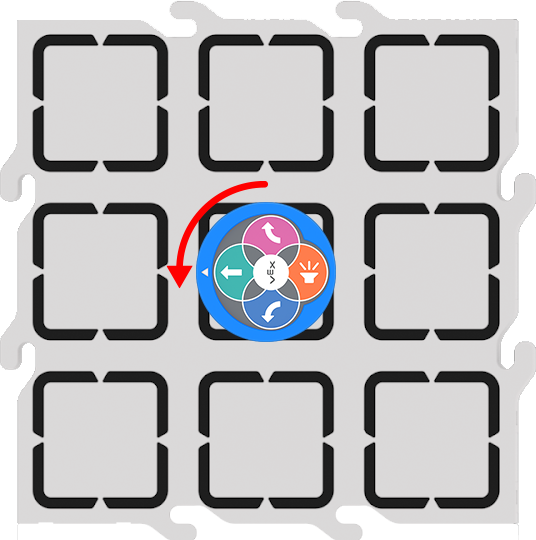 |
 |
123 Robot will turn in place 90 degrees to the right. | 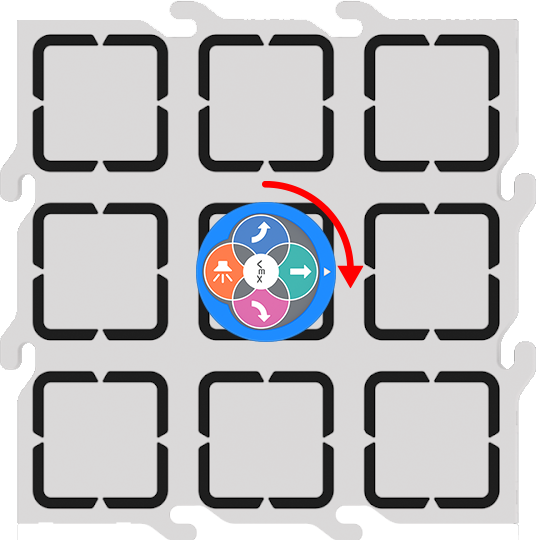 |
 |
123 Robot will turn in place 180 degrees to the right from its starting position. | 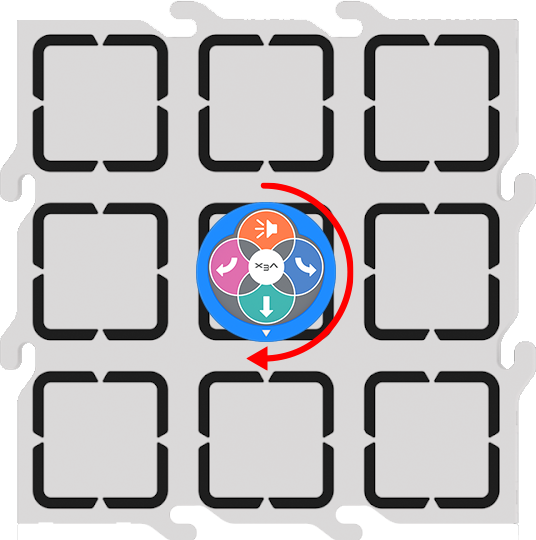 |
For a full list of Coder cards and their behaviors, see the VEX Coder Card Reference Guide STEM Library article.
Troubleshooting with the Coder
Coding with the Coder and Coder cards inevitably requires some troubleshooting and debugging. While this is a valuable part of the learning process, here are some solutions to the most common issues you may come across in this Unit:
- The Coder cards fall out when moving the Coder — When having students hold up their Coders with Coder cards in them, remind them to hold it up straight, and not to tip it sideways. If tilted to the right (or the open side of the Coder), the Coder cards can fall out. Since left and right are not always reliable for young students, encourage them not to tilt the Coder in any direction.
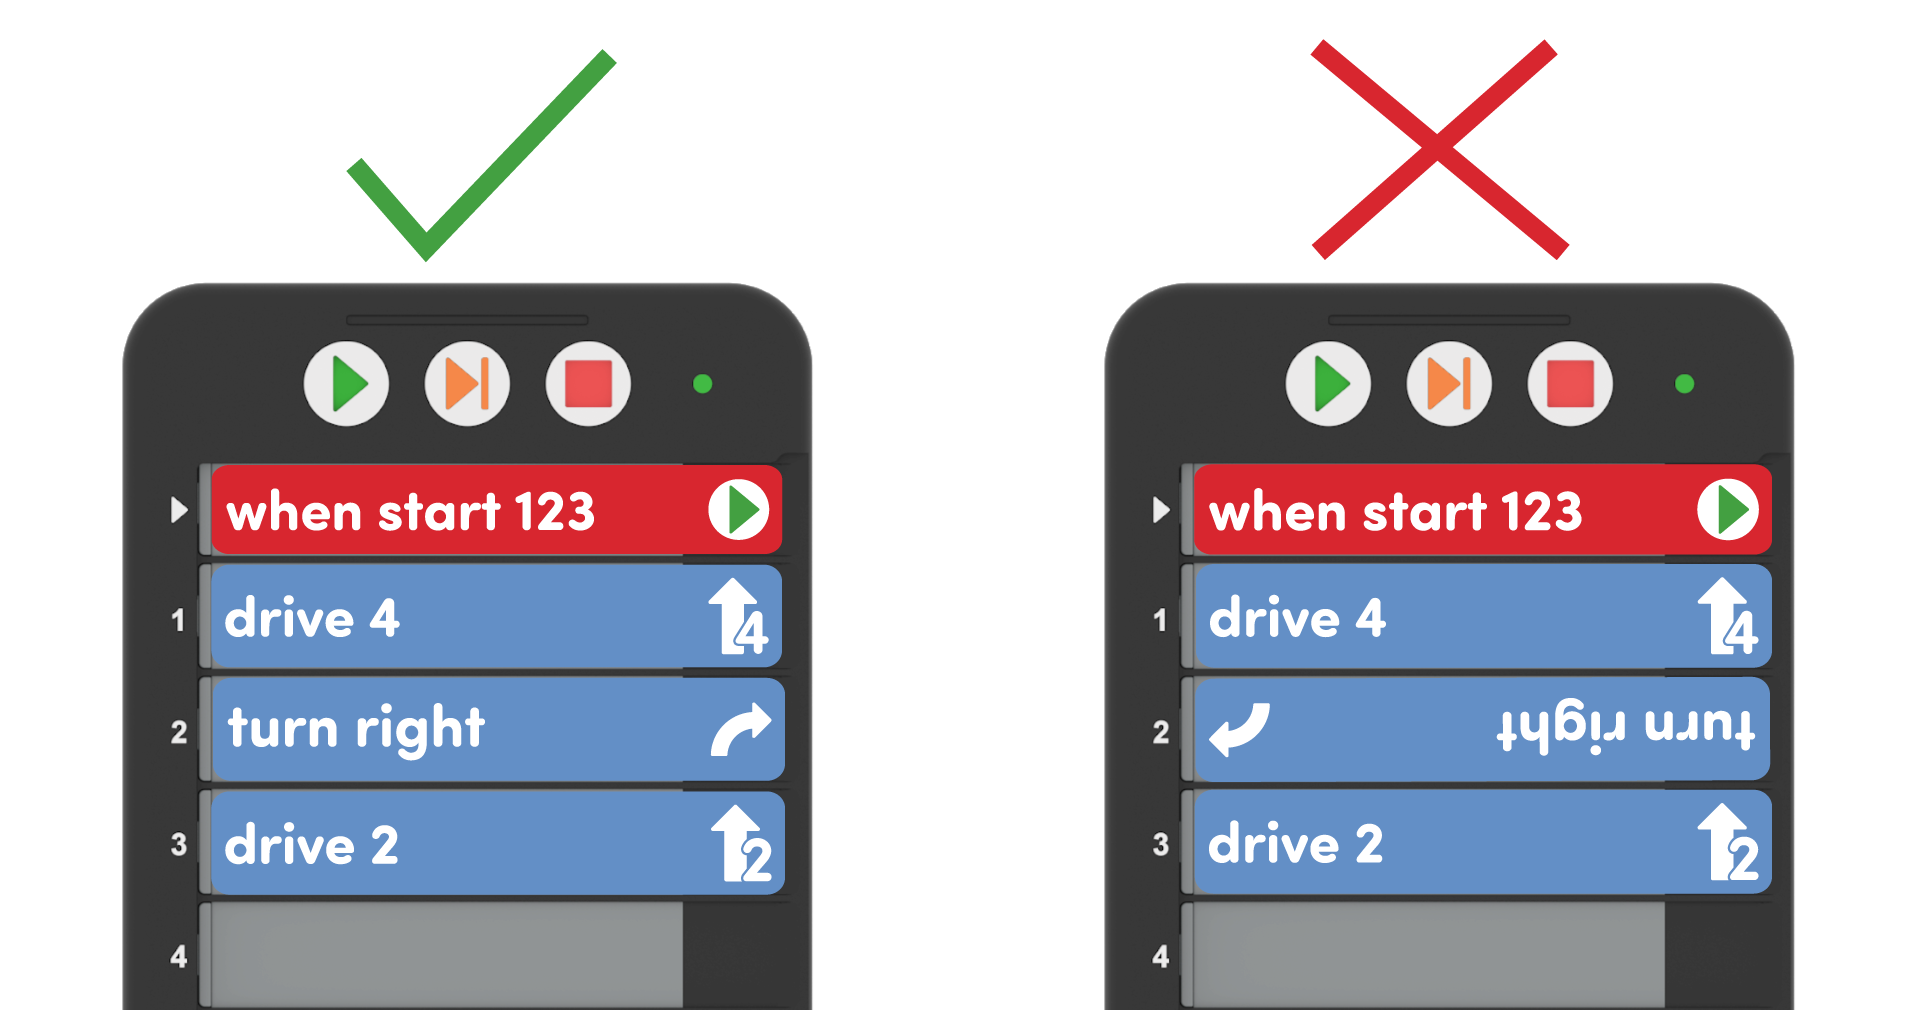
- A Coder card is oriented incorrectly — Remind students to make sure that their Coder cards are inserted in the correct orientation - with the words and images facing them, and the pictures on the right (or open side) of the Coder. If cards are upside down or backward, have students pull them out and reinsert them in the correct direction.
- A Coder card slot displays a red light when running — If a red indicator light appears beside a Coder card, the Coder card may not be inserted completely into the slot as shown in the animation below. Remind students to push the Coder cards all the way in, or to take out and reinsert them, if this occurs.
For more information about the Coder, see the Using the VEX 123 Coder STEM Library article.