
Lesson 2: Driving for Distance - Moving Forward and in Reverse
In this Lesson, you will create a VEXcode VR project that uses forward and reverse Drivetrain commands to knock down the first castle in the Castle Crasher Playground!
Learning Outcomes
- Identify how to use the [Drive for] block to drive the VR Robot a specific distance.
- Identify how to change the parameter in the [Drive for] block to move the VR Robot forward and reverse.
- Identify how to use the [Set drive velocity] block to set the speed of the drivetrain.
- Identify the range of values used in the [Set drive velocity] block.
Create a New Project
A VEXcode VR project must be created in order for a VR Robot to move forward in order to collide with the first castle in the Castle Crasher Playground, then drive in reverse to return to the starting position.
Follow these steps to create a new VEXcode VR project.
- Launch VEXcode VR at vr.vex.com.
- Open the File Menu and select 'New Blocks Project'.
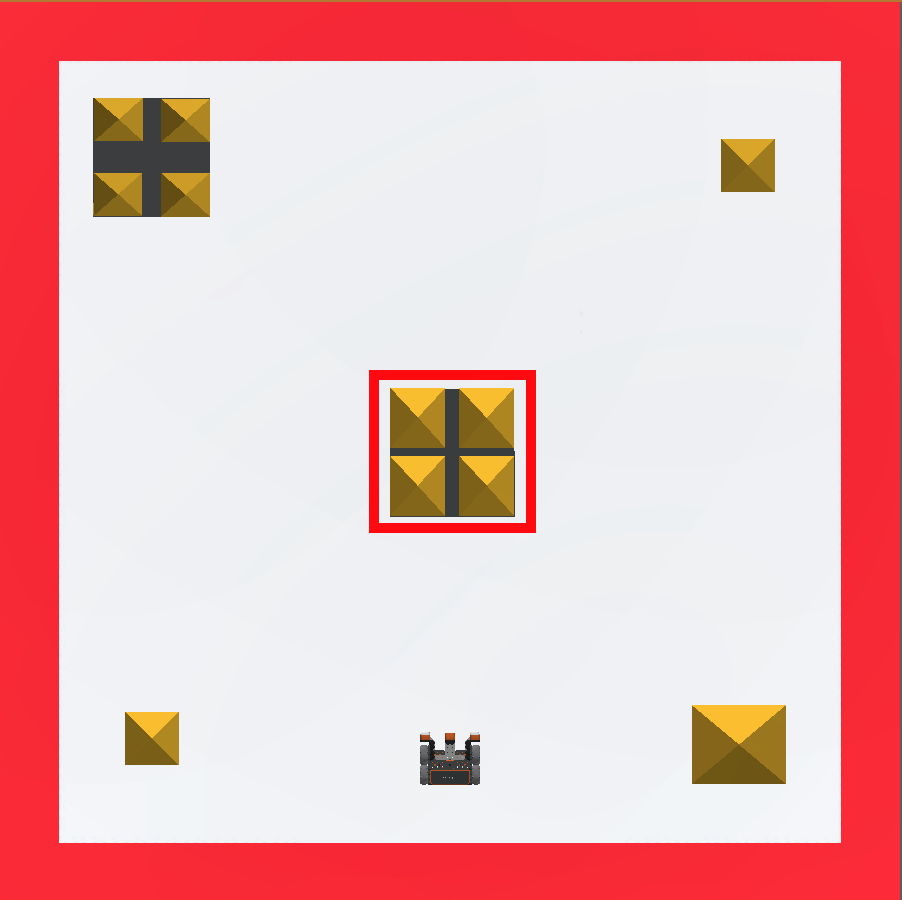
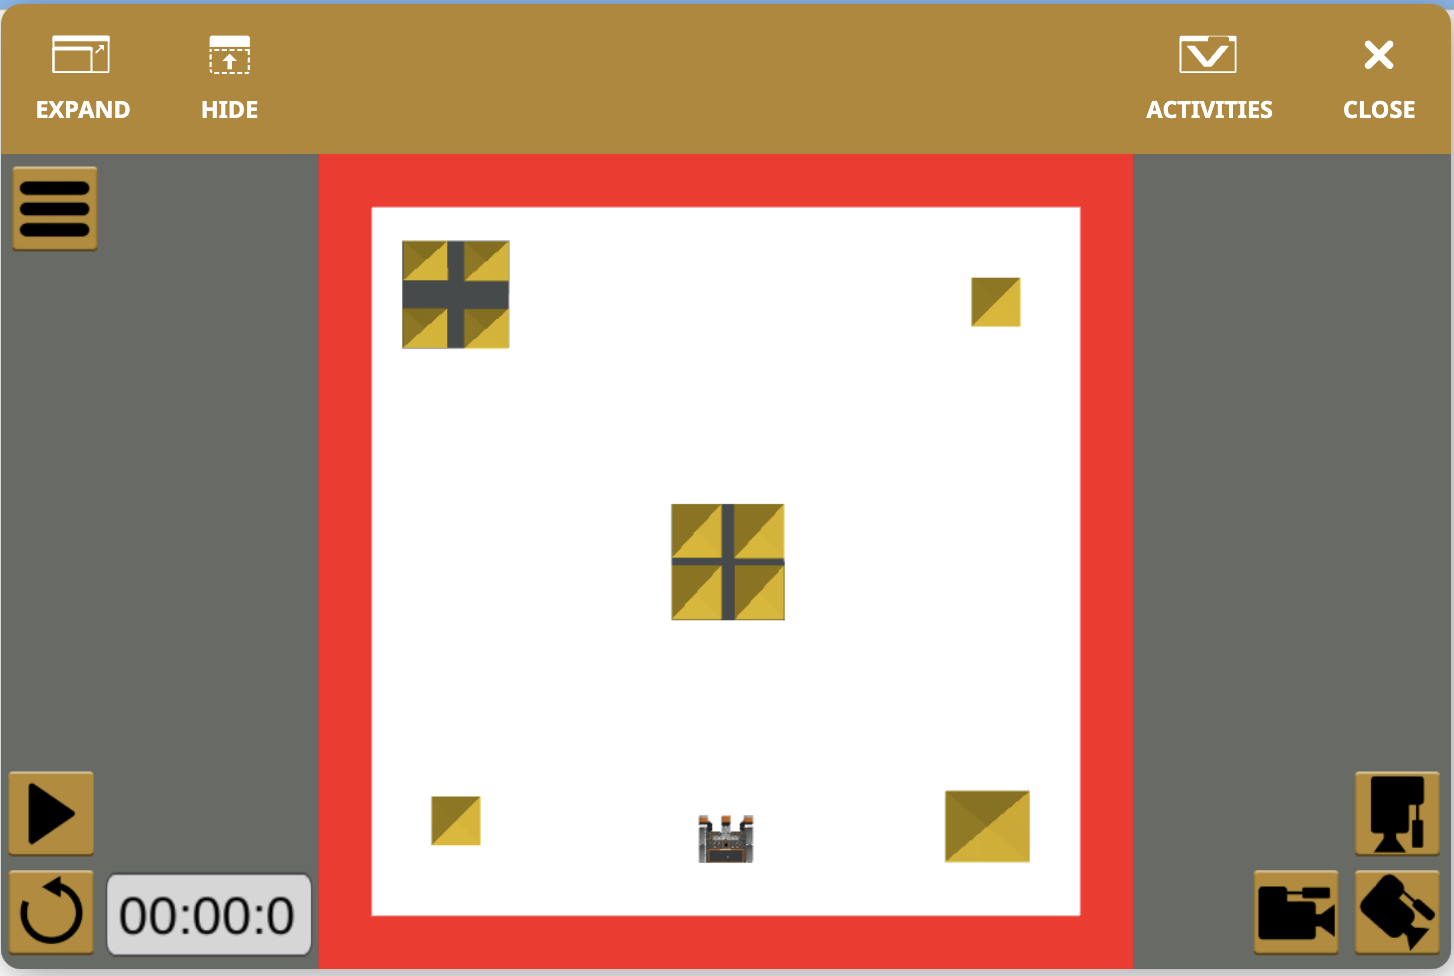
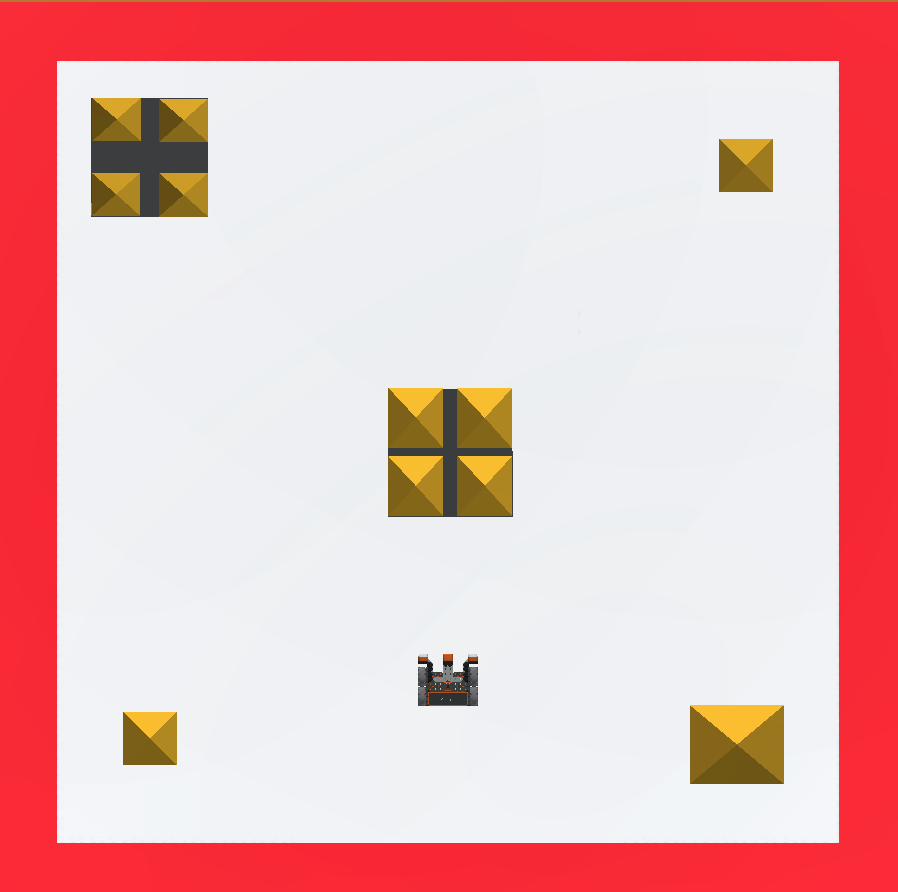
- You will be prompted to select a Playground. Select the Castle Crasher Playground.

- The Playground will open in the Workspace.

Name Your Project
-
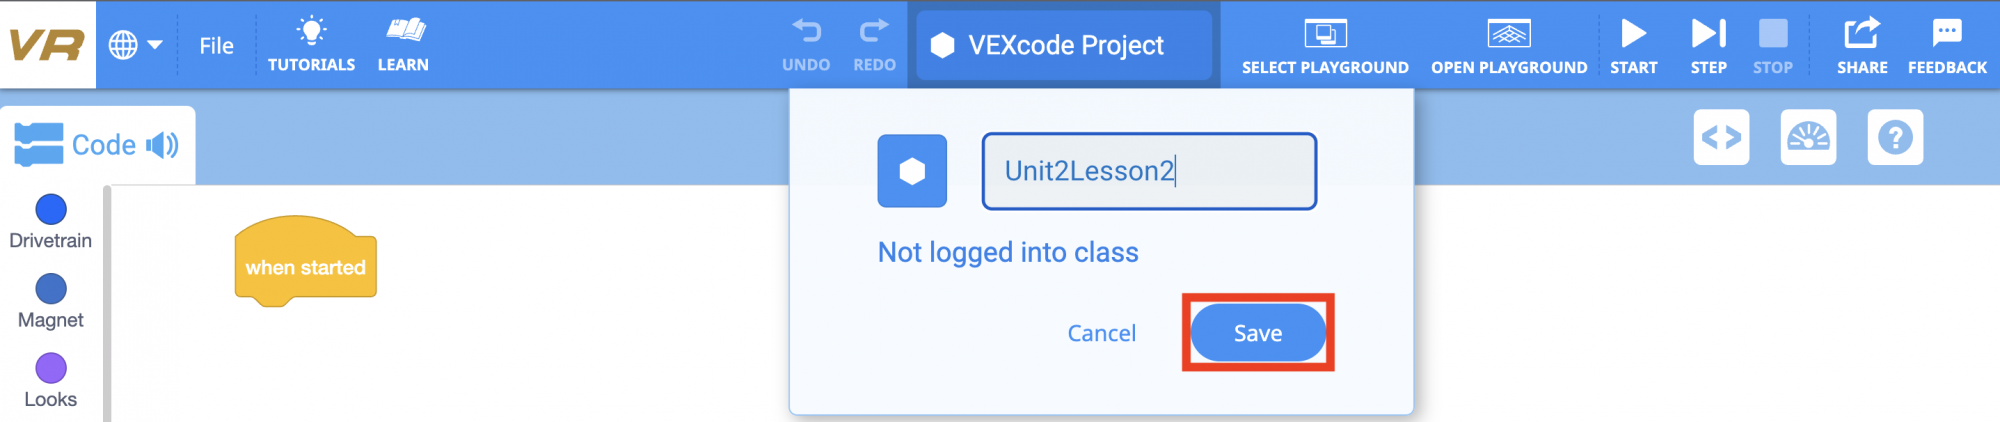
To name your project, select the project name box.
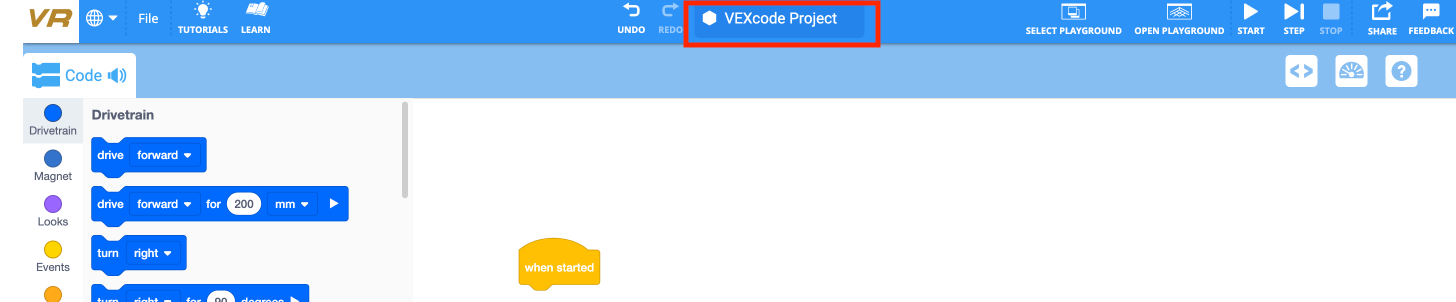
-
Enter the new project name Unit2Lesson2, and select “Save."

Drive Forward and in Reverse
Use the [Drive for] block to program a VR Robot to move forward to knock over the first castle on the Castle Crasher Playground.
-
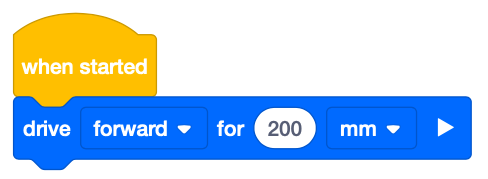
Drag the [Drive for] block into the workspace and place it under the [When started] block.
-
Select the “Open Playground” button to launch the Castle Crasher Playground if it is not already open.

-
Check to make sure that the Castle Crasher Playground is open.
-
If a different Playground opens, change to the Castle Crasher Playground. To change Playgrounds, select the Select Playground button.

- Select Castle Crasher in the Select Playground menu.
-
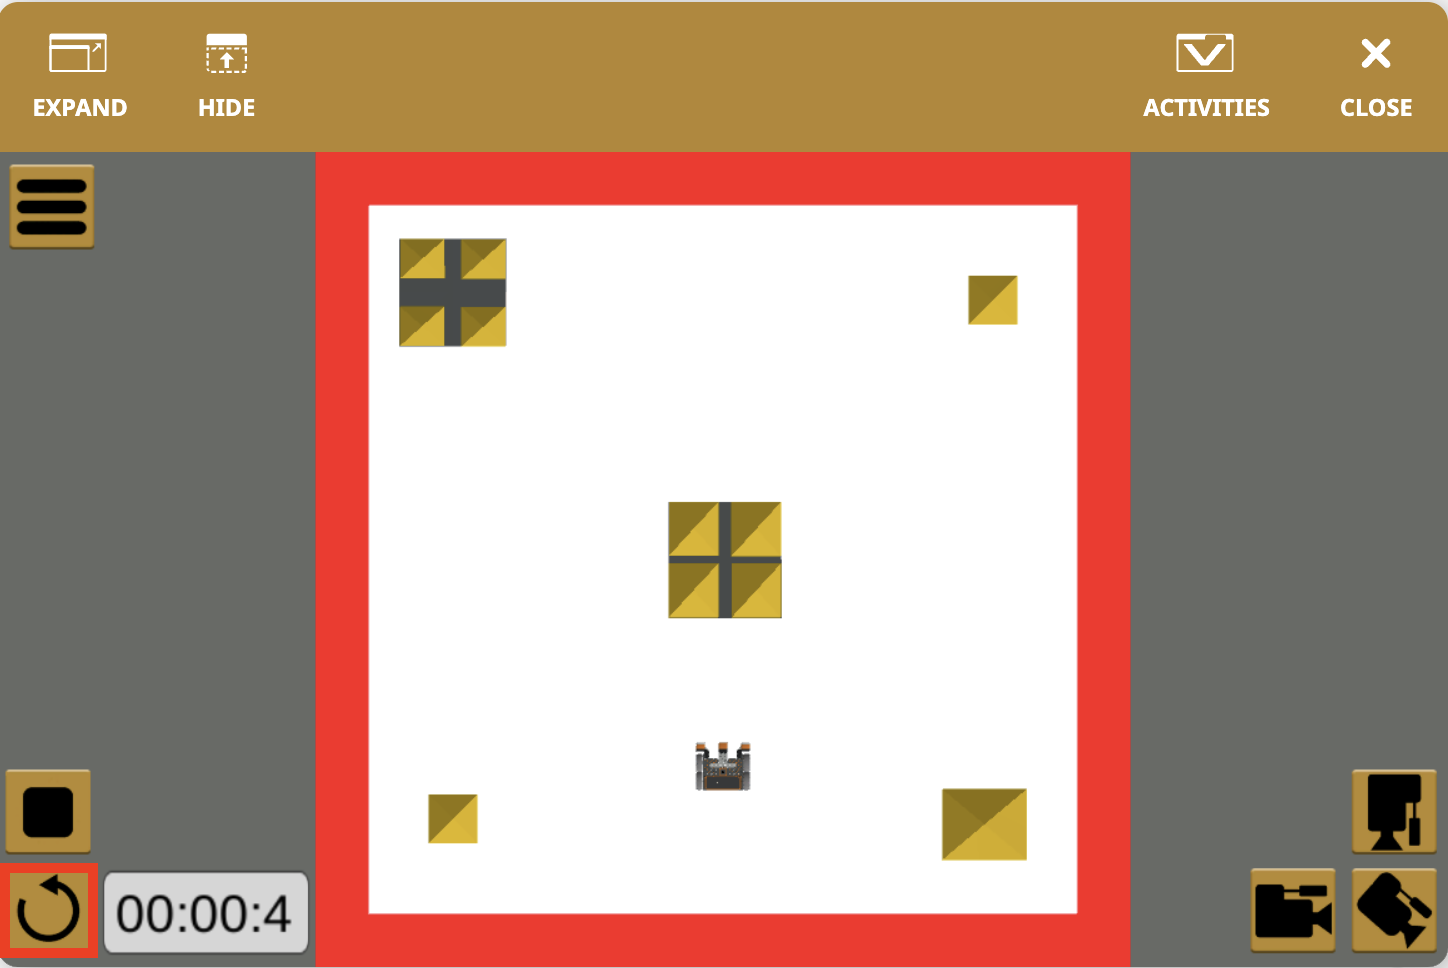
Select the “Start” button to test the project.

-
The VR Robot will drive forward for 200mm on the Castle Crasher Playground. Note that the VR Robot did not touch the center castle. The parameters in the [Drive for] block need to be adjusted so the VR Robot can drive further.
-
Select the “Reset” button to reset the Playground and move the VR Robot back to the starting position.
Using Switch Blocks
So far, you have learned about the [Drive for] block.

The image below displays the Switch [Drive for] block that includes the command to Drive forward for 200 mm in Python. If you would like to use Switch blocks, simply click on the VEXcode [Drive for] block and select "Convert Block to Switch Block" or drag a Switch drivetrain block into the workspace and type the Python command inside of the block.

Select the Next button to continue with the rest of this Lesson.