
Lesson 2: Change Parameters in the [Drive for] Block

The VR Robot did not touch the center castle in the last project. It needs to travel farther. Adjust the forward parameter, test it, and watch the VR Robot knock over the center castle!

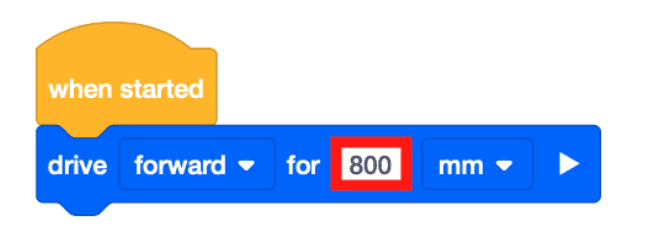
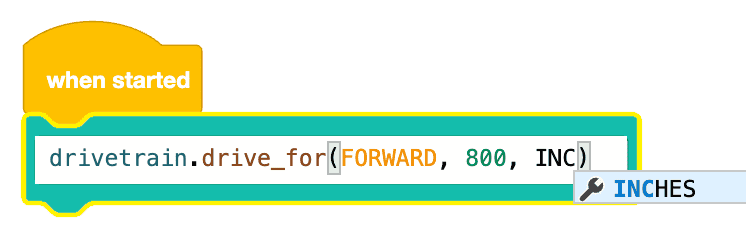
  • Set the distance the VR Robot will move by entering the value 800 in the [Drive for] block.

When started block with a drive forward block attached. 800 millimeters is entered into the parameter and highlighted with a red box.

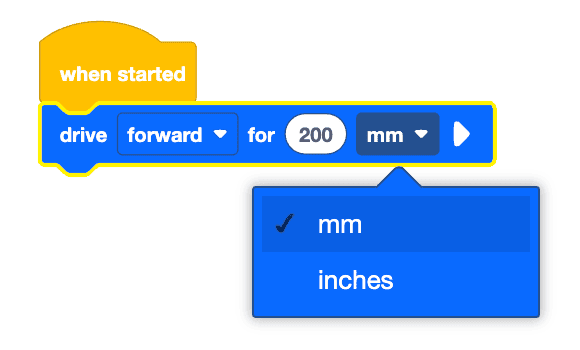
The [Drive for] block can accept decimals, integers, or numeric blocks. The units can also be changed from millimeters (mm) to inches. 

When started block with a drive forward for 200 millimeters block attached. The drive for block is highlighted with a yellow outline, and the dropdown menu of the parameter is open, with choices of millimeters and inches visible. There is a checkmark by the millimeters option showing how the units can be changed from millimeters to inches.

Using Switch Blocks

When started block with one Switch block attached. The Switch block contains the Python command reading drivetrain.drive_for(forward, 200, mm). The 200 is called out with a red box.

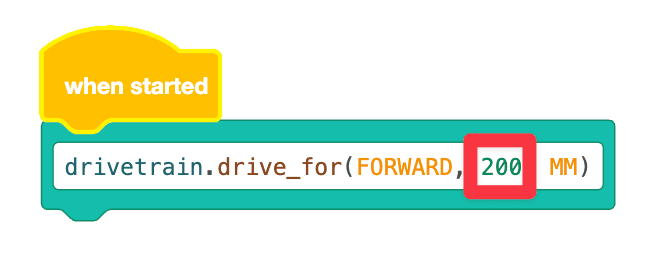
To change the units of measurement of the Switch [Drive for] block from millimeters to inches, type over "MM" and replace this unit with the word "INCHES." Make sure you type units of measurement in all capital letters. As you type in the new unit of measurement, a suggestion for the parameter will appear. You can continue typing to fill in the command. You can also hit the enter key or the tab key, or click on the suggestion to populate the command. 

When started block with one Switch block attached to demonstrate the autocomplete feature. The block reads drivetrain.drive_for(forward, 800, and the user is typing in the inches parameter using auto-complete.

  • Start the project.

    VEXcode VR Toolbar with a red box calling out the Start button on the right side of the toolbar, between the Open Playground and Step buttons.
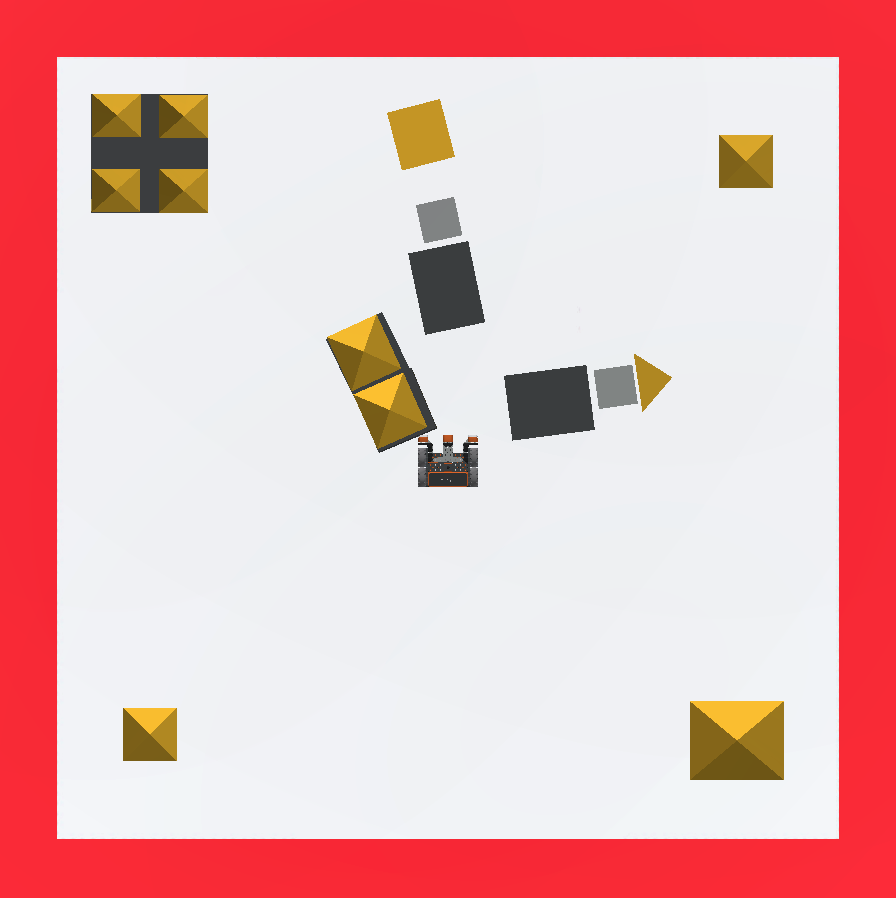
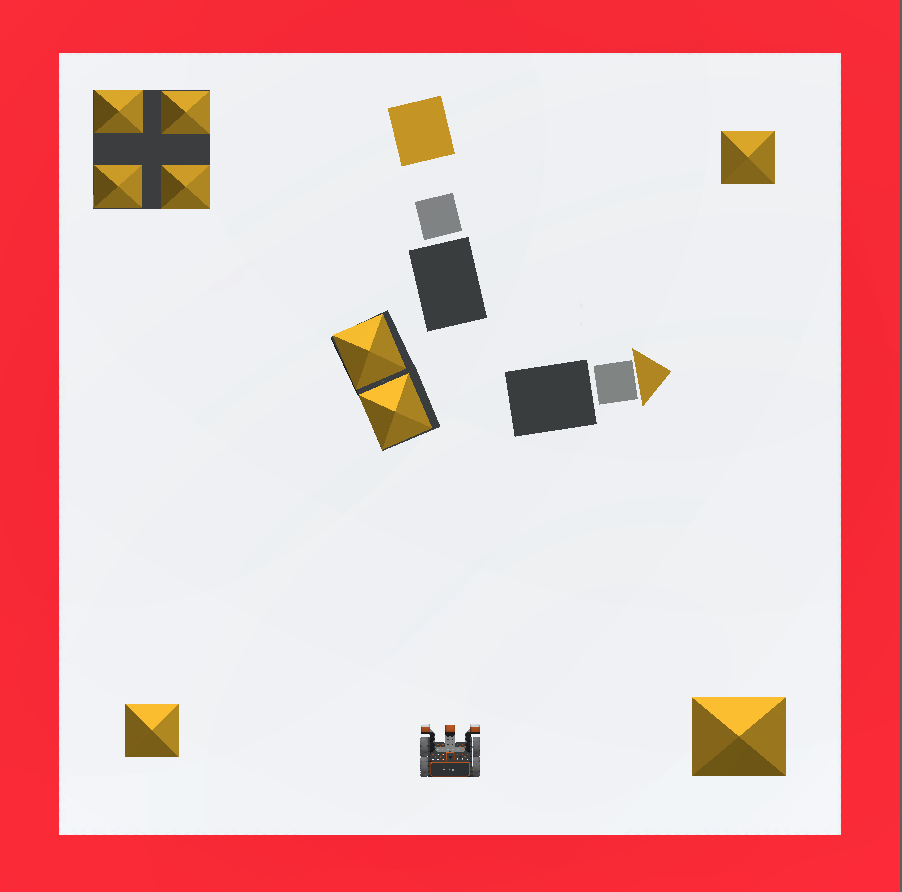
  • The VR Robot will collide with the center castle and knock parts of it over.

    The Castle Crasher Playground with the VR Robot positioned in the middle with parts of the center castle crashed around it.
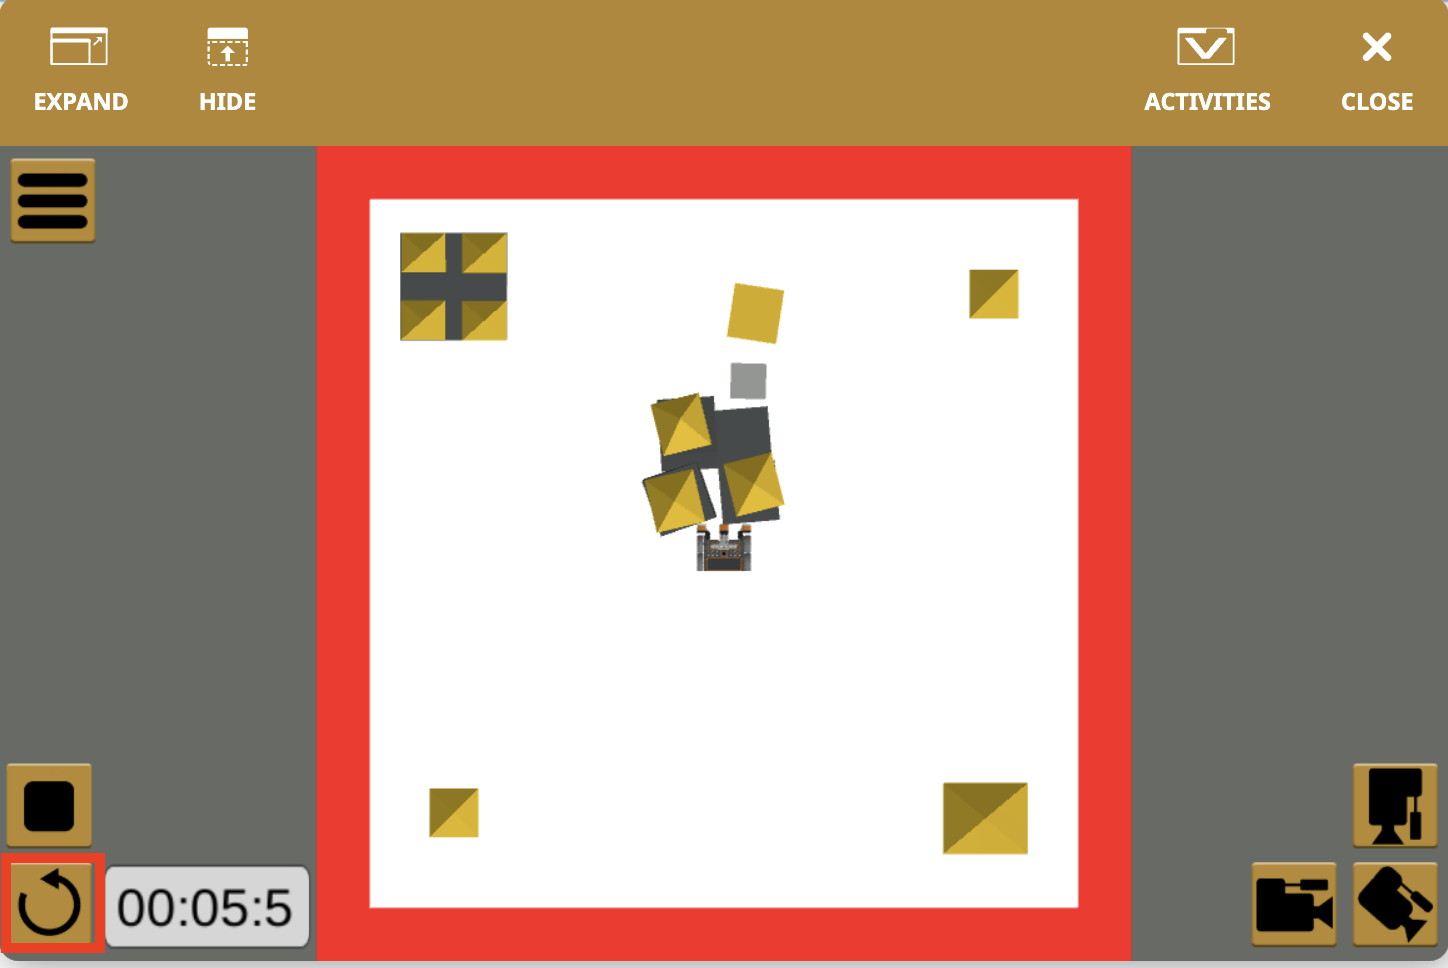
  • Select the “Reset” button to reset the Playground.

    Top down view of the Castle Crasher Playground with a red callout box around the reset button at the bottom left corner of the Playground.

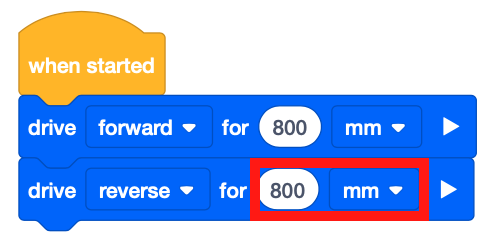
    The VR Robot now needs to return to the starting position. Use an additional [Drive for] block and change the parameters to make it drive in reverse to return to the starting position.

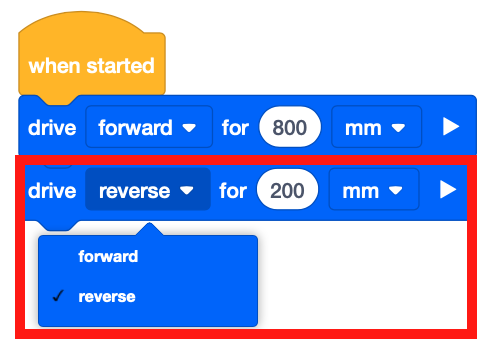
  • Add a second [Drive for] block to the VEXcode VR project, and change the direction from “forward” to “reverse.”

    The above project to crash the middle castle with an additional drive for block attached. The drop down menu for the first parameter in the block is open with the options forward and reverse visible. A checkmark is to the left of the reverse option, indicating it has been chosen. The measurement parameter is set to 200 millimeters.
  • Make sure the distance value is the same as the first [Drive for] block, 800 millimeters (mm), in order for it to return to the starting position.

    The same project as above, but with the measurement parameter changed to 800 millimeters. A red callout box is around 800 millimeters to emphasize making sure the distance value is the same.
  • Select the “Start” button and run the project.

    VEXcode VR Toolbar with a red box calling out the Start button on the right side of the toolbar, between the Open Playground and Step buttons.
  • The VR Robot will move forward and backward for 800 millimeters (mm), returning to the starting position.

    Top down view of the Castle Crasher Playground with the middle castle crashed and the VR robot at its original starting position.

Note: You have successfully completed the first part of the Castle Crasher Challenge! Even if all four parts of the center castle are not completely knocked over, if they are slightly displaced, that is acceptable.

For Your Information

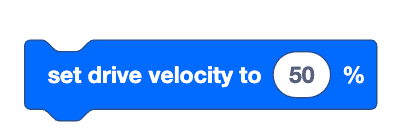
To make a VR Robot drive forward and reverse at different speeds, you can increase or decrease the drive velocity using the [Set drive velocity] block. The [Set drive velocity] block accepts a range from 0% - 100%. The default velocity is 50%. Changing the velocity will apply to any subsequent Drivetrain commands.

Set drive velocity block with the parameter at 50%.

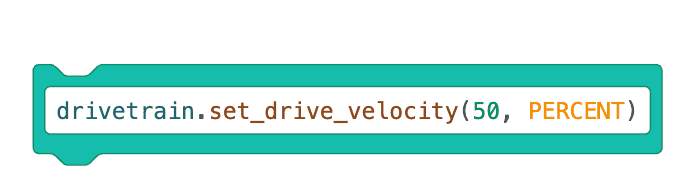
This is the Switch [Set drive velocity] block. Notice that when using Python commands, the numerical parameter is always written before the unit (PERCENT), separated by a comma.  

Switch block reading drivetrain.set underscore drive underscore velocity open parenthesis fifty comma percent close parenthesis.

Save Your Project

To save your project, select “Save to Your Device in the “File” drop-down menu.

VEXcode VR with the file menu dropdown open, and the Save to Your Device option highlighted with a read box. Save to your device is the fifth menu item, beneath New Blocks Project, New Text Project, Load from your Device, and Open Examples.

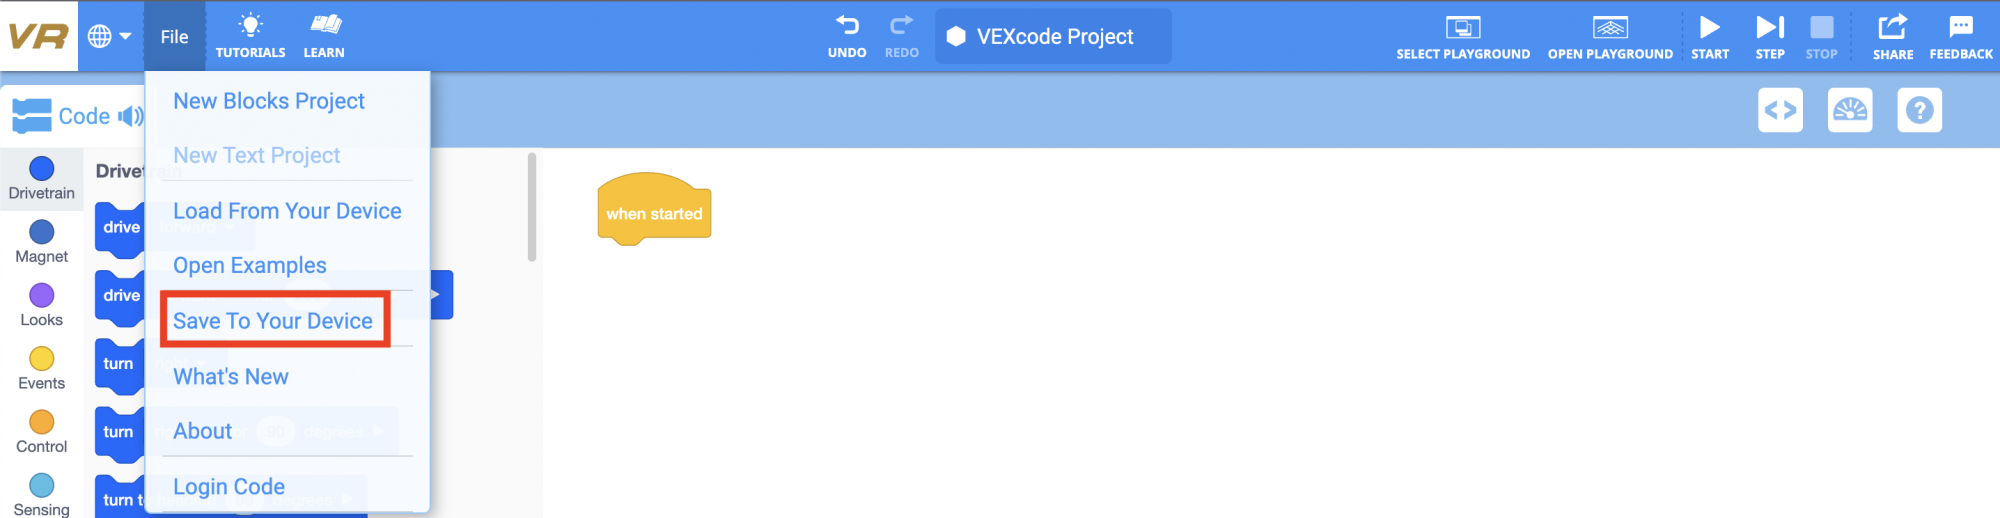
Once saved, the project will appear in the Downloads folder of your device as a .vrblocks file.
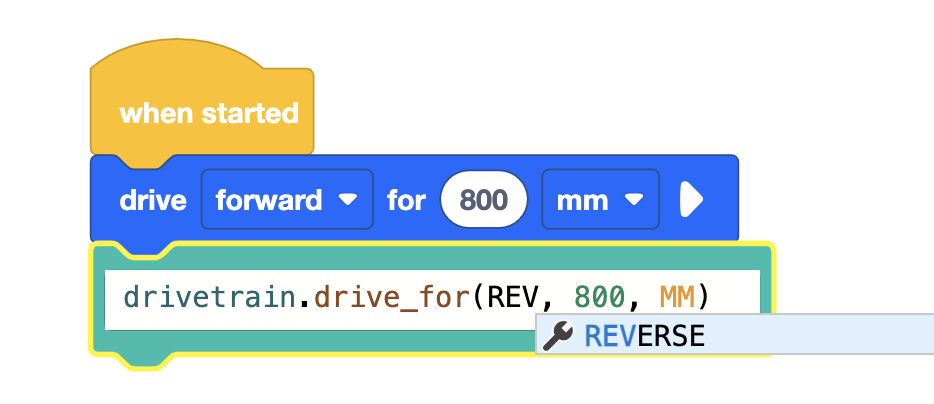
Using Switch Blocks

To change the driving direction from forward to reverse while using a Switch block, type the word "REVERSE" in the parentheses.

VEXcode VR project beginning with a When started block. Additional blocks from top to bottom are drive forward for 800 mm and a Switch block reading drivetrain.drive underscore for open parenthesis reverse comma 800 comma mm close parenthesis.

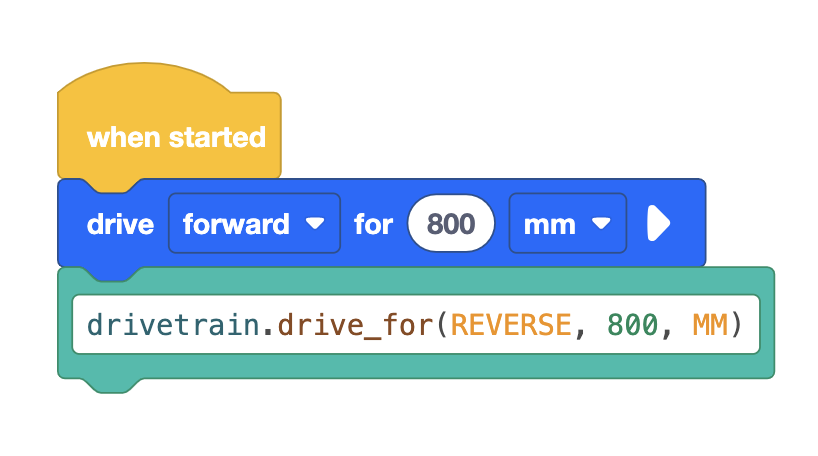
A suggestion will appear for the REVERSE parameter. You may click on this suggestion  or hit the enter or tab key to fill in the parameter. Make sure you set the distance parameter to 800 MM to match the parameter used in this Lesson's project.

VEXcode VR project beginning with a When started block. Additional blocks from top to bottom are drive forward for 800 mm and a Switch block with a yellow highlight around it reading drivetrain.drive underscore for open parenthesis reverse comma 800 comma mm close parenthesis. A pop up suggestion is open with a wrench icon shown and the word reverse suggested.

Questions

Please select a link below to access the lesson quiz.

Google Doc / .docx / .pdf